photography tips i've learned to create a curated style

the best photography tips i've learned for capturing your family perfectly, even on your iPhone.

BA350A9B-81E2-4048-AF44-33CD575E7316.JPG

If you're a mom trying to just get great photos of your family that you can frame, or if your an aspiring blogger who wants a curated and personal aesthetic consistently throughout your feed, these are some simple tips I've learned over the last few years that helped me do just that.

If you’re looking for step by step examples of how I edit my actual photos right now. Head over to this post. I walk you through everything step by step and show you how I use all my favorite apps.

Three things I focus on to keep my Instagram feed cohesive:

1. shooting [lighting + angles]

2. editing [presets, touch ups, and angles]

3. posting [9 grid]

90% of my photos I take on my iPhone X, and 50% of the time I use the portrait mode, it needs bright natural light to be crisp, so sometimes I can't use it to get the best shot. If I am using an actual camera, I'm usually using a Canon t3 that Jason bought for me 8 years ago. But truthfully, in my opinion, it's usually not the camera that makes the picture look good, it's the person taking it. It took me almost 3 years to finally feel like I kinda know what I'm doing at these are a few things I've learned that have helped me.

ikea duktig kids play kitchen hack.JPG

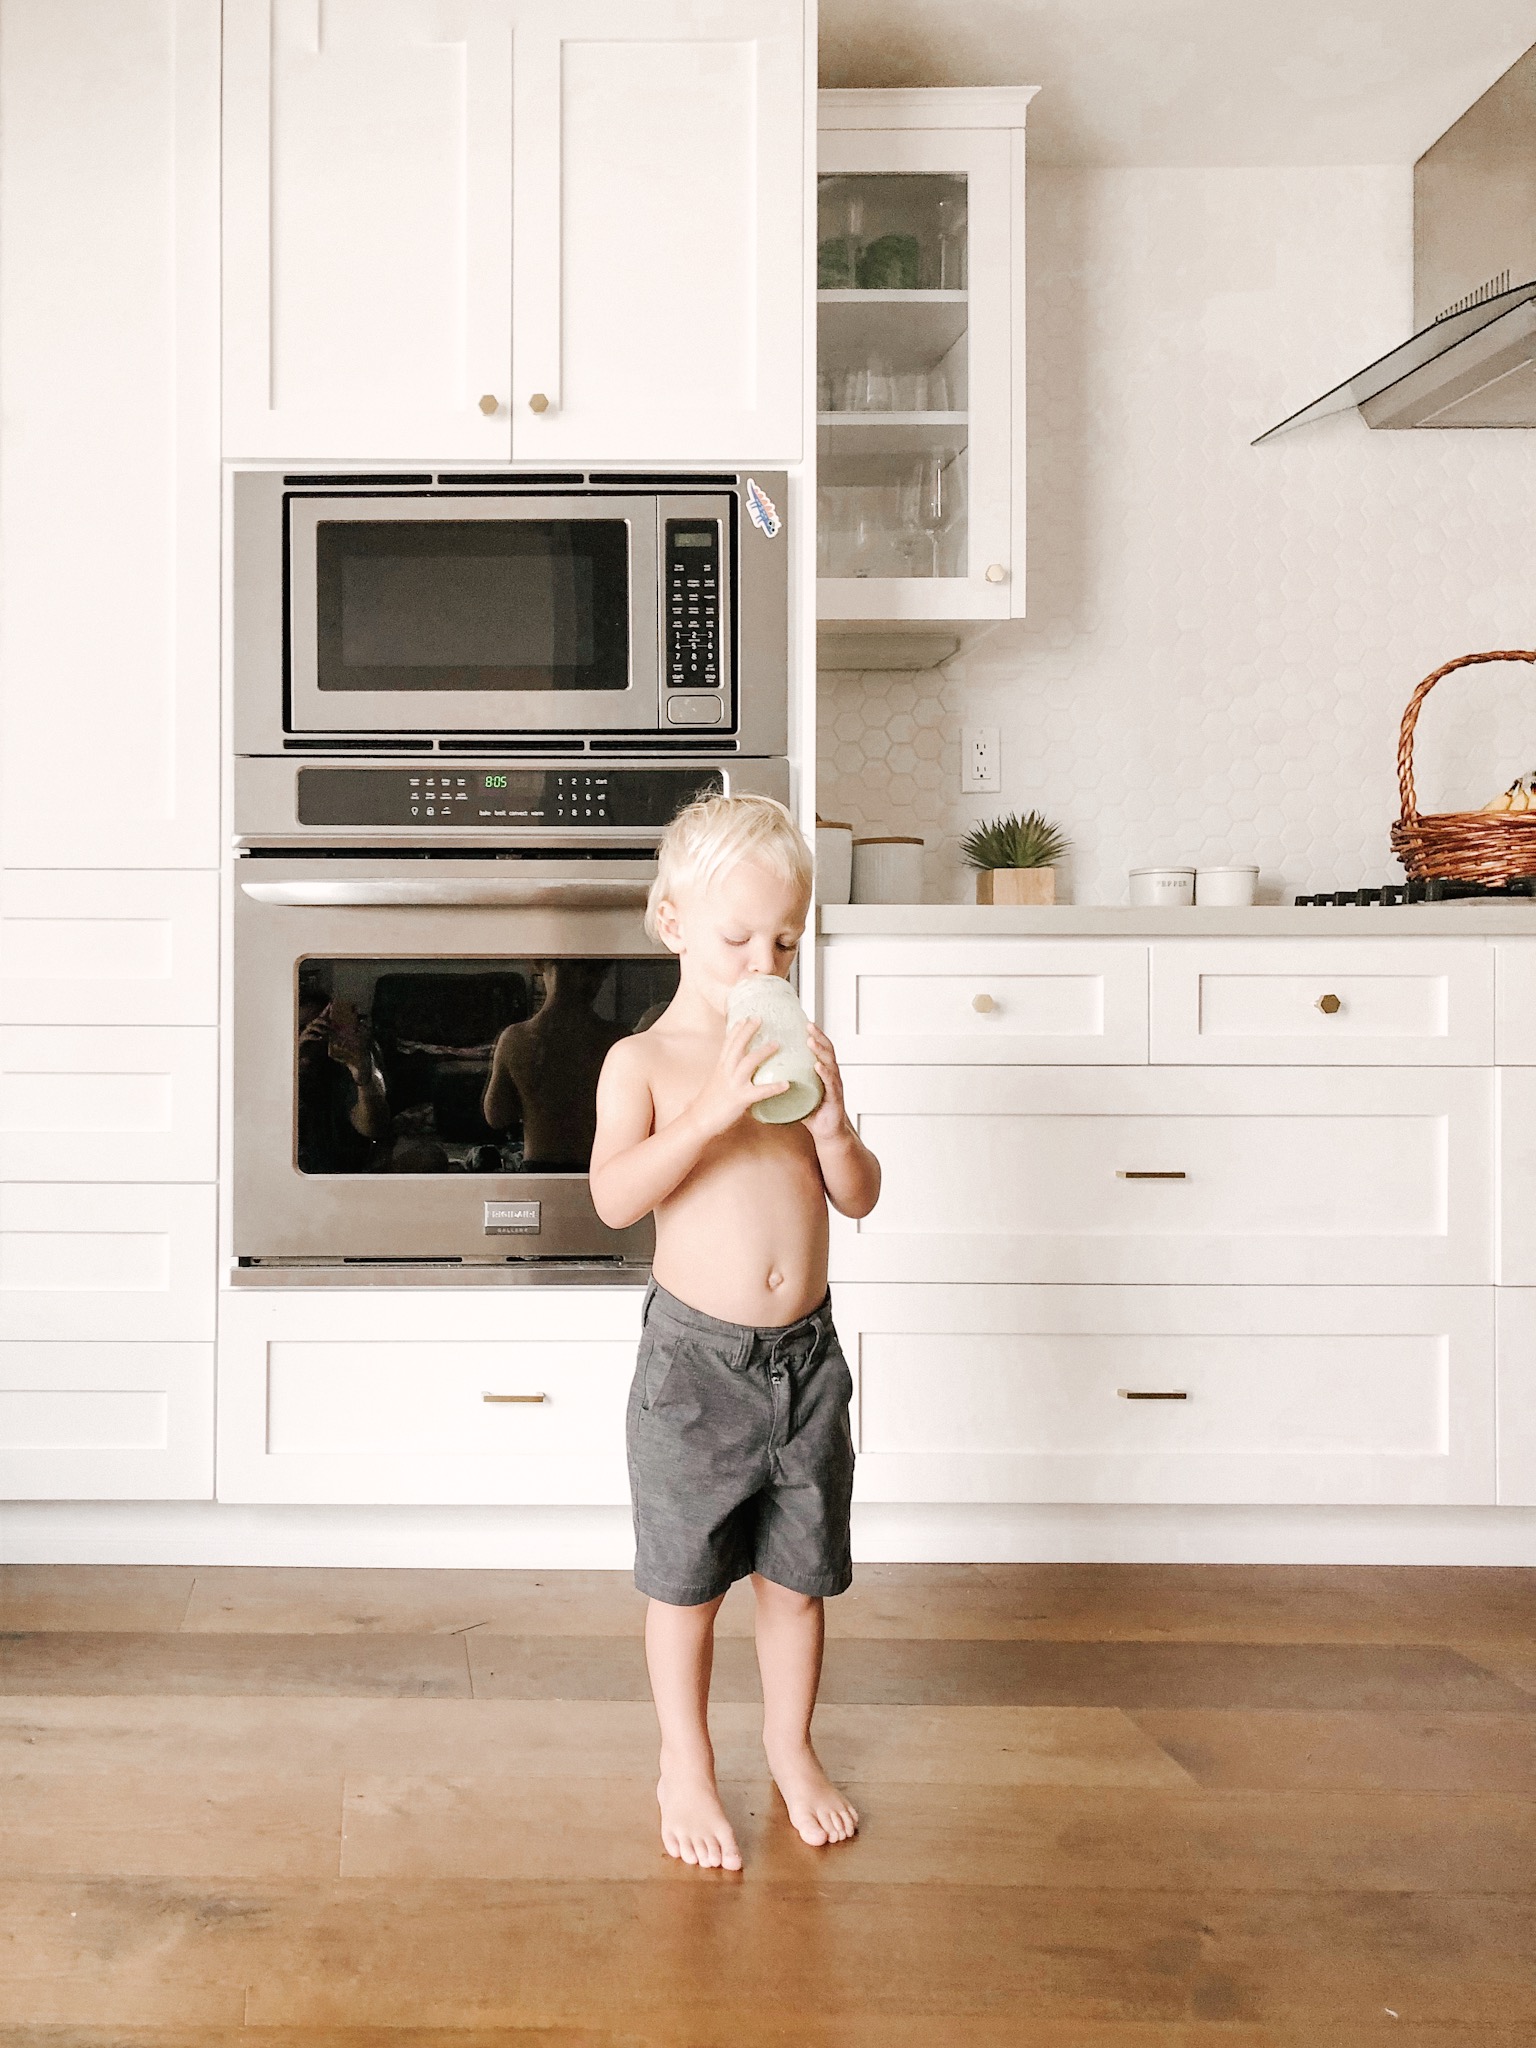
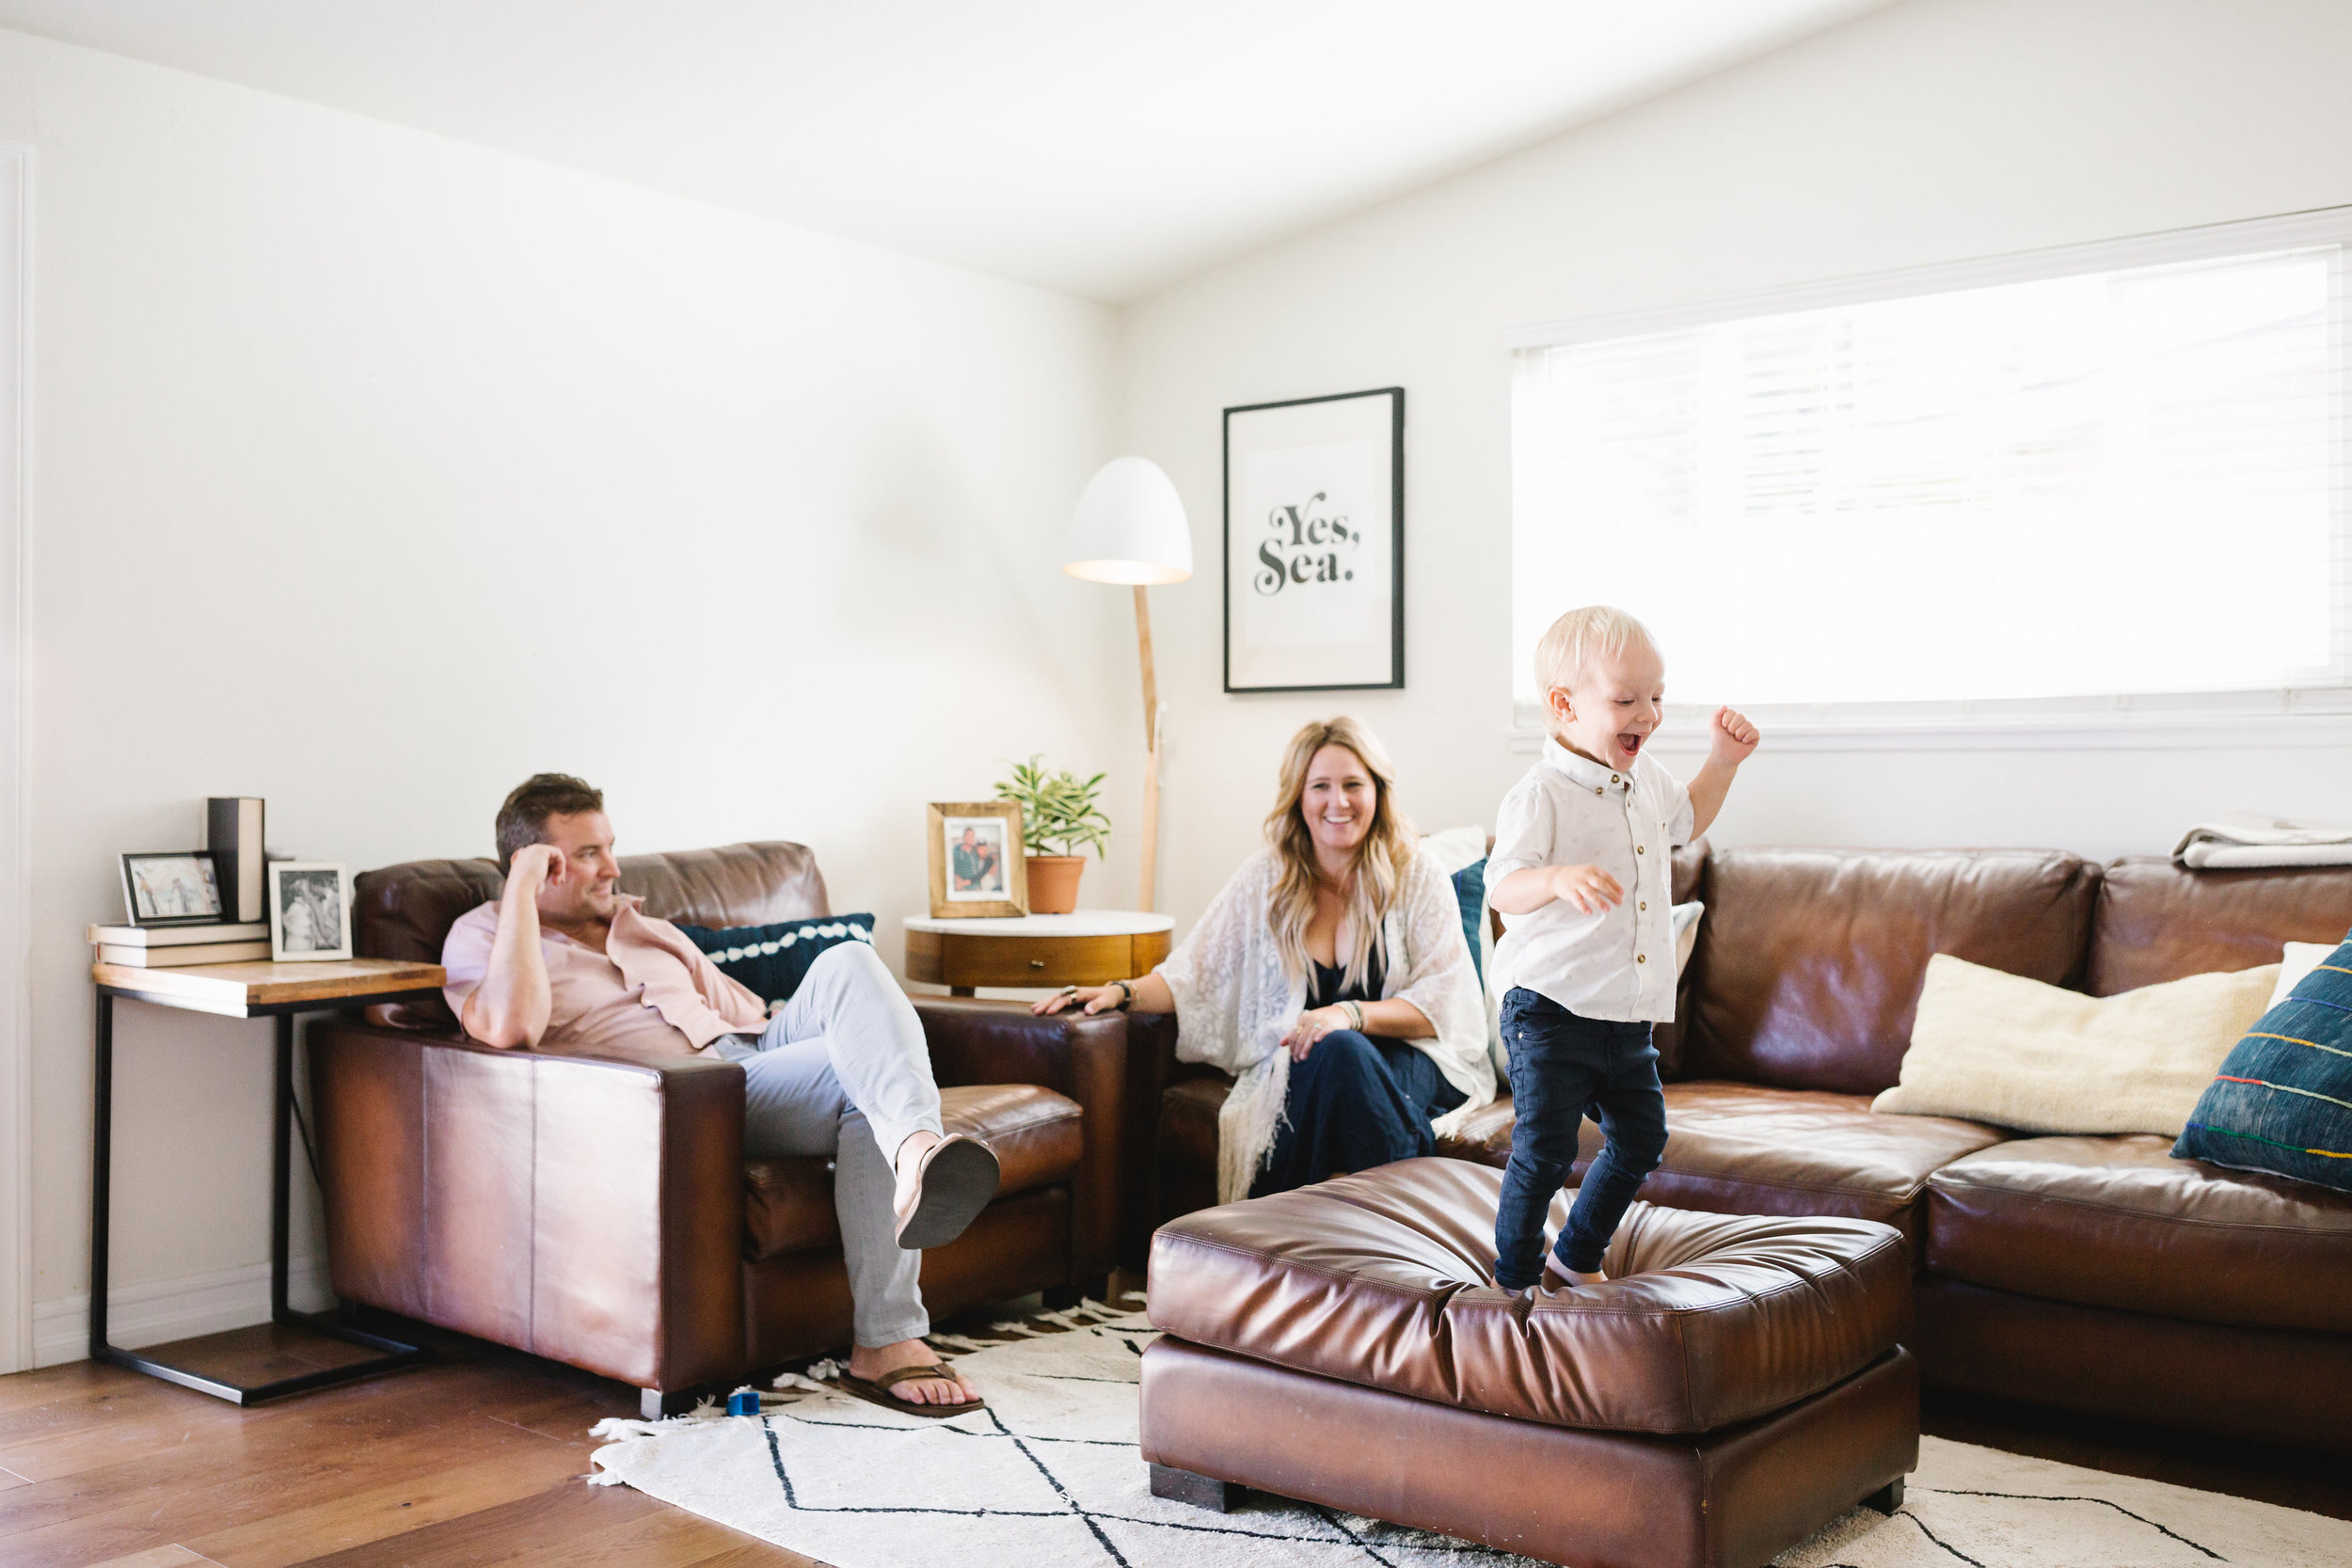
1. When shooting anything; people, food, scenery, selfies, be aware of your surroundings and don’t be afraid to take a few steps back and get more of the location in the picture. [you can always crop later]. A good rule of thumb I use when directing Jason to take a photo is to make sure you get our feet and our heads. It’s human nature to always want to take the image close to someone’s face but I like it when you get the whole picture of what’s happening in the image when you take it from farther away.

modern bohemian home large letter print.JPG

2. I almost always try and take my photos with natural light. If I’m outside, whoever is taking the picture [usually me] have them [or you] stand with your back to the sun. And try and avoid standing in the sunlight. Use a shaded area that still gets a good amount of natural light from the sun.

3. If you are shooting indoors, or with artificial lighting, you can get rid of the yellow tints by adjusting the yellow hues and the temperature of the image. [Lightroom does this best]. This is my favorite things I've learned so far. But when shooting, try and keep the lights off as much as possible and avoid using the flash. It’s easier to brighten the photo because it’s dark vs get rid of the yellow light or reflections from the glare of lights.

photography tips removing yellow artificial light.JPG
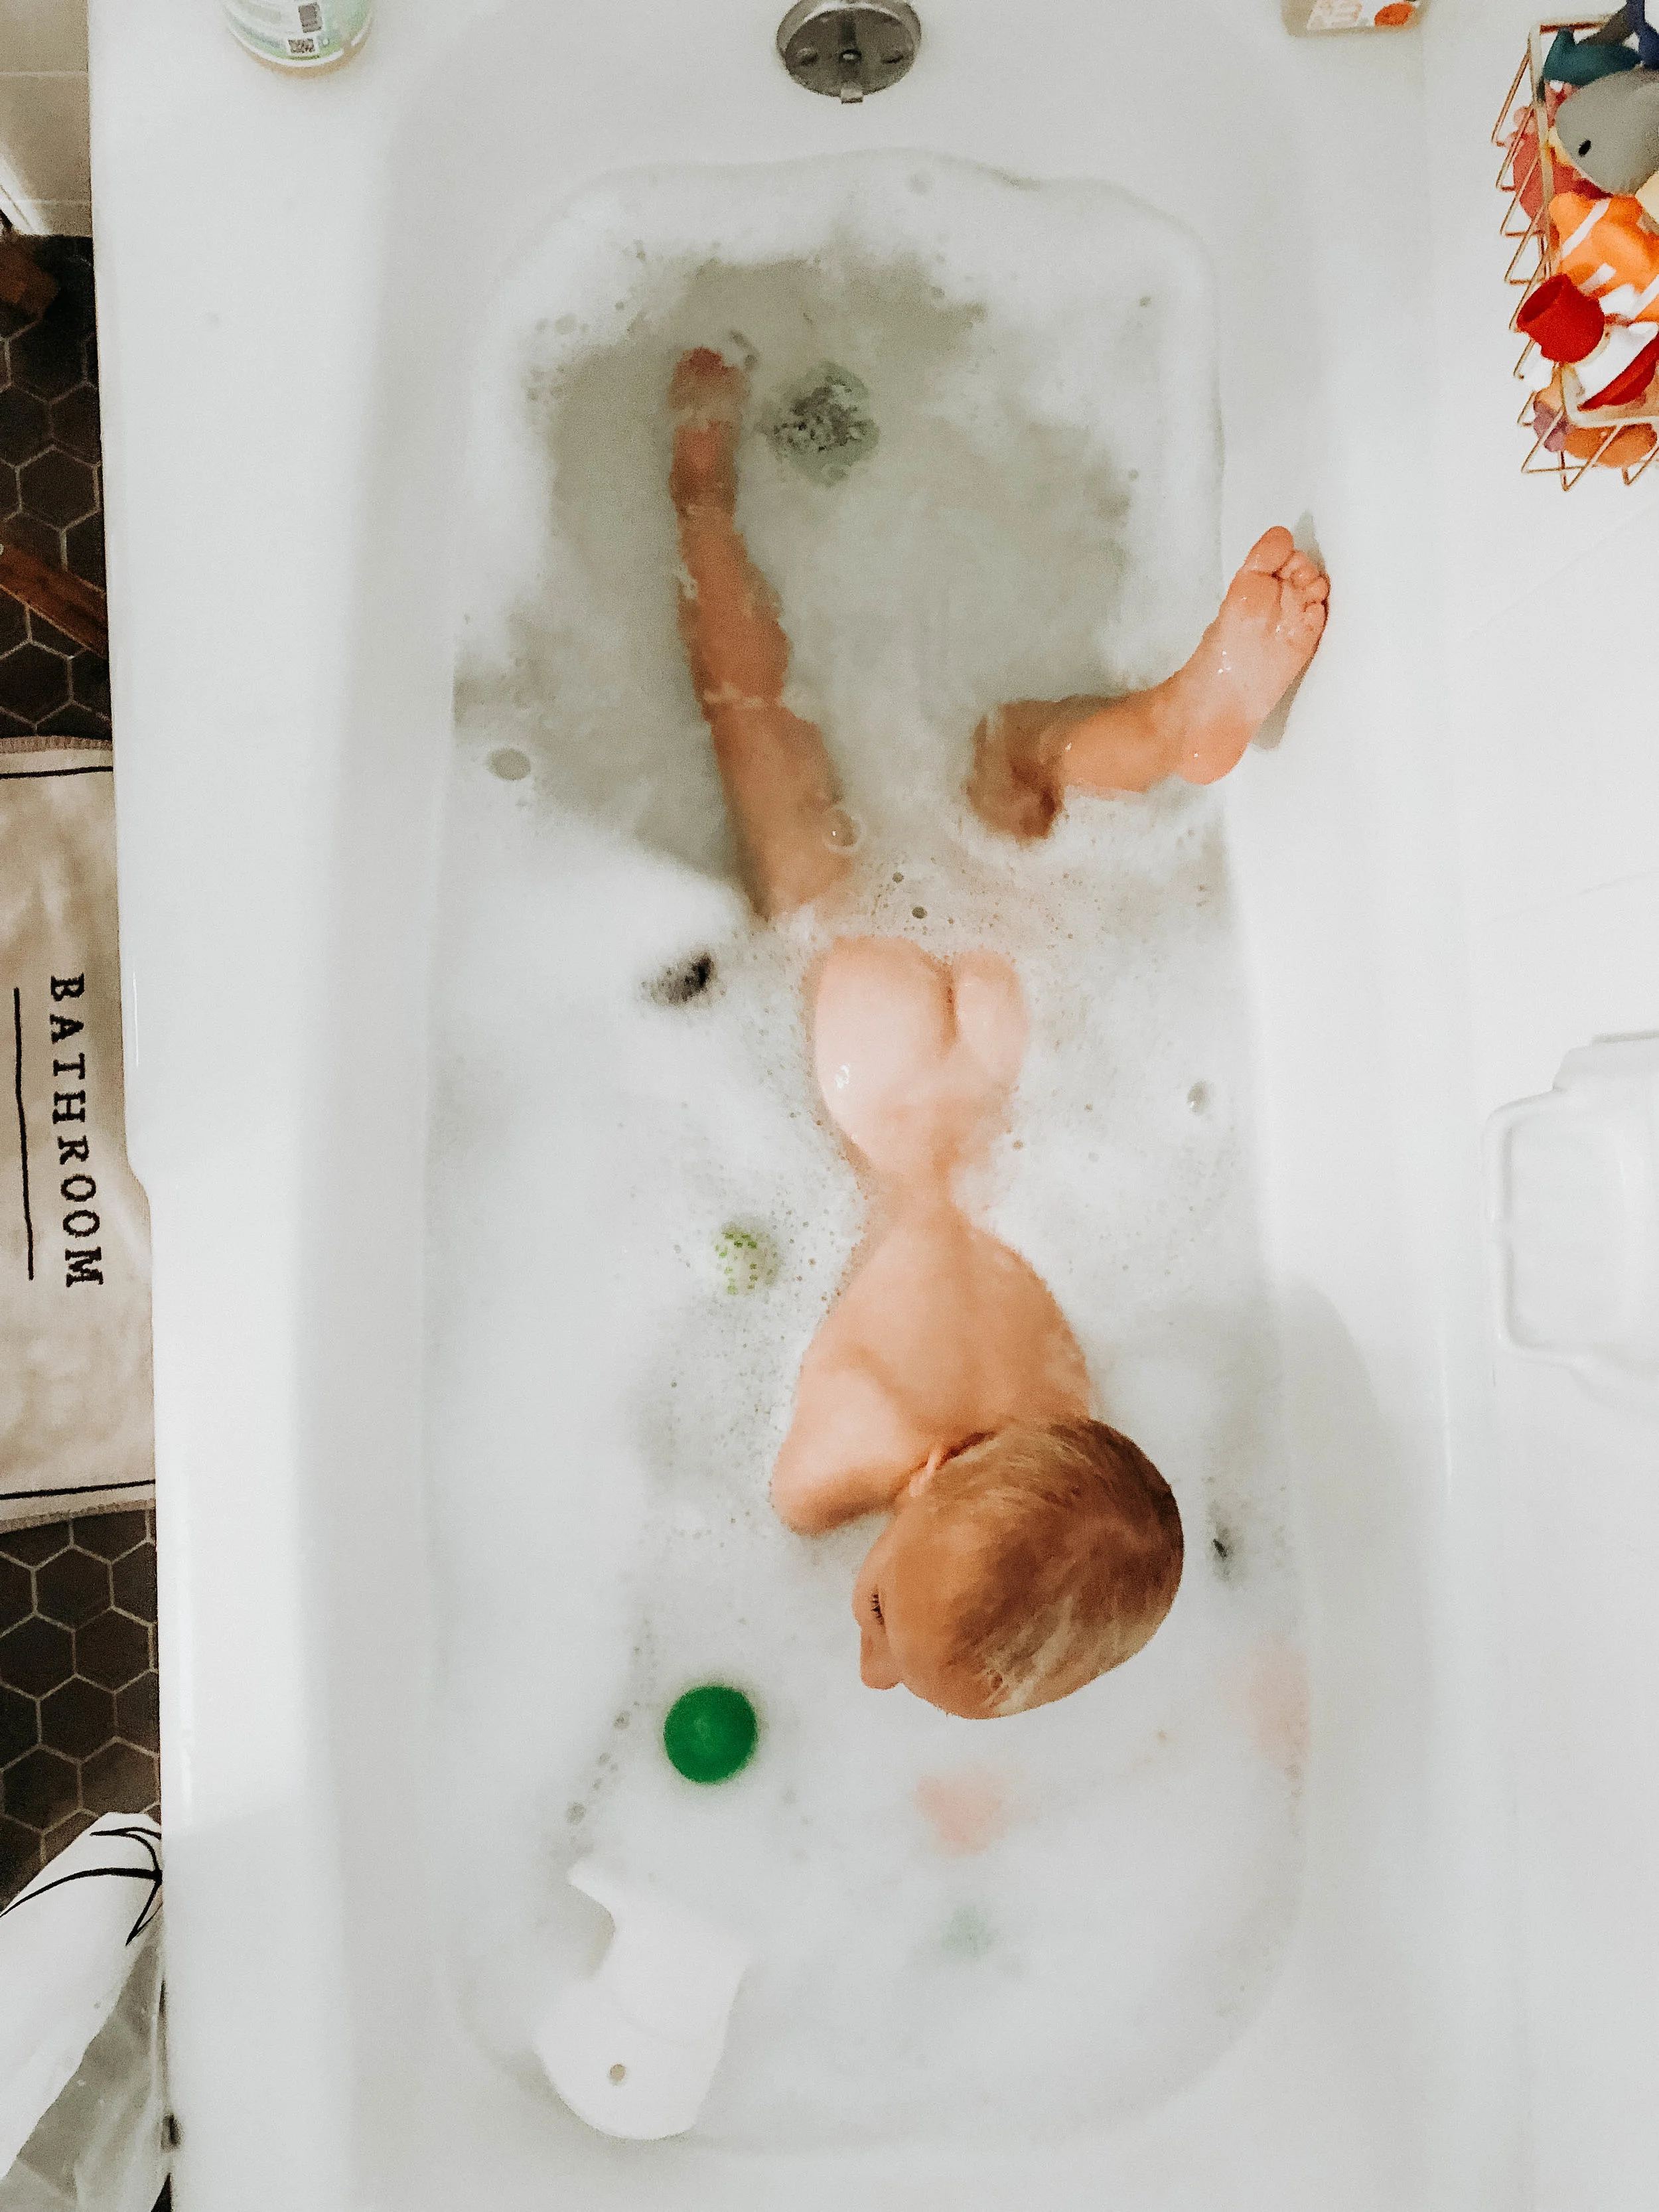
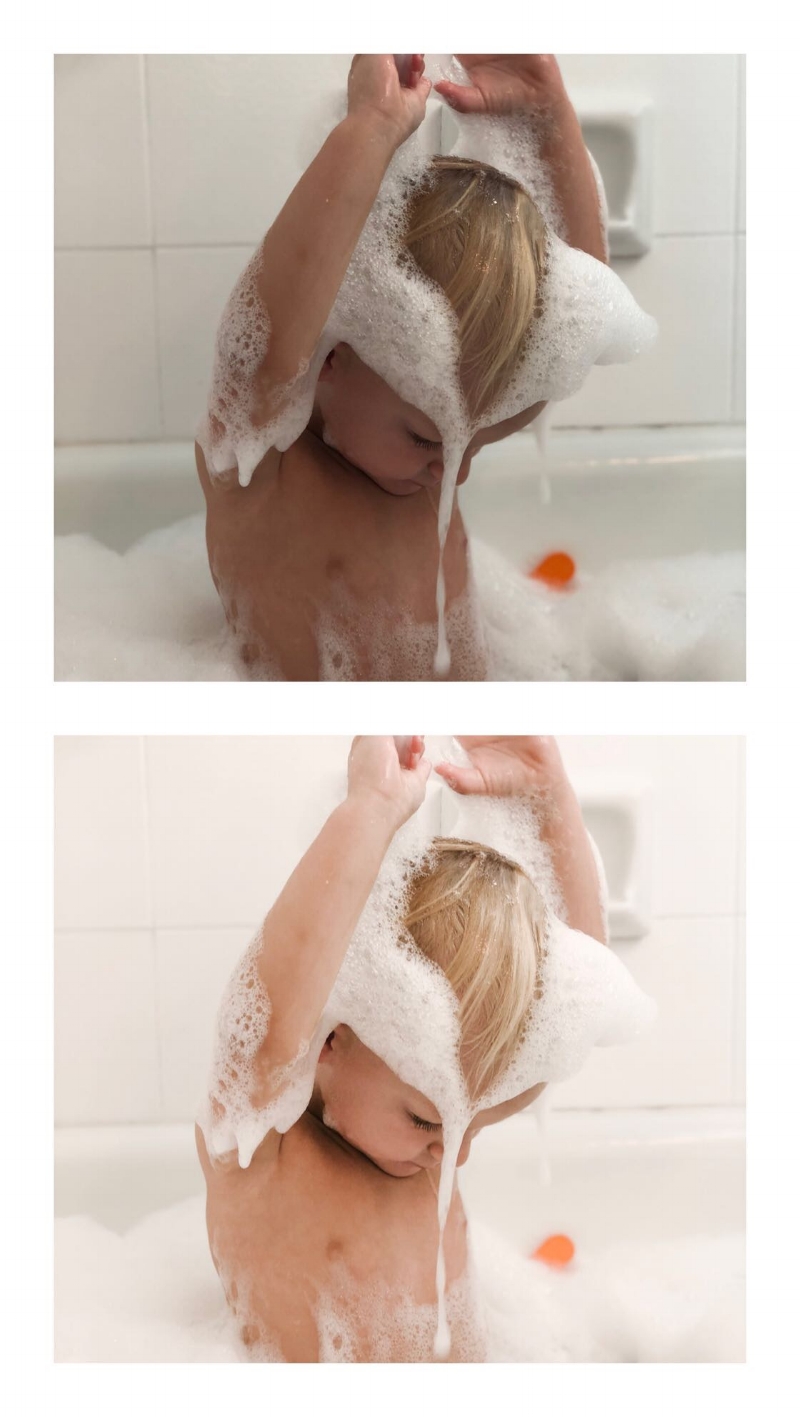
toddler bubble bath photo tips for moms.JPG
photo tips for moms.JPG

4. When you edit, keep your photos straight and centered. Use the crop/straighten tools and the perspective to adjust the angle vertically or horizontally. I will show you how to do this in SNAPSEED in this post, but you can use any app or just adjust them in your photo gallery in your phone. This helps with the rule of 3’s, by keeping your lines straight.

photography tips for moms.JPG
photography tips for moms2.JPG

5. Use the rule of 3's in photography to align the photo. This is so simple but makes the biggest impact. The rule of thirds is applied by aligning a subject with the guidelines. The basic principle behind the rule of thirds is to imagine breaking an image down into thirds (both horizontally and vertically) so that you have 9 parts and creating a horizon so that your eye easily moves from square to square.

IMG_4870.JPG

6. Set your scene first and make sure you’re taking the snap straight if you can. If you have time take a couple practice shots so you can see if a weird outlet or random thing stands out in the image. Try and take photos straight on so when you align your subject, don’t shoot from the side of it, shoot straight at it. Don’t be afraid to move around! Taking images from all angles you wouldn't normally think would be good, sometimes get you the best shot! If you end up with something in the image you want to edit, I use RETOUCH. Like this picture below actually had a vacuum leaning on the sliding glass door. I edited it out with two clicks.

IMG_2551.JPG

7. Use your favorite preset or filter to keep all your photos consistent. Lightroom mobile is free and it is a professional photo editing app that usually you can editing in one click using purchased presets. Below are 6 images shot in very different settings and light but edited with the same filter. I’ll put some of my favorite presets in my post, How I create a consistent aesthetic in my photos. [other apps I use and love, snapseed, color story, and retouch].

IMG_1623.JPG
IMG_4475.JPG
IMG_3406.JPG
IMG_4662.JPG
IMG_3048.JPG
IMG_0039.JPG

8. This one is more for influencers or bloggers, but I use a planning app for my posts. I use planoly, it’s not a free one... but I’ve used it forever and I love it. I usually only post once a day but sometimes I get multiple images that day that I want to post so I save them in there. I store my hashtags and write and edit my captions ahead of time. This helps me see if a photo's colors or how I edited to fit into my aesthetic or if I need to adjust the exposure or temperature to fit the rest of the images before I actually post it.

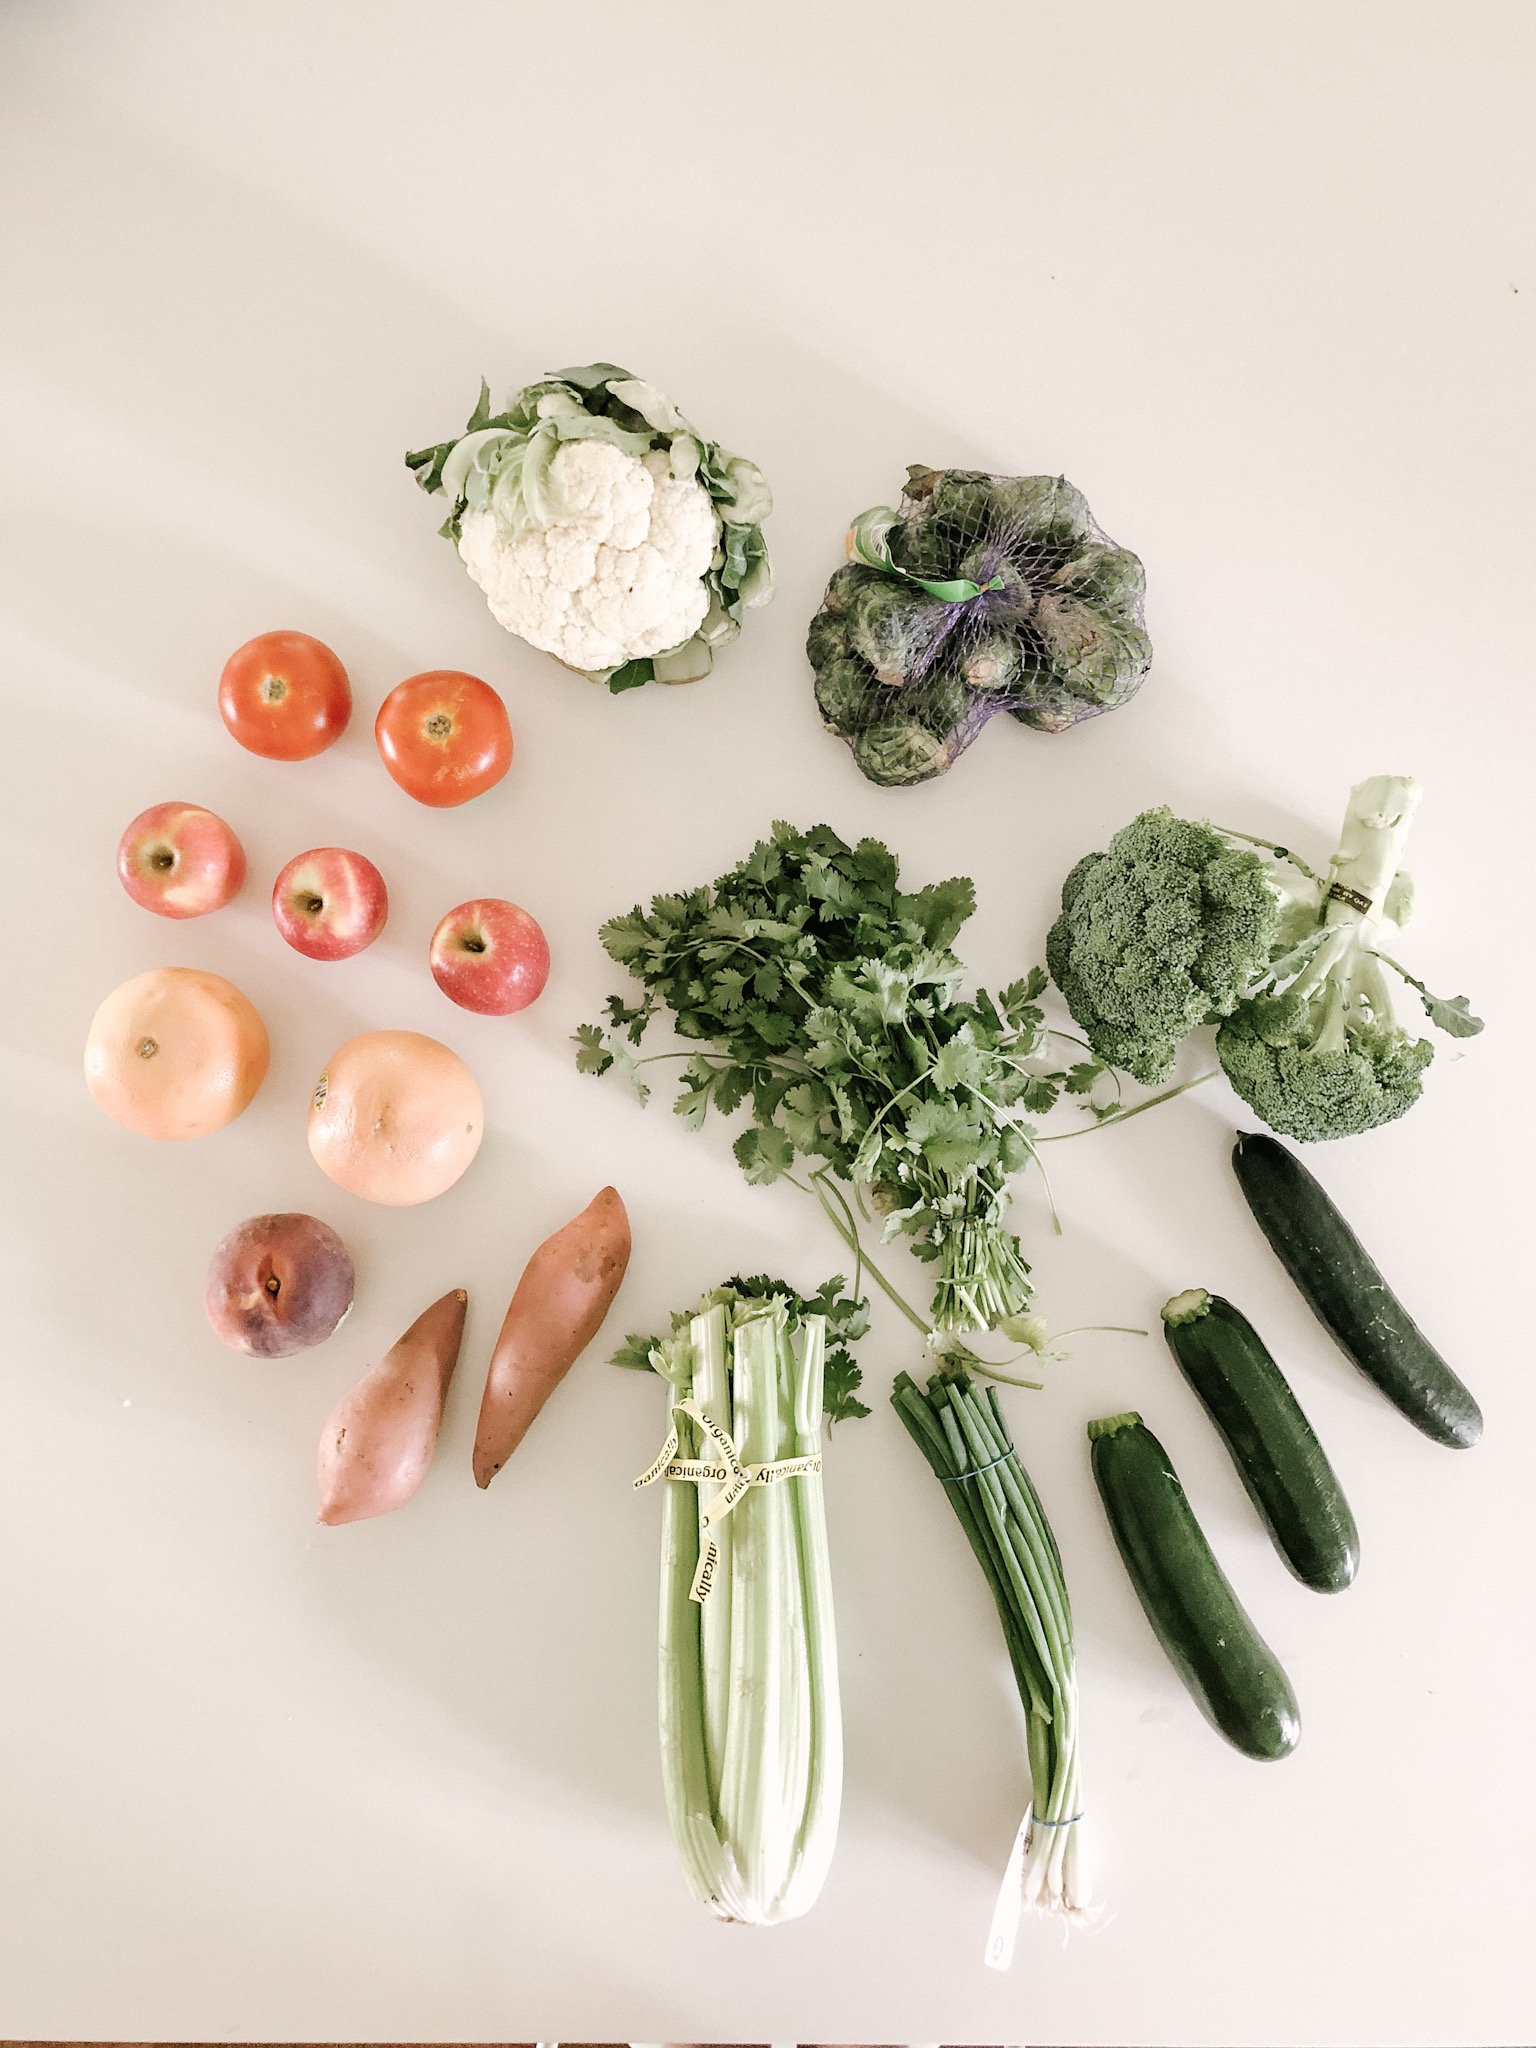
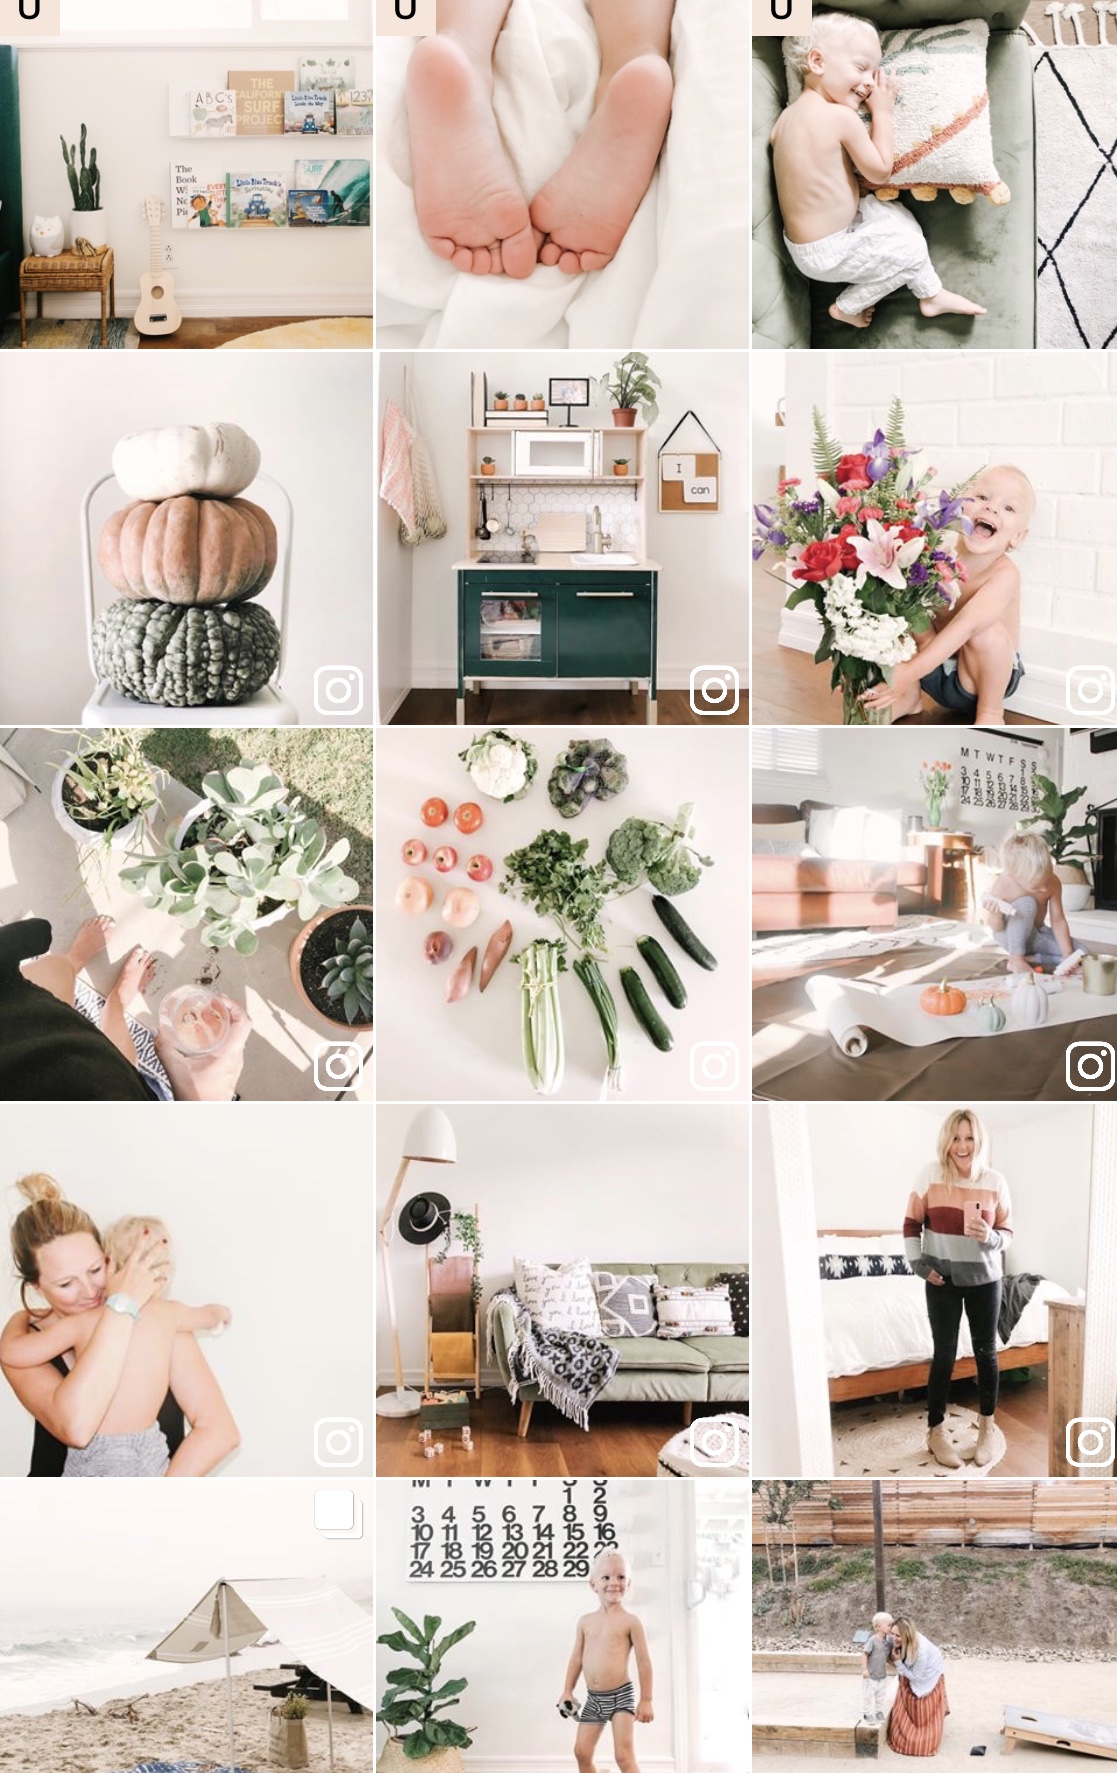
9. This is a personal preference but I use the grid method [maybe it’s called something different] but I staged my photos to have one light and one darker photo each time. Which creates a grid that is easy on the eye.

photography tips for mommy blogger planoly.jpg

10. Try, try and try again. The more you shoot, the better you will get. Same with editing. As you start to edit your photos, it will become second nature and then you'll learn another trick to making your photos the exact style and feel you are looking for.

#TheDailyMoments

#TheDailyMoments

selfieparty.jpg

These days most of us are living busy over-scheduled lives.  It's easy to lose track of the moments that really matter, which can often be the most ordinary parts of our days.   In the midst of all the responsibilities of our day, we need to remember to check in with ourselves so that we don't lose sight of who we really are and what is really important to us.   This series, #TheDailyMoments was started by my good friend @steph.pollock and as soon as I saw her first post, and when she said, 

It's these small moments that make up a lifetime of beautiful ones,

I knew this is exactly what I needed to bring some joy and simplicity back into my daily life.  This is my first day of just keeping my iPhone handy and letting the moments speak for themselves vs finding the perfect white wall to stand in front of, or rearranging all the pillows on the couch before taking that perfect shot and it truly is bringing life back into my daily routine.  This series is helping me to not only grow and learn as an Instagram influencer but as a wife, mom, friend, and an individual.  Today is Tue, July 10th and these are my Daily Moments.  


Just as Steph did, I am inviting you to do the same, join us in this movement of letting life be more enjoyable just by letting it be exactly what it is.  Tag your photos with #thedailymoments so we can all share in the joy of the simple moments that make up a lifetime of happiness.

If you wanna see all the inspo from Stephanie herself, click here.

morningsnuggles.jpg
laughs.jpg
focus.jpg
toesies.jpg
puzzled.jpg
create.jpg
destroy.jpg
peek.jpg
peek.jpg
brushabrusha.jpg
rideordie.jpg
pretend.jpg
yourturn.jpg
flexit.jpg
cruise.jpg
smile.jpg
teatime.jpg
meltdown.jpg
naptime.jpg
endoftheline.jpg
IMG_5360.jpg
daddys home.jpg
explore.jpg
love.jpg

1. snuggles   2. laugh   3. focus   4. toesis   5. puzzled   6. create   7. destroy   8. hide   9. peek   10. brusha brusha   11. ride or die   12. pretend   13. yourturn   14. flex it   15. cruise   16. smile   17. teatime   18. meltdown   19. naptime   20. end of the line  21. cocktail time  22. daddys home  23. explore 24. goodnight 

I had the best time working on this today and not worrying about the images I was capturing.  I feel like this series is going to be so eye opening for our whole family and I can't wait to see how it evolves and changes from week to week!  Tell me, are you going to join me??

For Week 2, click here.

For Week 3, click here.

How to Establish Your Brand and Build Your Online Community | #Themomblogcollective Week 2

Welcome to the second installment of The Mom Blog Collective: How to Build and Online Community and Define Your Brand. If you're new here, here's the scoop. Every other week, our group of amazing and inspiring mamas will answer the same set of questions to do with blogging, Instagram, photography, collaborations, sponsored posts, balancing it all with motherhood, and more. We each have different perspectives and different opinions, so this is a fun way to learn from one another. We hope you'll join along! Check out the hashtag #themomblogcollective to see everyone on Instagram, and I will also link you to all of the amazing blog posts here at the bottom of my post!

8F296636-1847-4BF1-846E-40B9C6C7E9BD.JPG

This weeks topic is: How to Establish Your Brand and Build Your Online Community

Those two things go hand and hand in my opinion.  In order to grow an authentic community of followers, you need to have a true brand all your own.  You need to establish what your brand is, and make sure that you continue to create a curated feed with your brand image in mind with every single post.  I believe most people follow me for a specific reason; either they love my photography style or aesthetic, they have a common connection with me like where I live or kids the same age, or when they read my posts I say something that resonates with them on a deeper level and inspires them in some way.  If I can connect with someone through my feed in one of those ways, I will gain them not only as a follower, but hopefully I'll engage with them enough and they will eventually join my community of followers who interact daily with me and possibly even meet IRL one day... (IRL=in real life).

Don't get me wrong, I certainly don't think I'm an expert on this topic by any means.  We've all been there, where it just feels like it takes a small miracle to get someone to click that 'follow' button or even just double click your picture, right?  I struggle daily watching that little number go up and down. I gain a few followers and then I lose just as many each day.  So, in this week, I'll be talking mostly about how I use my brand image to get my followers to stay with me, double tap my images, how I encourage comments, and eventually how I get them to join my community.

Here are my 6 key steps to start building your brand + community now!

Step 1: Create 5 key words to describe your brand image

Step 2: Get your colors and photography style consistent

Step 3: Define your core topics

Step 4: Plan out your posting schedule

Step 5: Ask followers to join your community

Step 6: Engage using specific hashtags


 -You can't be everything to everyone-


Step 1: Create 3-5 key words to describe the feeling you want for your feed.  What vibes, emotions, impressions do you want to leave with someone when they visit your page? Do you want your feed to emulate romantic, classic, bold, colorful, soft, whimsical, minimal, adventurous, playful, moody, or humorous?

In my opinion, the first step to creating your brand should be to figure out who are you really speaking to.  For me, I needed to create my own brand identity that would speak directly to my ideal follower.  I wanted my feed to be a true visual representation of myself through an authentic voice and consistent images so I could reach my true people.  Some words that describe my brand are authentic, bright, beachy, mom-friendly and organic, how would you describe yours?


-Create a clear identity through your photos-

FullSizeRender.jpg

Step 2:  Get your colors and photography style consistent.  When someone sees a picture of yours, they should clearly know it's your photo either by the style or the colors or both.  Based on the recommendation from @jennakutcher, and her Instagram Lab Course, I created a brand mood board/color theme.  It included my top 5 branding words and my top 5 colors of my feed, which helped me focus on my true brand image.  Canva is this awesome app you can use to get your "colors" by using a screen shot of your feed.   Here's mine:

When I take photos or edit photos, I try and stick to these 5 colors.

You can try it for your own feed here.  Just take a screen shot of your Instagram feed and it will pull out your top 5 colors for you.

(Our next post in this series is all about photography and editing your photos, so don't worry...more details on this to come!)

CANVA COLOR PALETTE GENERATOR

CANVA COLOR PALETTE GENERATOR

 -Have a focused approach-

Step 3: Define your categories:  I talked a little about this in my last post.  The more you can narrow your focus, the easier it will be for someone to connect with you. I try and define my brand into 5 categories and concentrate my posts around those topics. Family + Marriage, Motherhood, WAHM Life, Beauty + Fashion, Home Decor.  This helps me be consistent and authentic in each and every post and differentiate myself from other bloggers out there.  Using your top categories you defined above, try to create a diverse but defined feed that flows and touches on each topic throughout the week.  Maybe Mondays are WAHM life, and then Tuesdays you try and post about home decor, etc.  This way, you always have something to talk about, and you aren't trying to come up with a witty caption every time you have a great image to post.  It gives you and your feed a more defined focus, which will, in turn, help people to connect with you and keep coming back for more each week because they know what to expect.

-Establish your top posting schedule-

FullSizeRender.jpg

Step 4: Define posting schedule and best times to post. 

You need to ask yourself how often you are willing to spend time on Instagram and how often you really have the time to create a post that will speak to your followers, create hashtags that flow with that photo and make time to engage with your followers who comment.   It's important to make a plan and stick to it so that your followers see you consistently.  Is it once a week?  Once a day? 3x a day?  What does it take to grow your community....that's entirely up to you!  

I recently switched over to a business account and found out that the majority of my followers are actually from Southern Cal and most of them are most active on Tuesday- Saturday.  These insights can help you determine a posting schedule that will create the most engagement on your photos.  If you find that most of your followers are in a different time zone, you should adjust your posting time to fit when they are most active.

For me, I started with once a day, about 4x a week.  Now I try and post before 9 am or after 6 pm 5x a week.  I generally take off the weekends because I have found my better engagement times are during the week.  If you don't want to switch to a business account, there are lots of other sites to view your analytics.  Once of the most popular is

- Include a call to action-

FullSizeRender.jpg

Step 5:  Think of your call to actions like a personal invite into your community.   Occasionally include a call to action; double tap if you love tacos as much as me, comment with your favorite place to buy children's clothes, click the link in my bio to see my tips on how to meal prep, etc.   The goal is to get people to engage on your posts.  People may not feel compelled to comment unless you ask them to, and they may not even respond to your question when you do, but you want them to get engaged any way you can.  Trust me it works.  One of my most engaged posts I ever had was about a postpartum struggle I was experiencing after my first baby.  It was a hard & honest post for me to write, but I was vulnerable and I asked for help or ideas from my followers on how to fix it.  So many people commented that they struggled with the same thing and how they dealt with the issue.  You can read about that here if you want more details, but trust me having a call to action will help your engagement and lead to more true followers.

Remember, your followers want to see you!  Not only in your real genuine voice but images of you!  That creates a connection better than any other.  I bet you if you scroll through your feed, you'll see your most liked photos are not the most perfect flat lay, or the most beautiful sunset, but they are ones you are in, and ones you have written a heart felt or authentic caption about yourself.  Try and do that at least once a week and I promise you, your have a community faster than you know it.

 -Engage using specific hashtags-

Step 6:  One of the best ways to find a new audience is through hashtags.  Using your categories above, search for your niche hashtags and include them in every post.  

I have my hashtags grouped into my categories and saved in my planning app.  (I use Planoly but there are a ton of planning apps out there).  You are allowed 30 hashtags a post, and I use every single one.  If you have a photo that gets great engagement you may end up in the top 9 photos of that hashtag and you will be seen by tons of new faces.  My goal is to get my post in at least 3 of my hashtags top 9 photos to gain followers in my specific niche.  Out of the 30 I am allowed, I'd say 10 are always the same, and then for the rest, I switch it up and use some hashtags that have TONS of posts on them and some that have under 2 thousand posts on them.  I use some that are more specific to my location or subject matter and then some that are broader or used more often.  There is some chatter about using hashtags in your caption or in your comments, and getting "shadow-banned" but I haven't noticed enough of a difference in either to comment on that.  I think we will end up having a more detailed week on this subject where I can expand more on the hashtag subject, but if you have specific questions, please feel free to comment here or on my IG.

-Time + patience are key- 

I leave you with this, you can spend all your time creating the perfect brand and image but if you don't spend time engaging with others, you will not be successful in building a community.  People want to know they are seen and heard, and not just another like on your images.  In between all the curating, planning, and writing you need to include time in your day to reach out to both current and potential followers and comment and like on their pages as well. Respond to your comments on your posts, and search your niche hashtags and engage consistently.  I know that takes TIME, and TIME is the key word here. In order to grow organically, you need to have patience and show yourself some grace if it isn't happening as fast as you'd like.  Remember in order to grow organically, you need to engage, and you'll see a return from your hard work.  That engagement takes time and patience.
In June of 2016, I had 916 followers, today I have over 8 thousand.  I found that as I posted more authentic and vulnerable posts and the more I engaged with my followers and potential followers, the more my community was growing. 

Each month we feature different guest bloggers in addition to our core 10. While we will all be answering the same questions and writing about the same topics, it will give each of you a wide variety of perspectives. We each have a different blogging style, photography style, schedule and more so it will be a great opportunity to read everyone's posts and gain a little insight from each one. 


Here are this weeks contributors: 

mrsseacannon.com | @mrsseacannon

britthavens.com | @britthavens

koleimpressions.com | @steph__pollock

cultivatemotherhood.com | @cultivatemotherhood

www.ashleynoel.life | @_ashley_noel_

hellobabybrown.com | @hellobabybrown

darlingnightingale.com | @darlingnightingale

www.a-blessed-nest.com | @blessednestblog

thelovedesignedlife.com | @thelovedesignedlife

GUESTS: 

kristlesclarity.com | @hereyeswereolivegreen

@amylouhawthorne

If you have a topic you'd love to get an answer to in our series, search the hashtag #TheMomBlogCollective on Instagram and comment on any one of our photos under that hashtag to let us know! You can also leave comments on our blog posts.

IMG_0766.JPG