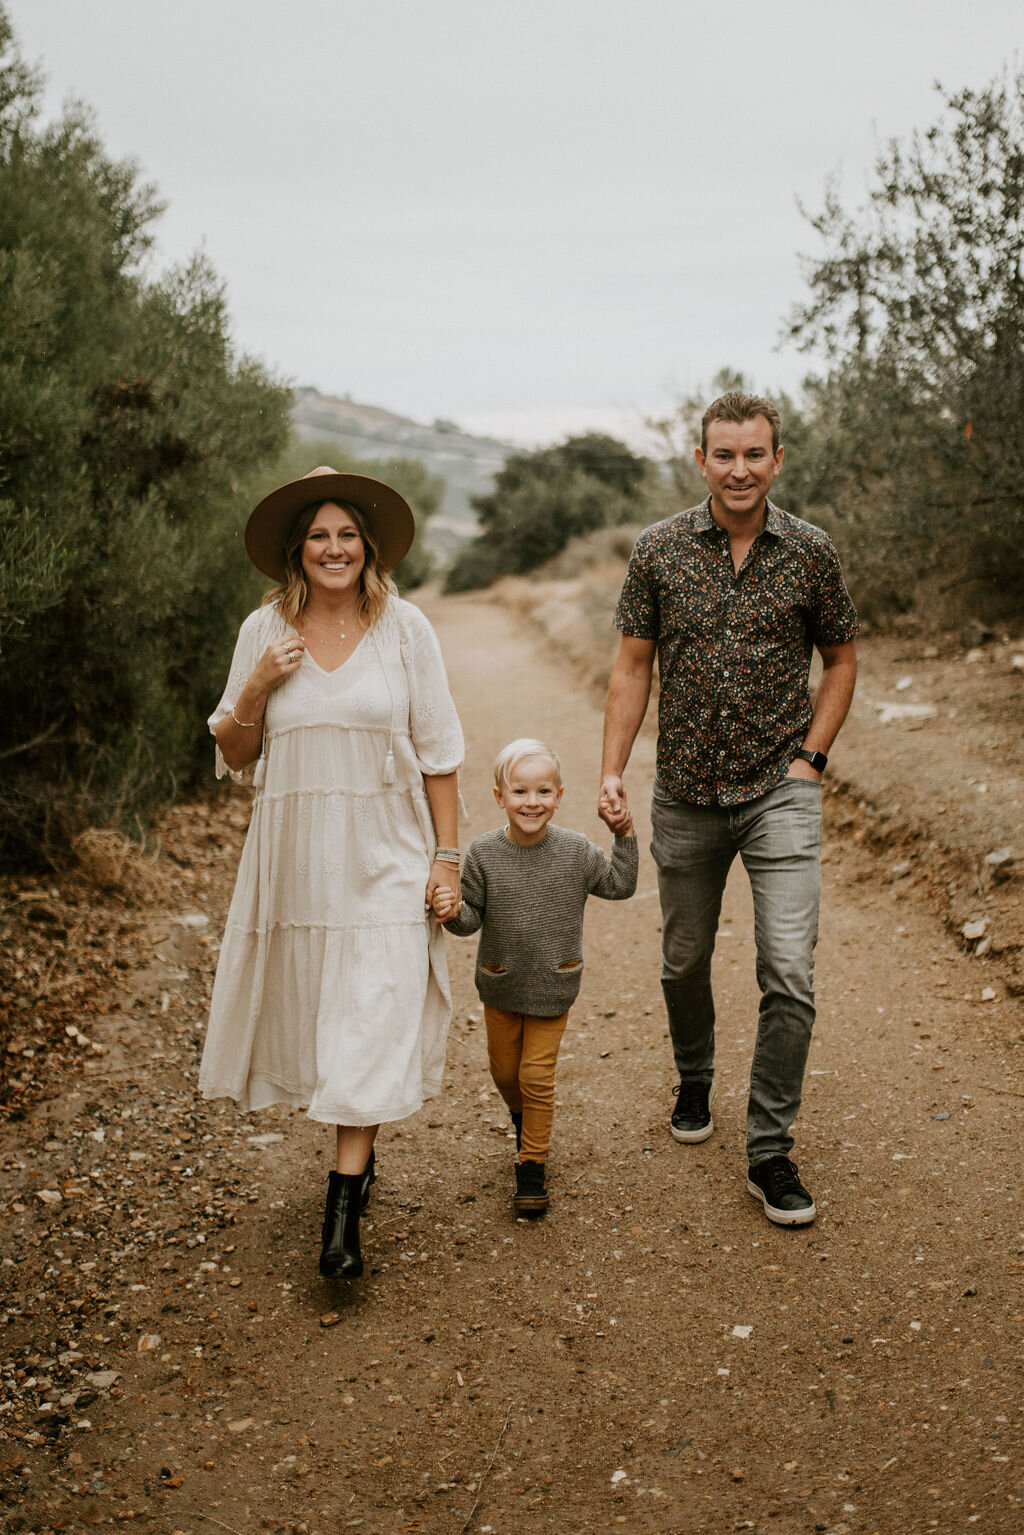
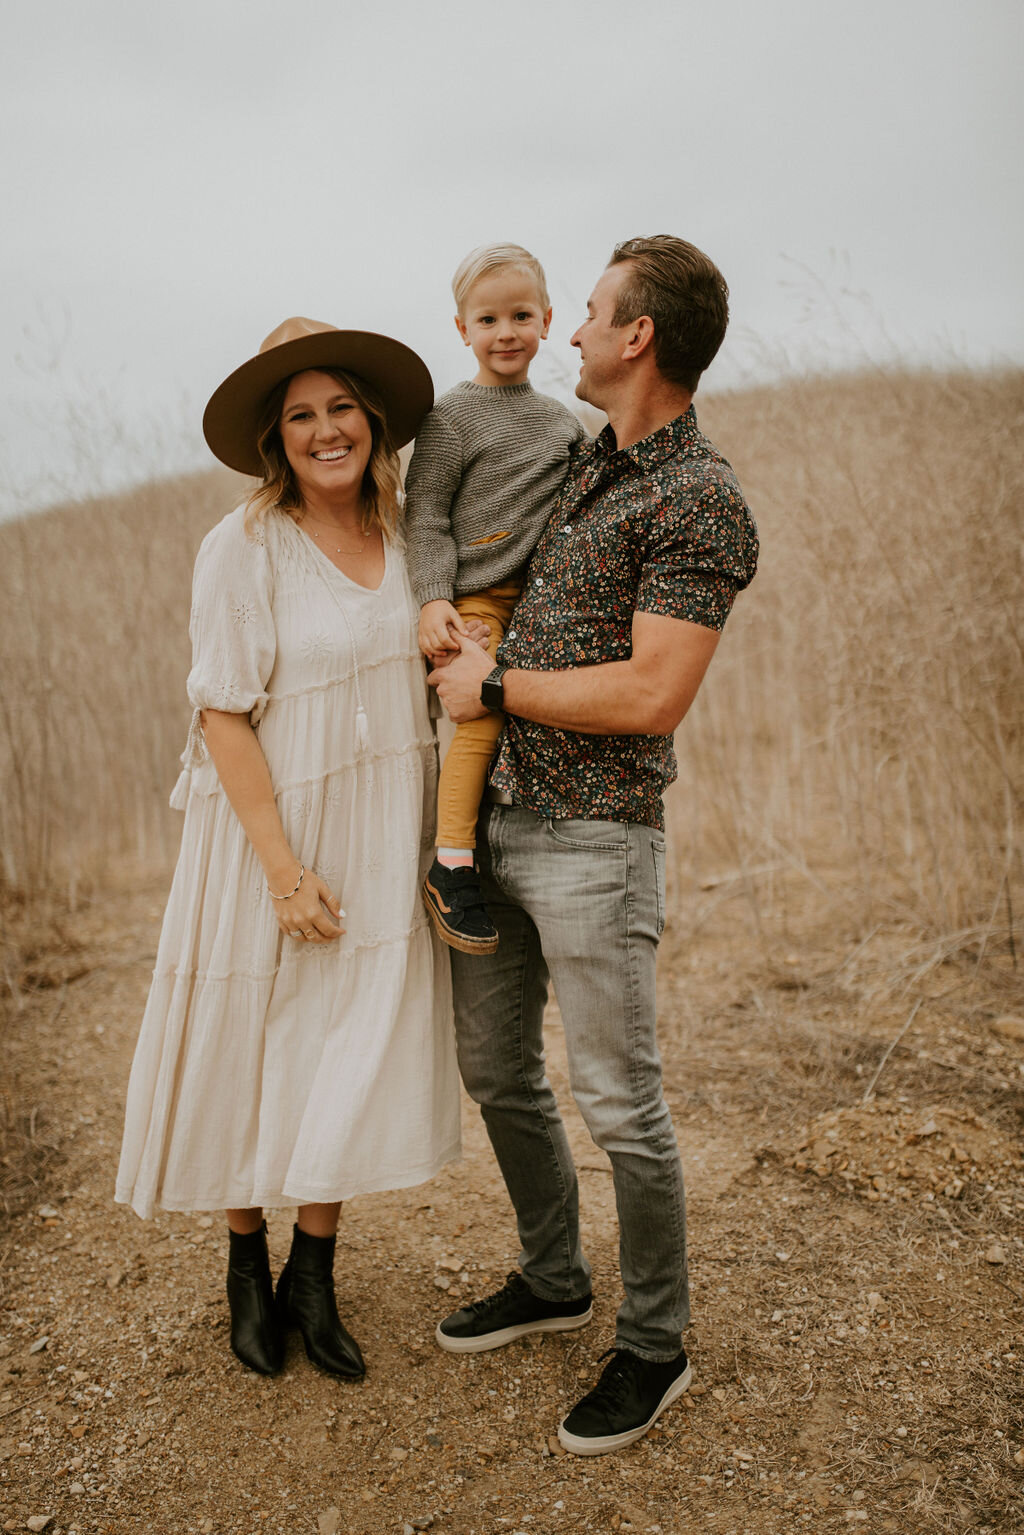
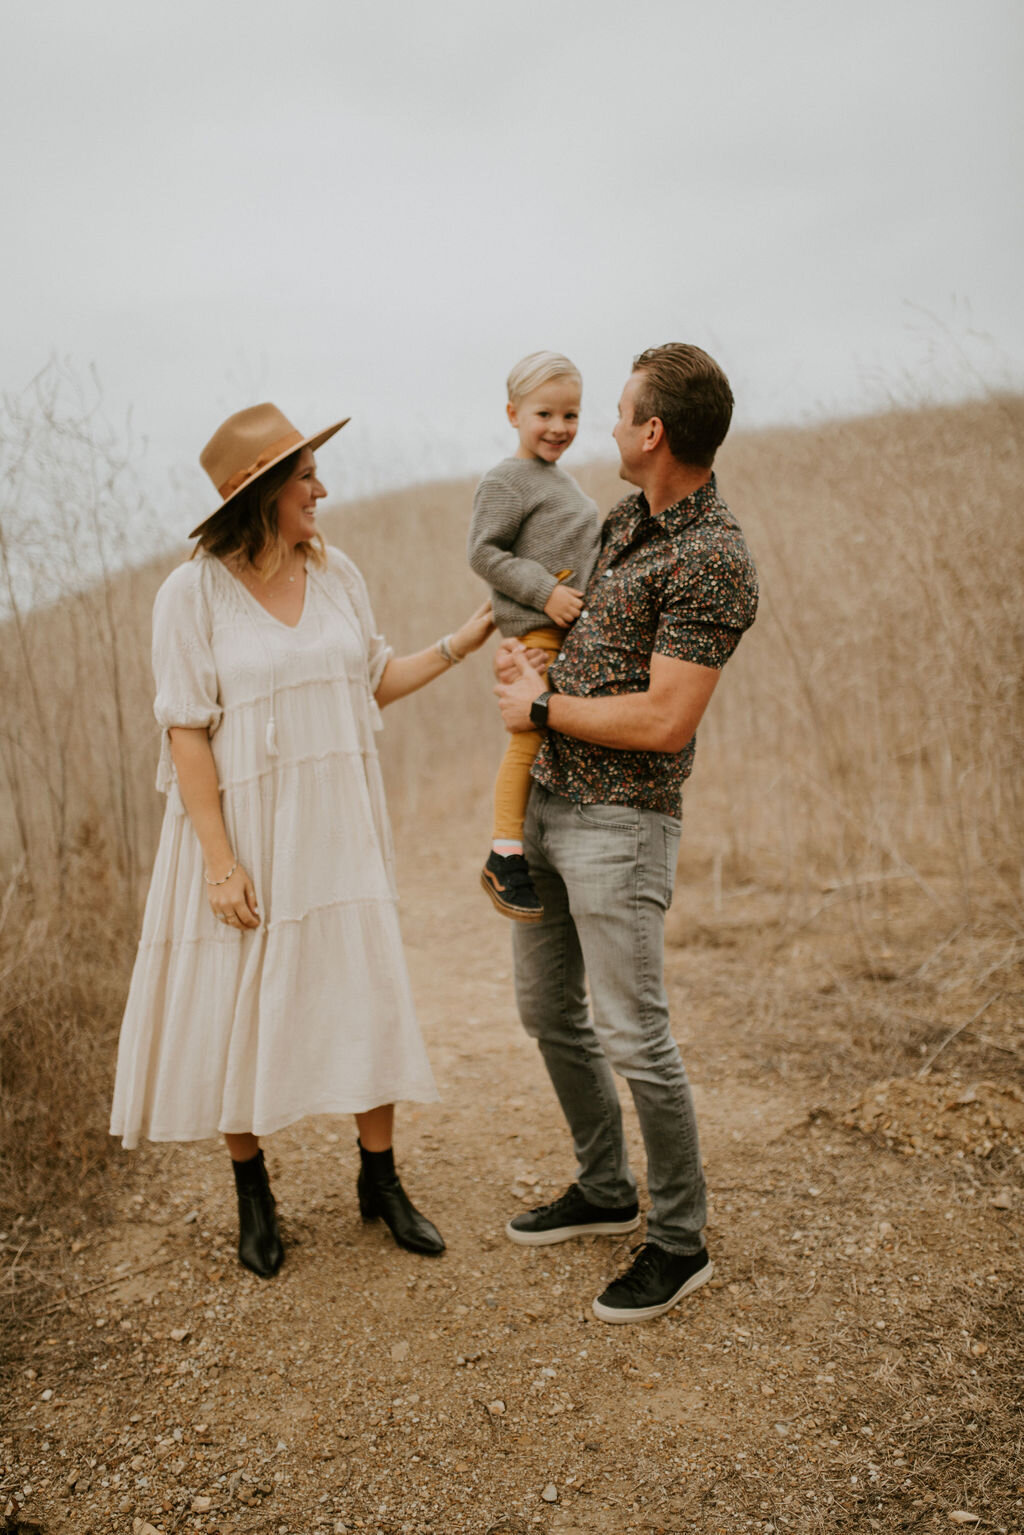
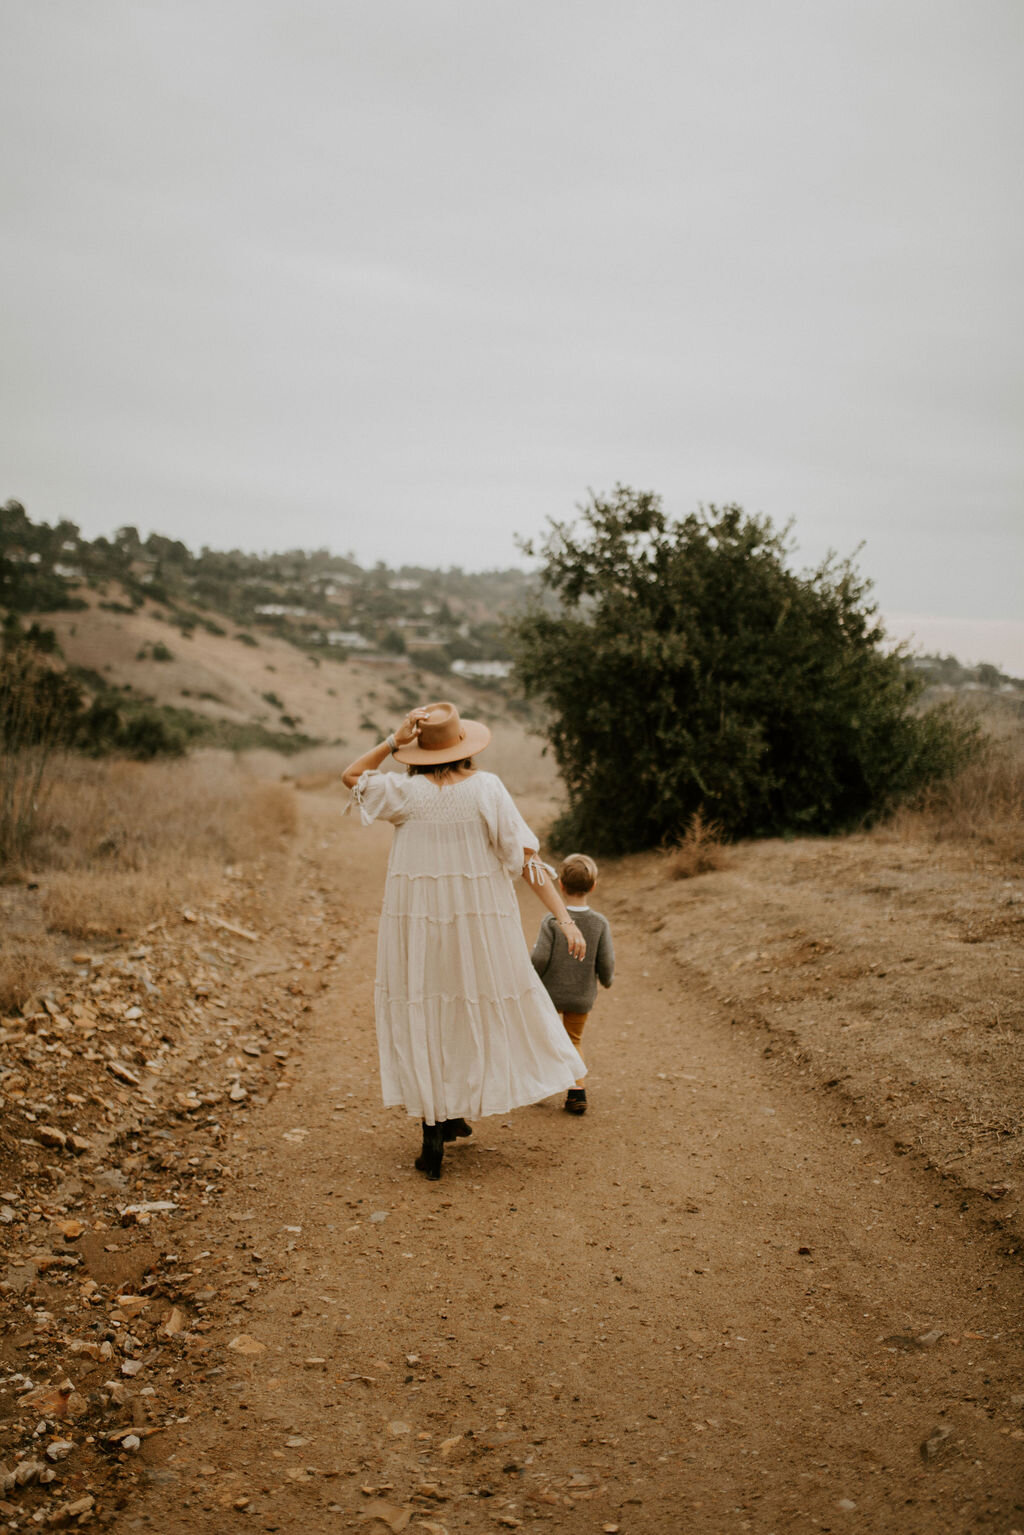
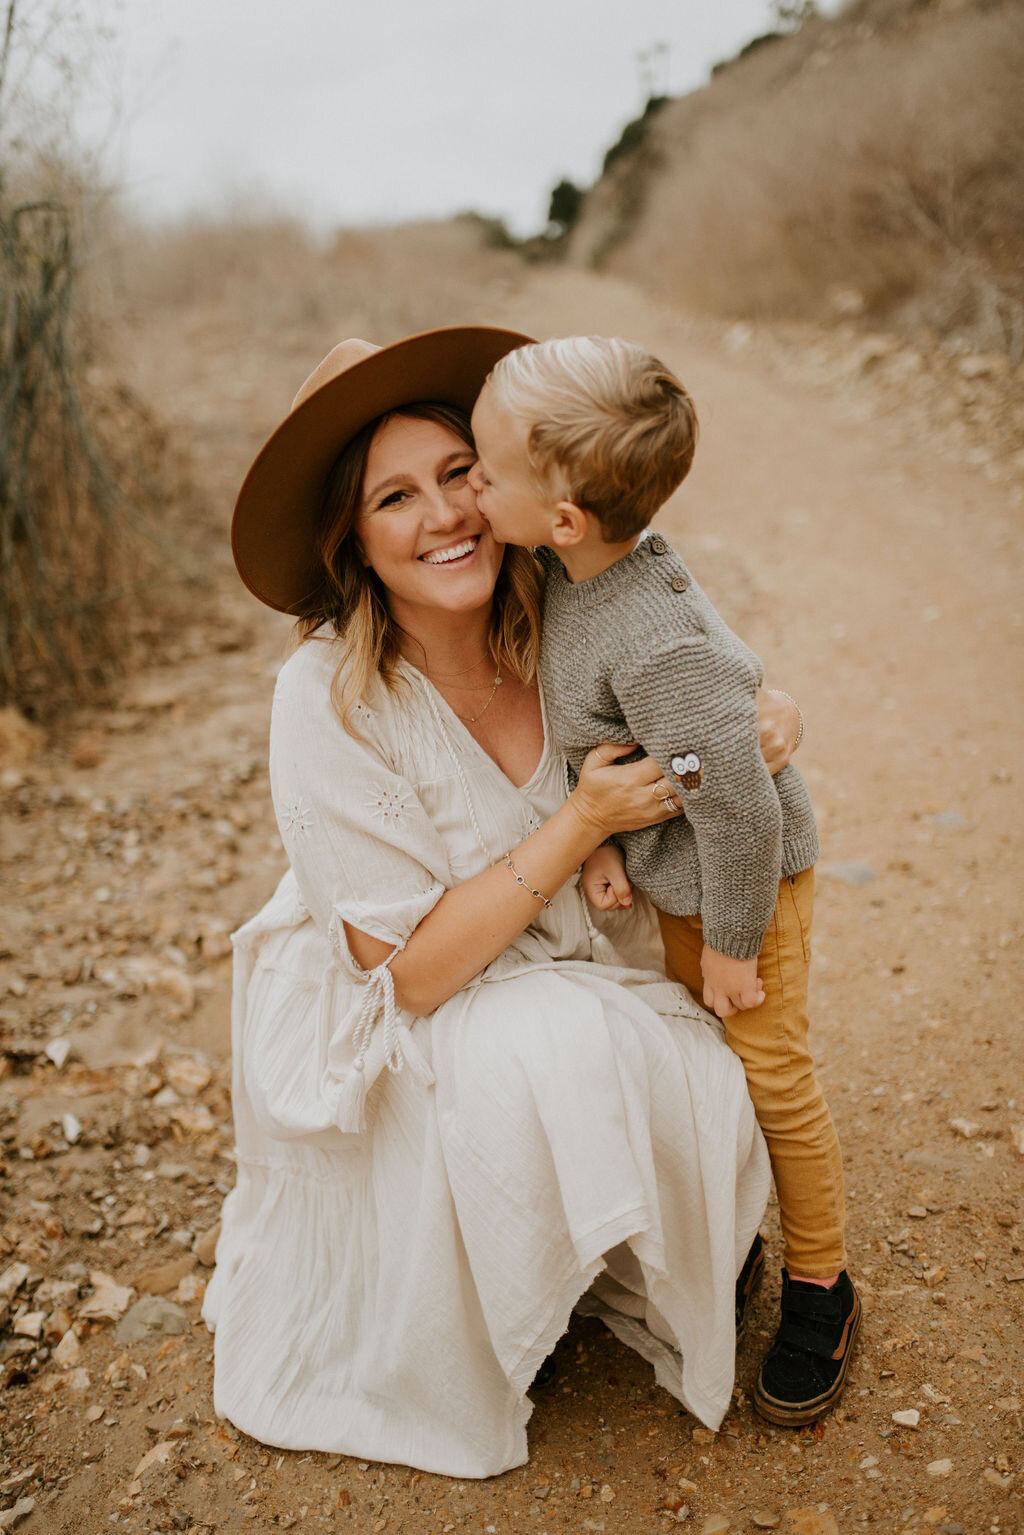
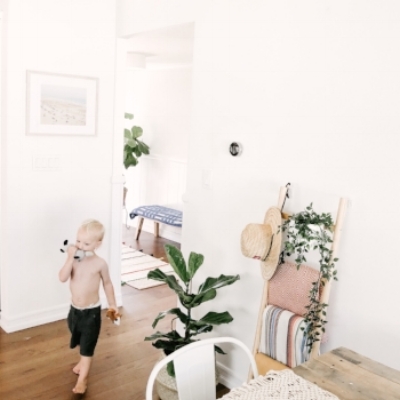
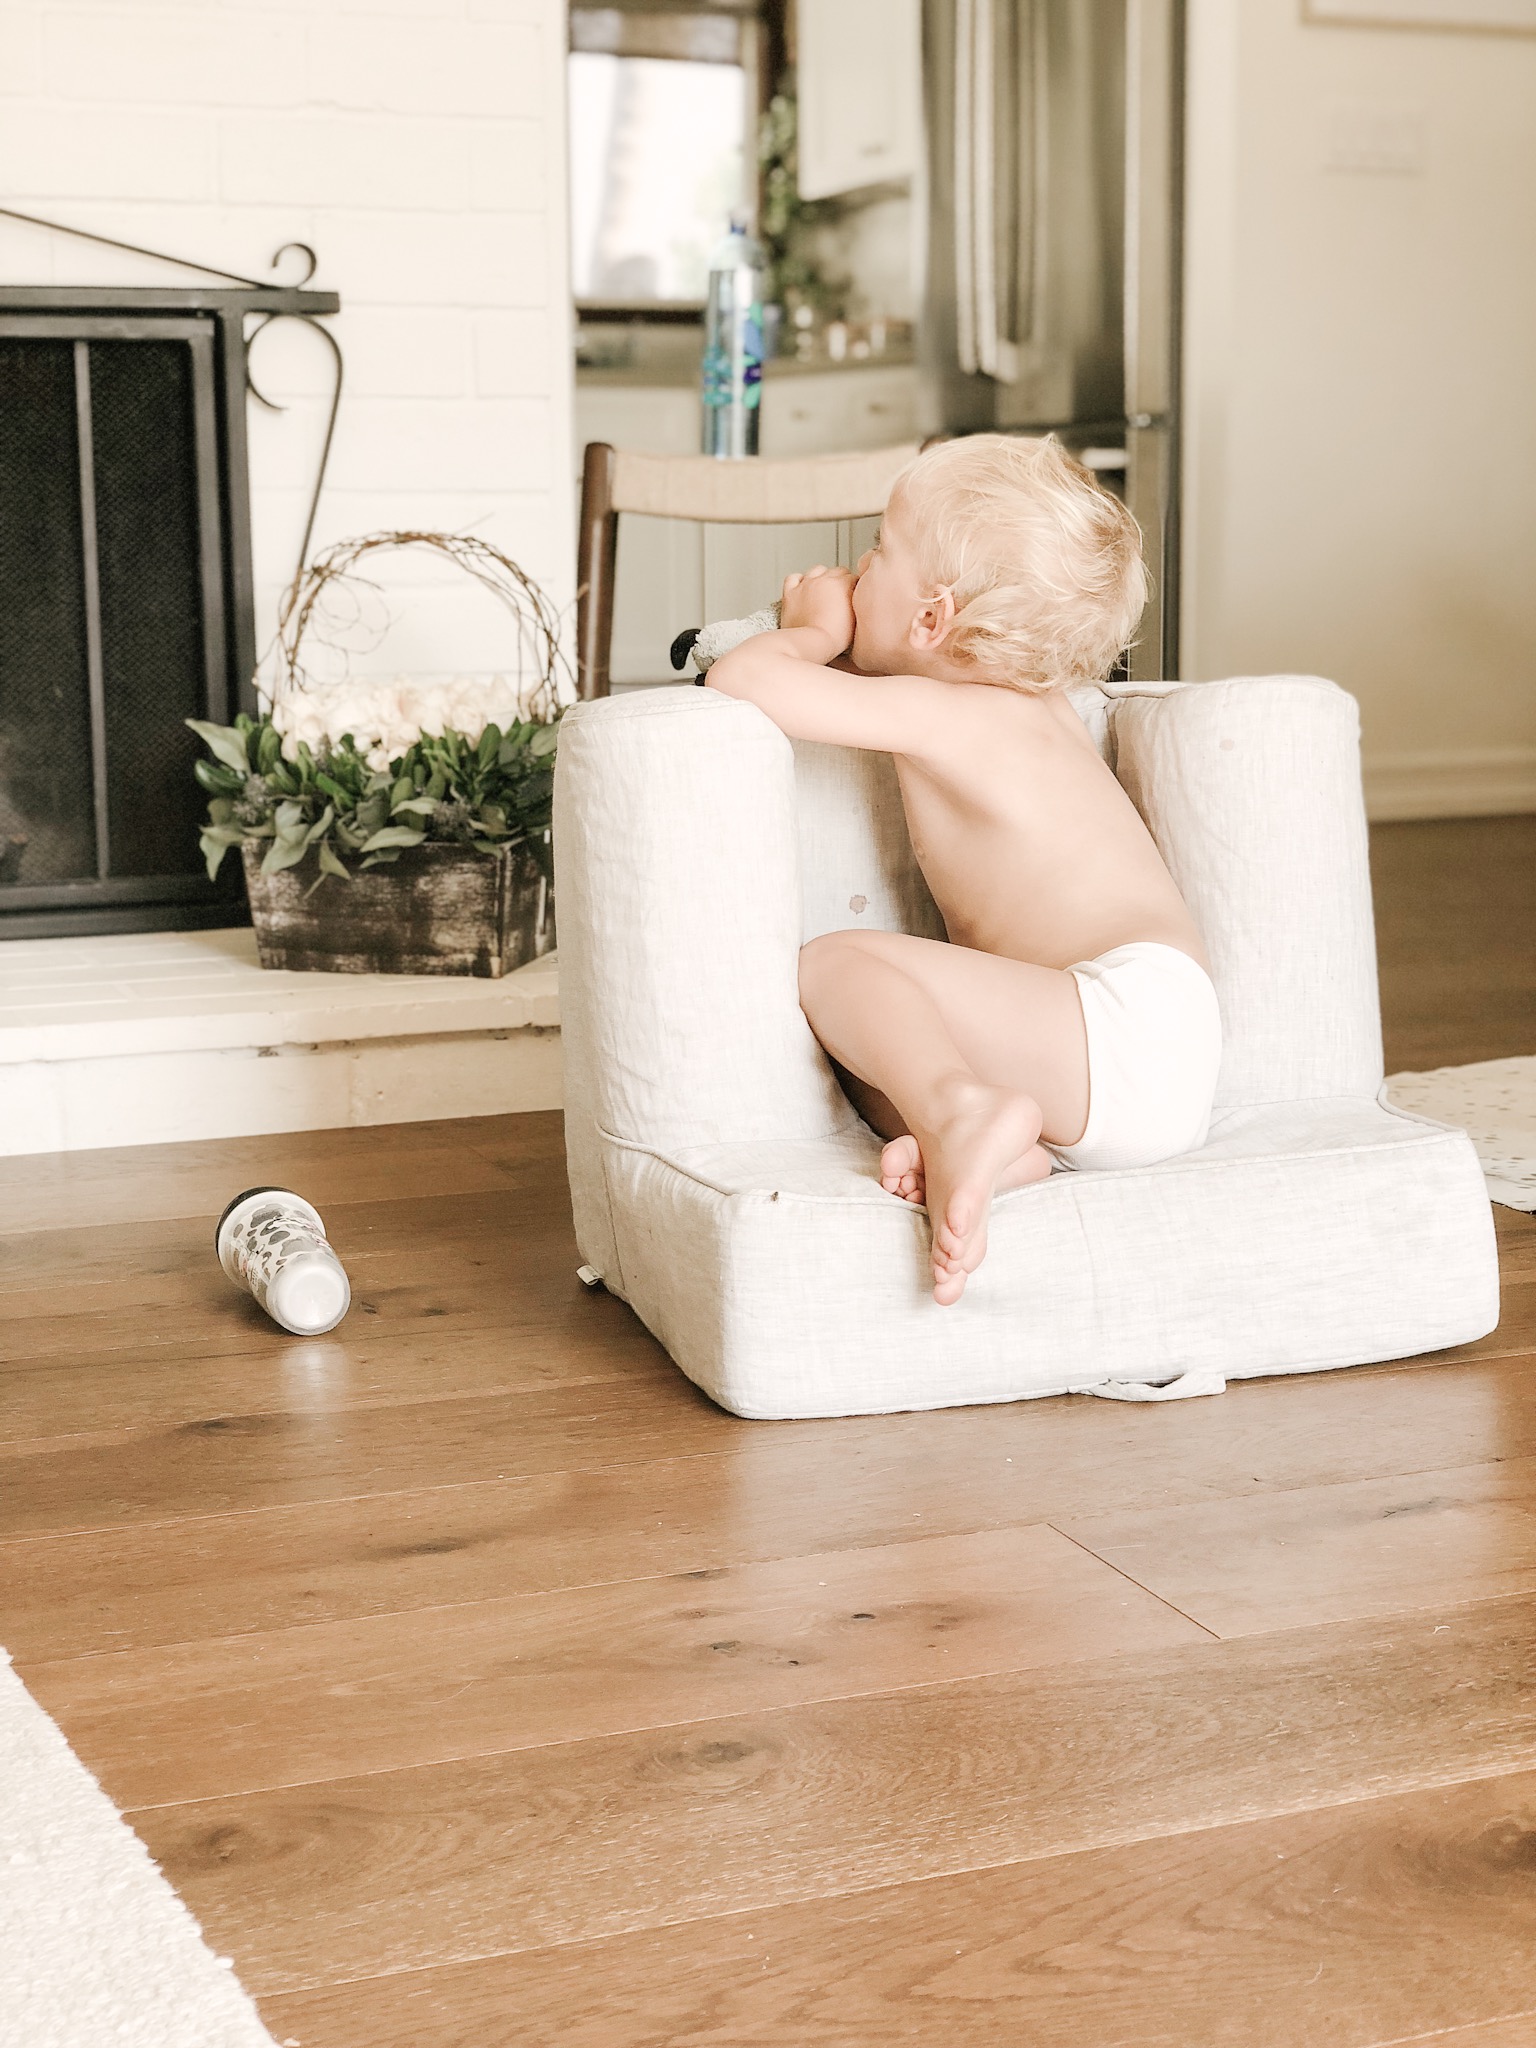
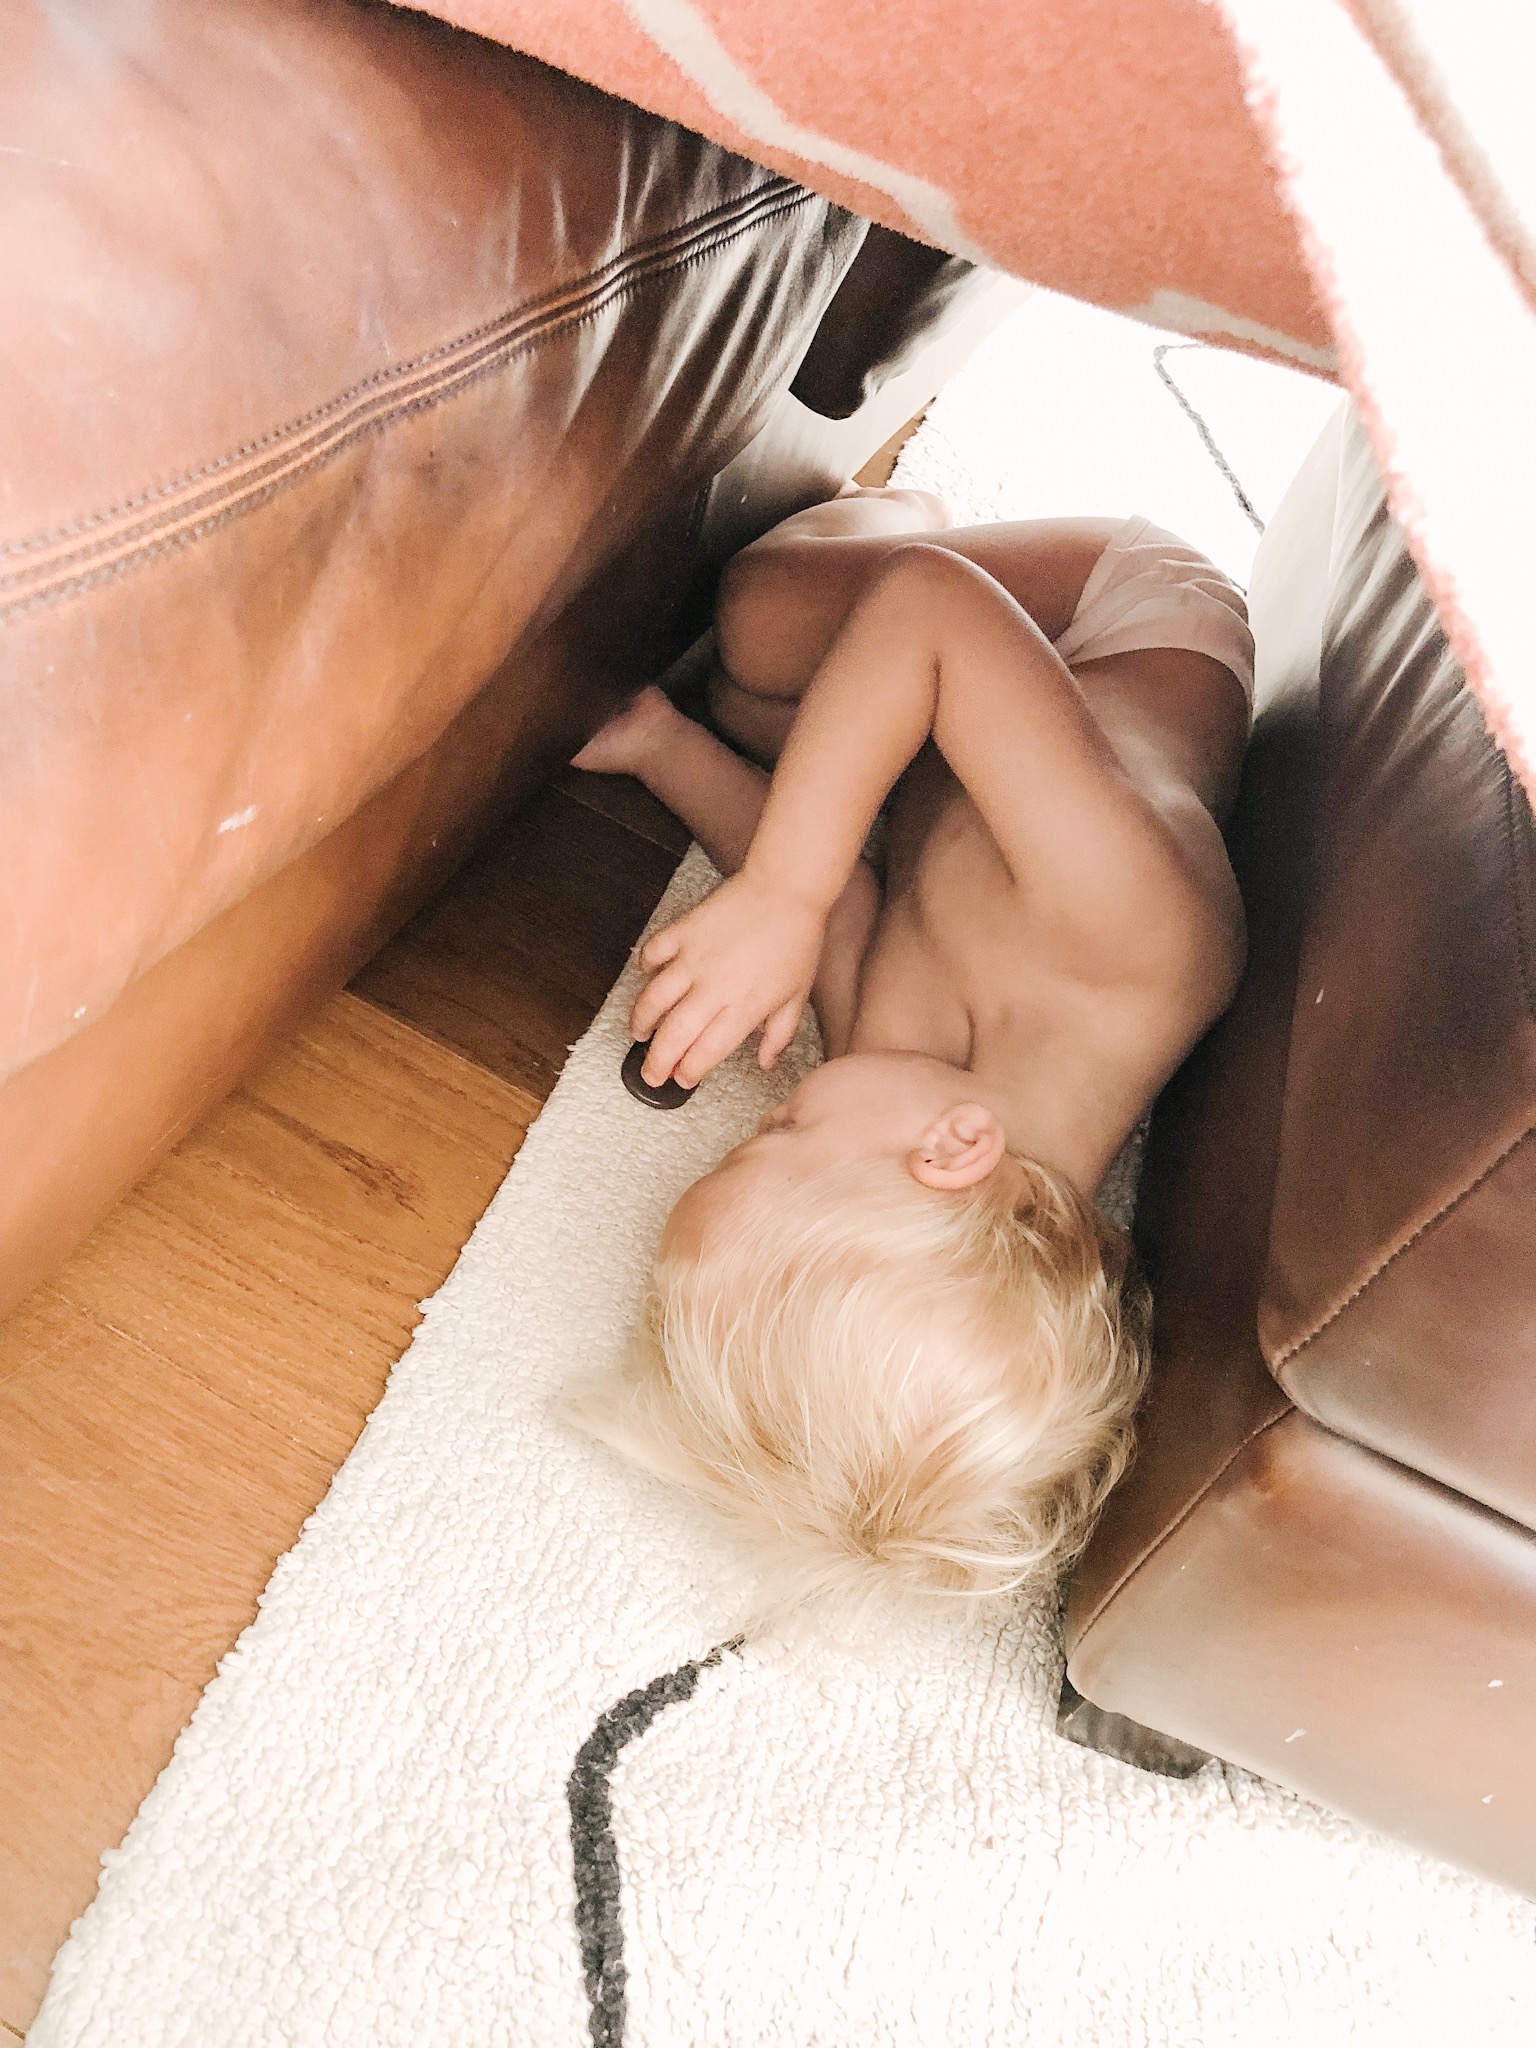
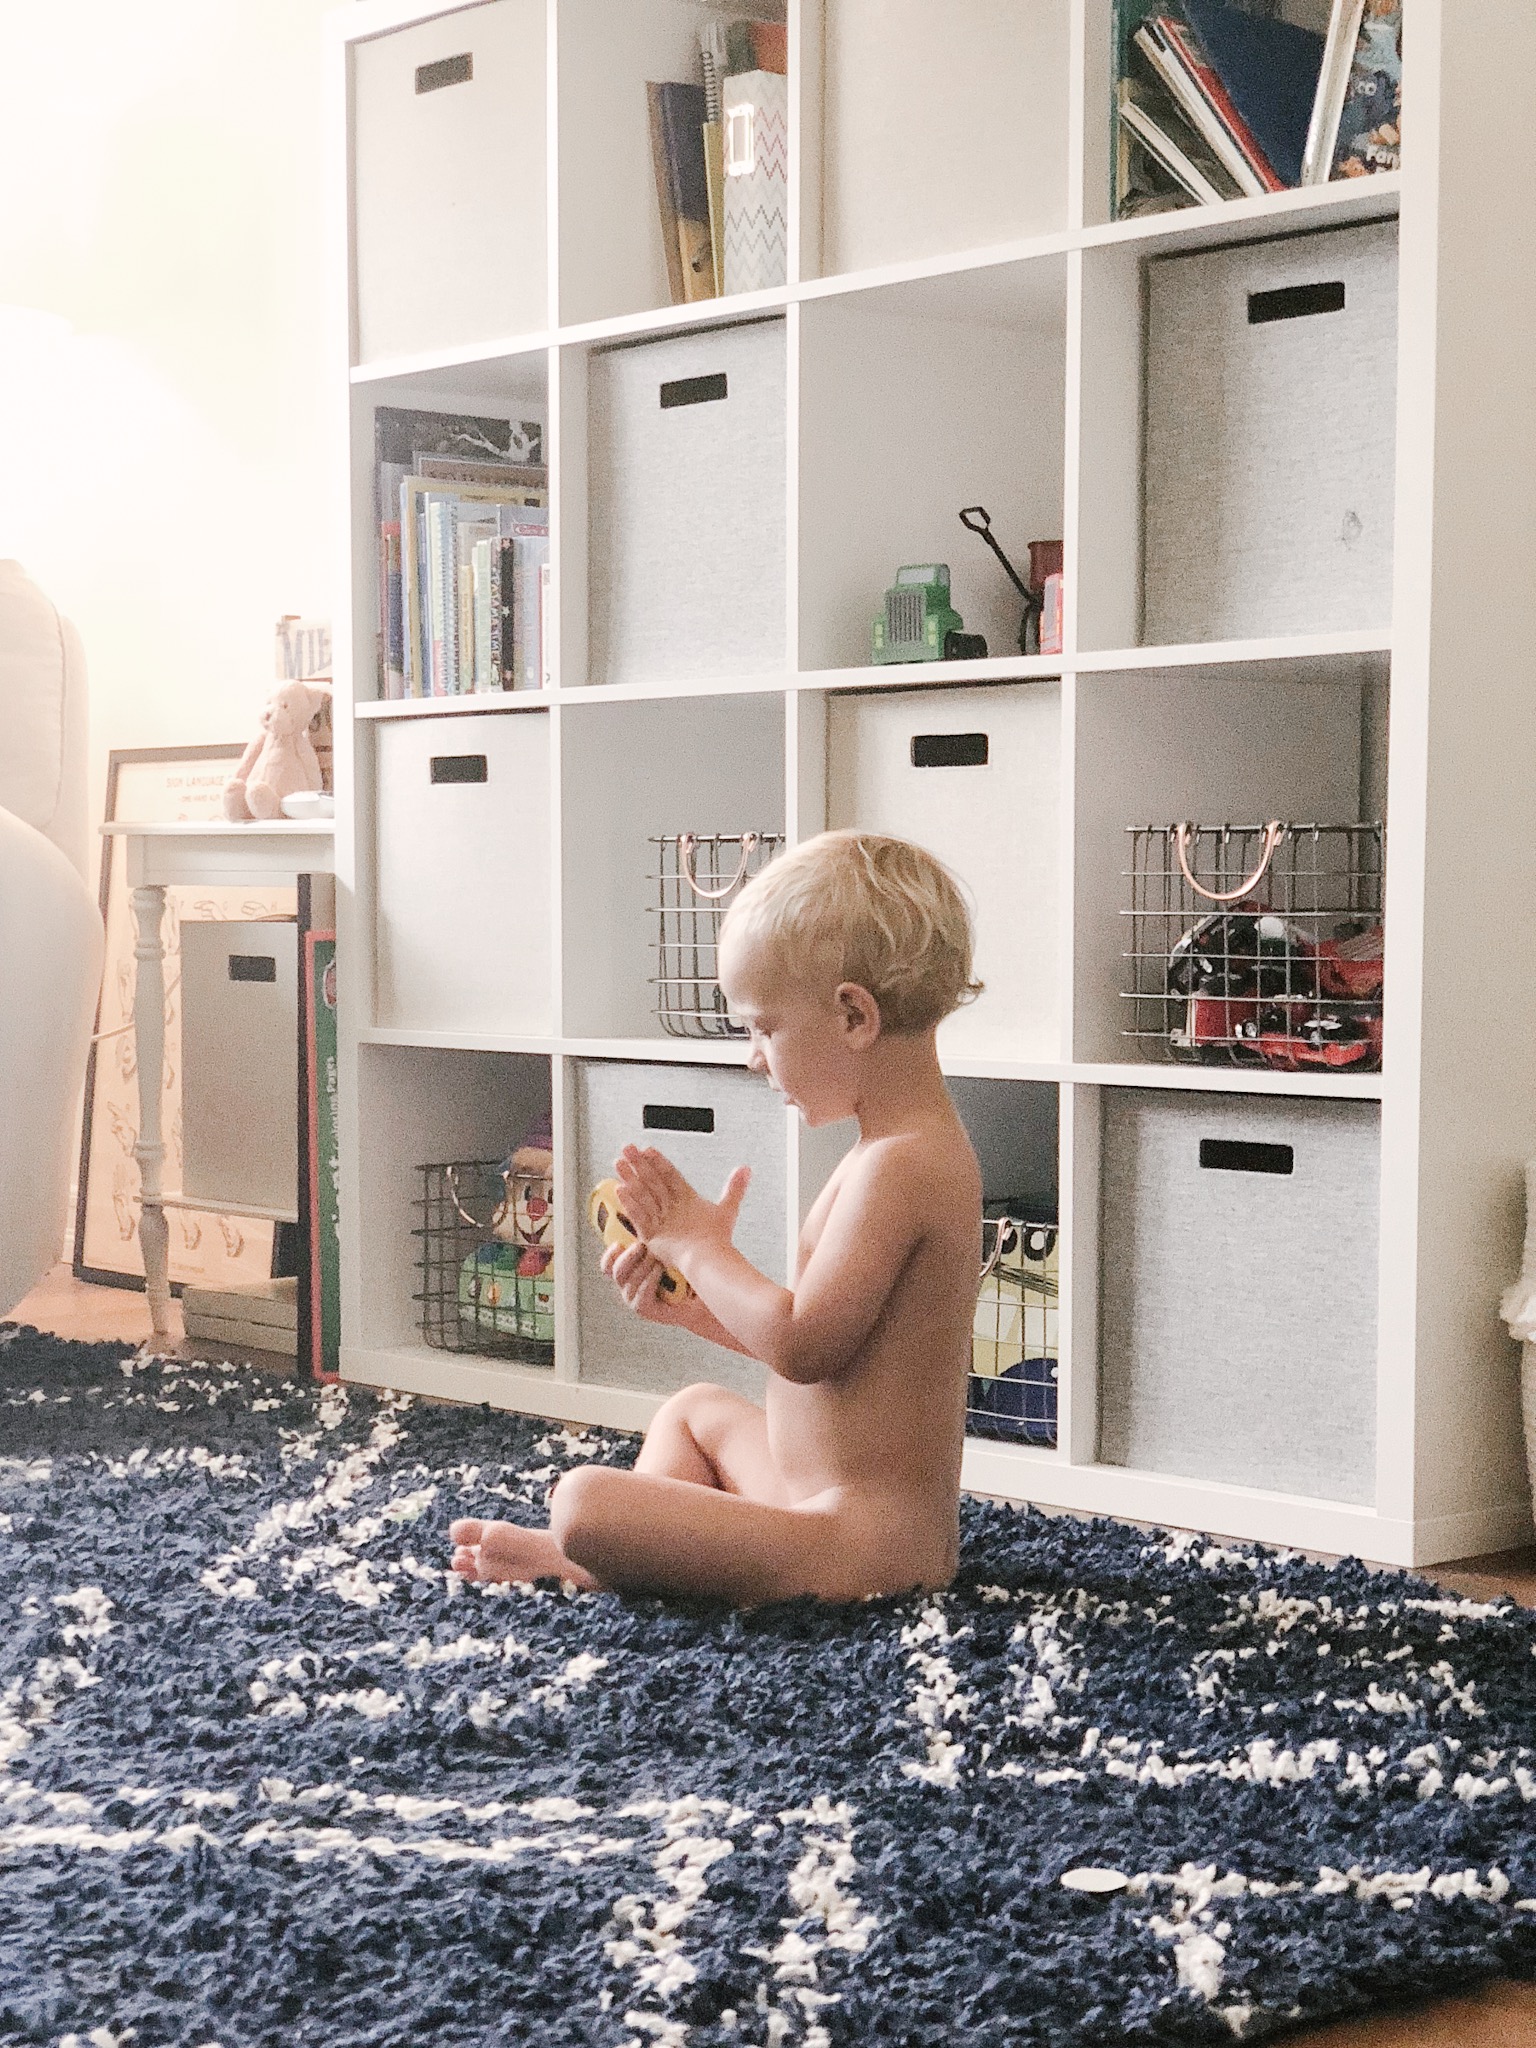
How I create a consistent aesthetic in my photos

If you haven’t already read my basic photography tips to create a curated style, it’s best to start here.

IMG_0413.JPG

How I edit my photos and the apps I use to create a consistent aesthetic in my Instagram feed

Favorite Apps

I usually end up using between 1-4 apps from start to finish when editing my photos before posting on the gram. I feel like I have tried them ALL, and finally found the ones that work the best and are quick and easy! Some of my favorites are Lightroom [free], snapseed [free], retouch [free] and unfold [for my stories] and VSCO [free].

photo editing apps.PNG

VSCO

After using VSCO forever, which totally worked to start with, I switched to Lightroom and I don’t think i’m ever looking back. VSCO has some really great one click filters you can apply and it’s a great place to start for beginners! Favorite filters are A6, M5, and I used G6 for a long time. You have the ability to copy and paste the same filter to multiple images at the same time, so this always helped plan a consistent style and easily edit blog posts that had multiple images. I still adjusted all the things even after I applied a filter so, you can use the same tips I’m sharing below from lightroom, in VSCO. Start by adjusting the strength of the filter and then focus in on the exposure, white balance [temperature], and HSL [color saturation and hue].

BEFORE

BEFORE

EDITED WITH VSCO A6 FILTER

EDITED WITH VSCO A6 FILTER

EDITED WITH MANDI NELSON PRESET IN LIGHTROOM

EDITED WITH MANDI NELSON PRESET IN LIGHTROOM

Even though VSCO’s filters are basically free [some you pay for] and presets can sometimes get pricey [anywhere from $30-$120 for bundles] I switched to Lightroom because I liked the professional preset options better, as it adjusted more things for me ahead of time. With VSCO I would spend so much time perfecting the tweaks because their filters just didn’t work on all my photos and sometimes a I just couldn’t find the right adjustments to make it consistent with my feed. Lightroom has presets made by professional photographers and I found they made more changes built into the preset that made it really easy to get a consistent and professional look to all my images no matter where or when they were taken. One thing I do like better about VSCO is you can edit the strength of the filter as a whole, vs in Lightroom you can’t adjust the intensity of the preset.

BEFORE

BEFORE

EDITED WITH VSCO A6 FILTER

EDITED WITH VSCO A6 FILTER

EDITED WITH MANDI NELSON PRESET IN LIGHTROOM

EDITED WITH MANDI NELSON PRESET IN LIGHTROOM

LIGHTROOM + PRESETS:

After 3 years and countless apps and filters, I found the easiest way to get a consistent style from all my images is to apply a preset in the Lightroom photo editing app. They have a mobile version or a desktop. I have both, but to be honest, I find myself using the mobile version 90% of the time, and it’s free!

I went through so many Instagram accounts to find the presets that worked best for me. I like a natural look with crisp, cooler feel with a hint of orange, less yellow and muted greens. If that makes no sense to you, don't worry, just find someone you like and try it out. You can give any preset your own stamp by adjusting things like the exposure, tint, temperature and color hues and saturation [skin tone]. It took me about two months to really start to understand what changes when I adjust what, but now I really think I’ve got it down!

BEFORE

BEFORE

EDITED WITH VSCO A6 FILTER

EDITED WITH VSCO A6 FILTER

EDITED WITH MANDI NELSON PRESET IN LIGHTROOM

EDITED WITH MANDI NELSON PRESET IN LIGHTROOM

Current Preset:

Mandi Nelson

I love how crisp and cool her's are-but I adjust the oranges and yellows quite a bit. [I'll show you how I use hers in a later in this post]. You should also go to her story highlights on her IG there’s a crazy amount of good tips on there and she reviews tons of FAQ’s about lightroom + how to use presets. Here’s just one example of how you can really have your own style, even when using a preset. Mandi’s feed vs my feed using the same lightroom preset still look very different because of our photography style and editing.

IMG_5040.jpg

Previous preset:

Jessica Janae

These are what I used for my first 3 or 4 installments of #thedailymoments and about 3 weeks on my Instagram feed.

Steph Pollock suggested her and uses her presets beautifully. You can see below the difference between my style and Stephs. It just shows you how diverse a preset can be and that by using a preset someone else uses, doesn’t always mean your images will look exactly like theirs. It’s all in how you shoot, the lighting, editing angles and how you adjust the presets.

Steph pollock IG feed.png
occasionally_perfect photo editing tips.PNG

Other Presets I love:

Jenna Kutcher

Jenna is a beautiful soul, excellent photographer and someone I adore! Her presets are perfect for the beginner because she gives you a ton of easy one click options that don’t need a lot of adjustments.

JennaKutcher presets IG Feed.PNG
JENNA KUTCHER PRESET EDITING TIPSJPG
EDITED WITH JENNA KUTCHER PRESETS

EDITED WITH JENNA KUTCHER PRESETS

Bethany M Poteet

Her presets make me feel like i’m sitting on a white sandy beach. Such a pretty and calm vibe.

IMG_4901.PNG
BEFORE

BEFORE

EDITED WITH BETHANY POTEET PRESET

EDITED WITH BETHANY POTEET PRESET

EmmyLowe x BurtsBriPlease

I mean, don’t you just want your whole house to look this crisp, clean and happy?

burtsbrispleasepresets.PNG

Sophia Elrae

If you want a moody or warmer fall vibes, love this mamas presets.

sophiaelraepresets.PNG
BEFORE EDITS

BEFORE EDITS

EDITED WITH SOPHIA ELRAE PRESETS - COOLSAGE

EDITED WITH SOPHIA ELRAE PRESETS - COOLSAGE

Adjustments to presets [lightroom] or filters [vsco]:

The first thing I do to my photos is apply my preset and then I adjust from there. I focus on 3 things, exposure [brightness], temperature [warm or cooler] and color saturation [skin color and landscape vibrancy]. I also adjust the sharpness or grain if the image needs it but not always, this is already done in my preset, so it’s one less step to edit.

First edit, add preset

First edit, add preset

Then adjust exposure + shadows +highlights

Then adjust exposure + shadows +highlights

Go into Color tab, and top right is the MIX where you can change each color individually.

Go into Color tab, and top right is the MIX where you can change each color individually.

I typically change the yellow to get rid of artifical light and then orange to adjust skin tones.

I typically change the yellow to get rid of artifical light and then orange to adjust skin tones.

Exposure

I almost always [ok, always] adjust the exposure. I try and take all my photos underexposed or not in direct sunlight so that I can adjust the brightness myself once it’s in the app. I adjust exposure right after I apply the preset and then also after I do ALL my other edits to the preset. I sometimes need to go back and lower it if it’s too bright and lost some contrast or brighten it if it is still too dark.

IMG_4438 copy.jpg
IMG_4446.JPG

Temperature

This can help take a blan photo to a whole new level, adds yellows and oranges [warmer] or blues and greens for a cooler feel. I don’t adjust this much anymore, I use the Color Mix to really change each color. But, it’s a good place to start before you get crazy learning the adjustments to specific colors.

Color Hue + Saturation [skin tone]

Thanks to @hellojessiemartin [she’s the best account to follow for really good photo editing tips] I learned all about this part of Lightroom and it’s really upped my photo editing game.

3 colors I focus on adjusting in my photos are the yellows, oranges and greens. Start with the color MIX tab.

yellow: Taking the yellow saturation down, gets rid of that horrible artificial light in most homes and restaurants and makes your images more white + natural [like they should be]. Practice this one with a bathroom shot. It’s amazing what taking the yellow saturation can do to your photo! If you take the luminance up, it makes them even more white and bright.

IMG_0613 2.JPG
IMG_0613.JPG

orange: this adjusts skin tones, this one you have to play with because it everyone has such different skin, it’s really up to you to see what works best for you. Use the color mix tab and adjust the saturation first, then hue to adjust the yellow, orange and red undertones in your skin. Mandi’s preset already takes down the oranges, so I usually bring them up a bit from where she has them.

IMG_4986.JPG
IMG_5020.JPG

green: this is mainly for my outdoor shots or images at home that have my plant babies in them. I take the greens down a little so that it doesn’t stand out in my photos. Grassy parks or front yards can get a warm touch to them if you take the green out of the photo a bit.

IMG_3406 2.JPG
IMG_3406.JPG

How I edit in lightroom mobile [step by step]

Here’s an example of an edit from start to finish. I snapped a quick photo of Finn on my iPhone X on a cloudy day. The lights weren’t on in the house and the front door was giving off some light behind him. Let me walk you through my steps in Lightroom.

IPHONE SNAP ON CLOUDY DAY -BEFORE EDITS

IPHONE SNAP ON CLOUDY DAY -BEFORE EDITS

EDITED WITH MANDI NELSON - MINIMAL PRESET + ADJUSTMENTS

EDITED WITH MANDI NELSON - MINIMAL PRESET + ADJUSTMENTS

STEP BY STEP

Import photo into Lightroom mobile

  1. Scroll the bottom all the way to the right - add PRESET [I click through each of my options to preview as some pictures look better with different presets to start with, but usually end up with EVERYDAY by MANDI NELSON].

    *Depending on what preset you use these next steps may not apply to you. My preset already ups the shadows and takes down some colors, so you can use my screenshots as reference where they are.

    [use the 3rd slide as an example- I took the oranges up to +24].

  2. Scroll to the LIGHT tab - up the exposure quite a bit, Don’t worry if the skin tones look white here, you will adjust the colors MIX tab later and this will help fix that washed out look on the skin. Sometimes I take down the shadows too.

  3. Scroll to the COLOR tab - on the top right, you’ll see MIX, that takes you into the colors so you can adjust individually. ORANGES - fix skin tone. Start with the SATURATION and then go to the hue until you find the tone you like.

  4. Still in the MIX tab - click YELLOW. Adjust the saturation until you get the walls or whites in your photo the way you like them.

  5. EFFECTS tab- personal preference but I like less grain in my photos, so I take that down a bit on MANDI’s preset.

  6. To finish - go back to LIGHT tab, and adjust your EXPOSURE again to make sure you don’t loose contrast when brightening too much.

THAT’s IT!

That’s how I edit my photos in lightroom using the MANDI NELSON preset, EVERYDAY.

ADD TO LIGHTROOM, CHOOSE PRESET TO APPLY

ADD TO LIGHTROOM, CHOOSE PRESET TO APPLY

EDIT LIGHT - UP EXPOSURE +TAKE DOWN SHADOWS [IF NEEDED]

EDIT LIGHT - UP EXPOSURE +

TAKE DOWN SHADOWS [IF NEEDED]

COLOR TAB - MIX [TOP RIGHT CORNER] ADJUST ORANGES [SKINTONES]

COLOR TAB - MIX [TOP RIGHT CORNER] ADJUST ORANGES [SKINTONES]

ADJUST YELLOWS - TAKE THE SATURATION WAY DOWN TO FIX ARTIFICIAL LIGHT

ADJUST YELLOWS - TAKE THE SATURATION WAY DOWN TO FIX ARTIFICIAL LIGHT

ADJUST THE GRAIN. THIS IS TOTALLY A PERSONAL PREFERENCE BUT I LIKE LESS GRAIN.

ADJUST THE GRAIN. THIS IS TOTALLY A PERSONAL PREFERENCE BUT I LIKE LESS GRAIN.

GO BACK AND ADJUST EXPOSURE AGAIN IF NEEDED

GO BACK AND ADJUST EXPOSURE AGAIN IF NEEDED

OTHER PHOTO APPS I LOVE

SNAPSEED -

Oh how do I love this app so much!

Snapseed not only can adjust the colors of your photos, but it can adjust parts of your photos, it can auto correct your perspective and it can even EXPAND your image if you didn’t take those two steps back before snapping like I suggested. I’ll work on a tutorial of how I use them next because I actually use this one a lit to change the angle, and perspective of my pictures.

RETOUCH -

The best healing app out there. When I say healing, I mean get rid of that lady on the beach standing behind the perfect capture of your little one, removing the tv wires from a photo or the telephone wires from a super cute shot of the family. This app is super easy and makes it easy to get rid of all the little things you don’t want in a picture.

UNFOLD -

Unfold is the app that takes your IG stories to a whole new level. Picture collages never looked so good! You can add fonts, background frames and even upload videos and images on the same slide.

I hope this helps! I have so much more I’ve learned over the last two years, so maybe I’ll make this photography tips thing a more regular occurrence. If you have a specific question you want answered, feel free to comment below! Can’t wait to hear if this was helpful or not.

#thedailymoments || week 7

My life seems pretty boring lately, but sometimes that's just what I need.  Slow moments just spent at home, no plans and without a schedule. 

morning light kisses with mom.JPG

These days most of us are living busy over-scheduled lives.  It's easy to lose track of the moments that really matter, which can often be the most ordinary parts of our days.   In the midst of all the responsibilities of our day, we need to remember to check in with ourselves so that we don't lose sight of who we really are and what is really important to us.   This series, #TheDailyMoments was started by my good friend @steph.pollock and as soon as I saw her first post, and when she said, 

It's these small moments that make up a lifetime of beautiful ones,

I knew this was something I needed to join in on.

morning light shining bright.JPG
potty training living room hangs.JPG
roses are red violets are blue toddler loves you.JPG

If I haven't told you enough yet, I am not a morning person.  If I had it my way I would lay in bed until 9, drink my coffee, listen to morning acoustic radio on Spotify and scroll the gram or pin all the things.  But as any parent knows, once you have kids, you say goodbye to all things slow in the morning. 

Finn has been waking up about 6am without fail these days, and he is READY to go.  He rolls out of bed, stands on his bed and opens his blinds (the half almost breaking them way) to see if the sun is up, which obvi it is [insert eye roll emoji].  Then he grabs all his favorite stuffed animals, turns off his sound machine, walks to his door and as he exits turns on his light, the hall light and everything else in between before barging into our room asking, "Mom, where's dad?"  
But this morning was different. [you should know we potty trained him almost 6 weeks ago, but it isn't perfect yet].  This morning, I heard the blinds, I heard his door open and then as I waited for our door to open, I heard his little run down the hallway instead.  I waited a few minutes to see if I heard him playing in the playroom, or getting a yogurt from the fridge [which generally comes after the "mom, where's dad part"] and I didn't hear any of that.  I laid there wishing that maybe, just maybe he went back to bed, but then, I get worried with the silence, and finally jumped out of bed.  Just as I walked down the hall, I heard him say, "Mom stay out!"  He was in the bathroom, undressed mind you, and had his diaper halfway off about to use the potty ALL BY HIMSELF!!  Say what?!  You heard me.  He got out of bed, went to the bathroom, took off his diaper and pooped on the toilet, without my help!!  Hallelujah! 

I promptly demanded a cookie at 6:03am and stormed off saying, "I don't need pants!" So please excuse the fact that all of the following images are mostly either in his underwear or naked.  That's life and I didn't feel like fighting him today. Xx Oo little man, you win.

pillow fort playtime in the living room.JPG
pillow fight.JPG
Daisy girl Sheltie dog.JPG
cuddle session with mom.JPG

Typical Day at the Wells casa includes Paw Patrol, Booba on Netflix or a Disney movie;  Bolt + Chicken Little are currently on repeat.  While Finn eats his breakfast, I either drink my tea, do the dishes or follow up on emails.  Sometimes I edit photos or plan my future Instagram posts for the week.  [Yes, not all of my posts are spontaneous, most of them are planned days in advance and I adjust the captions for my mood that day].  Today, after we built forts and then tore them down, we headed to the playroom and I shopped for Finn's new playroom makeover while he basically tore everything apart and hid all his toys in his wall storage thingy.

I cant wait for the new space because most of the stuff that's currently in there is from his first nursery almost 3 years ago!  The new room is going to have all the Bohemian Oasis feels with lots of natural colors and organic textiles.  I already ordered this awesome green velvet futon and this storage ottoman that will double as seating and toy wrangling.  I can already picture him having playdates with his friends and finding them building forts and falling asleep in there.  I'm working on an inspiration board blog post for the space and when it's done, I'll insert it here. ;-) . But for now, here's a sneak peek.

playroom turned workspace.JPG

side note: If you haven't looked at H&M home, you're missing out.  But be warned, check the sizing!  I order things thinking they are life size, and almost every time they come looking like they belong in a dollhouse.  But, we've gotten tons of great things from there!  Ordering this cute cutting board for Finn's Ikea Kitchen makeover hack cause I know it will be the perfect "small" size!  

Playroom storage.JPG
toddler playroom.JPG

When all my chores are done and I'm done working for a bit, I usually try and get Finn outside before naptime.  We go back and forth from the front yard to the back, from paying soccer, jumping on the trampoline and playing in the "pool."  [Husband refuses to get a small pool because he is afraid of the mold].  I know, I know...

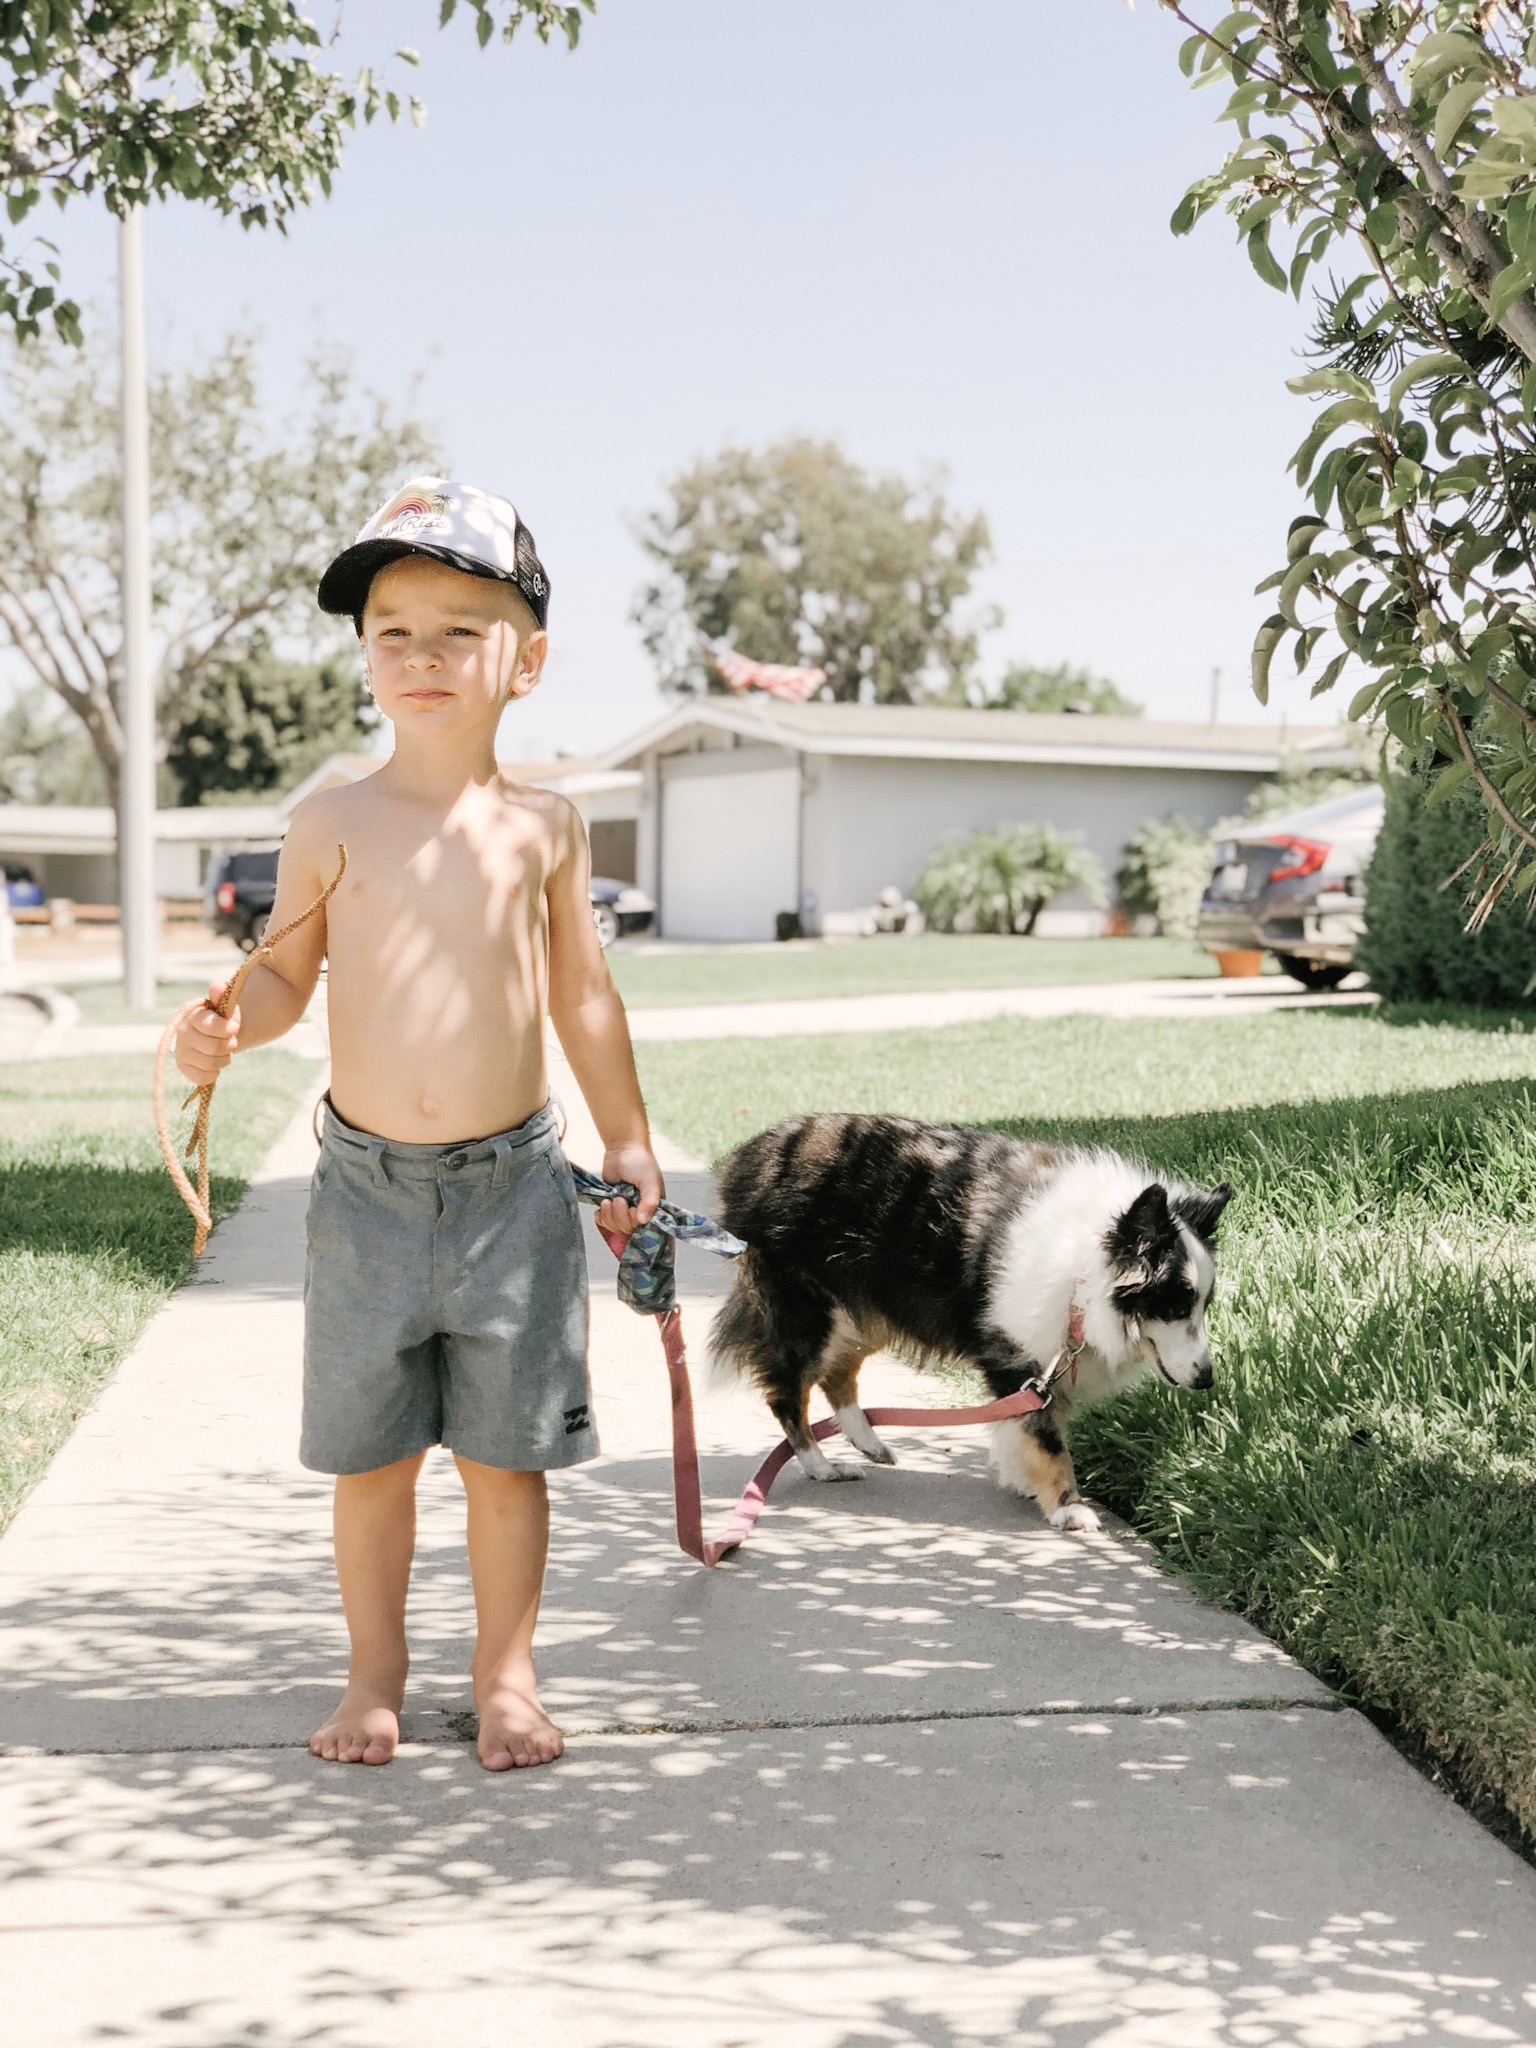
Today, Finn asked to take our 13 years old girl, Daisy for a walk.  And so we did.

toddler walking sheltie dog.JPG
selfie with mom in our messy entryway.JPG
california kids patio decor.JPG
mom lets play baseball.JPG
let play baseball kids playing.JPG
ceramic art for the yard.JPG

These ceramic mushrooms came from a little artsy fair in Laguna Beach called, Sawdust.  Have you guys ever been??  When I met my husband, he was living in Laguna Beach and I was in Manhattan Beach so every year when I came to visit we would go to this art fair.  The lady who makes these has been making them and  selling them at the fair for years.  The first couple of years we went, we would say to each other, who buys those?  This year, the year we bought our first home in southern California together, we went back and we both said, let's get those!  We decided to get one for every year we visit the fair from now on and I can't wait to fill our new home with a bunch of these little mushrooms!

backyard potty training.JPG
patio littered with little ones littles.JPG
at the car wash kid style.JPG
splashing mom and saying sorry.JPG

I've said it before but i'll say it again, Daddy is the fun one!  He jumps on the trampoline with him, he runs around the house with him and he even let's him use the hose.  I tried to be the fun one today and let Finn help me fill up the pool and then I turned around and found myself the target.  Drenched to my knees in water, it was finally nap time!

The first thing he does when he wakes up from nap time is ask where Daddy is, and runs outside to see if he's home.  He usually helps him take off his shoes and changes his clothes and before I know it they are back in the backyard playing the pool again!

kids climb the weirdest things.JPG
daddies little mini me.JPG
tiny water footprints.JPG
so cal toddler loves the water.JPG

Some days I want to keep him up all night and play and other nights I can't wait to get through bath time and get him to bed to I can have a cocktail and a real dinner that he wouldn't even think of touching.  Tonight we had caprese salad my way, and my favorite homeade margarita with fresh lemons and limes and a splash of squirt.  So good.  And that's how we do it over here at #thewellscasa. Goodnight.

toddler and his sheltie dog.JPG
bathtime bubbles.JPG
caprese salad foodie goals.JPG
after bathtime hallway run.JPG

Just as Steph did, I am inviting you to do the same, join us in this movement of letting life be more enjoyable just by letting it be exactly what it is.  Tag your photos with #thedailymoments so we can all share in the joy of the simple moments that make up a lifetime of happiness.

The Daily Moments || Week 1

The Daily Moments || Week 2

The Daily Moments || Week 3

The Daily Moments || Week 4

The Daily Moments || Week 6


#thedailymoments || Week 6

#thedailymoments || Week 6

backyard naked booty hanging.jpg

These days most of us are living busy over-scheduled lives.  It's easy to lose track of the moments that really matter, which can often be the most ordinary parts of our days.   In the midst of all the responsibilities of our day, we need to remember to check in with ourselves so that we don't lose sight of who we really are and what is really important to us.   This series, #TheDailyMoments was started by my good friend @steph.pollock and as soon as I saw her first post, and when she said, 

It's these small moments that make up a lifetime of beautiful ones,

I knew this was something I needed to join in on.

kids toy giraffe.jpg

This weeks recap might sound a little scrambled because that's exactly how my brain feels currently.  Today was a day to just go slowly, breathe and do only what I was capable of doing at the moment.

I took these pictures on Wednesday.  We had our first fertility appt the day before and my best friend, Debi's funeral is on Saturday.   Needless to say, my brain has been working overtime.  I know i've been stressed to say the least but yesterday at the doctor, my blood pressure was higher than it's ever been, even when I was in labor with Finn.  It was 165/101.  That's ridiculously not normal.

snuggle sessh with the stuffed animals.jpg
meltdown city.jpg
living room dance party with mama.jpg
potty break.jpg

I tried to not stress by having a super slow morning, just Finn and I.  Daddy wakes up at 4:30 to head to Orange Theory, and he comes home to shower around 6am.  Right about that time Finn wakes up ready to go, and I am positive [no matter what Jason claims is "quiet"] that he is woken up by the loudness that my husband is when he gets home.   You see, I am N O T a morning person.  Maybe it's because I never drank coffee, but I do not roll out of bed ready to go, so this 6am wake-up call usually doesn't work for me.

So basically, Finn runs into the kitchen demanding I get up and get him some "lunch."  I cuddle on the couch and hope he comes to cuddle me too.  Sometimes I win, and sometimes I find myself in the playroom at 7am.

We turn on music, we dance, we play outside and I usually get to make myself some tea and breakfast around 10am.  Today, we spent most of the morning outside, played in our "pool" and looked up at the sky as my ray of sunshine Debi shined down upon us until about 11:30 am when it was time for a mommy break [screen time].  

golden coil planner.jpg
mamas coffee break at 10am.jpg
hide and seek in a pillow fort.jpg
makeshift bathtub.jpg
human jungle gym.jpg

Today I was tired.  Mentally exhausted from my visit to the fertility clinic and the anxiousness about what is to come this weekend. I wanted to spend my nap time actually taking a nap, but Finn had other ideas.  He usually goes down at 1pm and today, he took one full hour to calm down and get to sleep.   

IMG_9880.jpg
screentime while we make lunch.jpg
rainbow light prenatal vitamins.jpg

It was beautiful outside, the first day that I felt a little breeze and not like I was going to melt.  So, I went into the backyard, plopped my feet up and closed my eyes while soaking in all that vitamin D.  Just as I felt myself nod off, my phone rang.  It was my other best friend, Cara and we ended up talking for almost 2hrs. As much as I thought I needed sleep, I needed this girl talk more.  Feeling refreshed and motivated, I started the dishes just as Finn walked out from his nap, "hi mommy!"

toddler bathtime.jpg
kids at nordstrom.jpg

Daddy called and asked us on a dinner date to Nordstrom because his alterations were ready to be picked up.  I scrambled to finish cleaning the kitchen and quickly showered [of course, not alone] and we were on our way only 15 minutes late.

dad and son at nordstrom.jpg
IMG_4783.jpg
IMG_9921.jpg

We came home and I think we both needed a moment as a family to smile and play so we kept Finn up past his bedtime, drank wine, listened to music and enjoyed these last few warm moments of summer nights.

son helping daddy with trash duty.jpg
trampoline with dad.jpg
kisses for daddy.jpg
no bedtime during summer.jpg
summer nights backyard hangs.jpg
IMG_0036.jpg
IMG_0022.jpg

It's been almost two weeks since I lost my dearest Debi.  Since then, I have dedicated this weekly series to her.  Even though she isn't here with me, I can write these journals in her honor and hope that she's up there reading them with her signature eye roll and a smile.

Dear Debi, "I don't know when I will be able to function on a normal level again, I'm sure I will spend many more days looking up at the sky and talking to you and wishing you were here. But, I can promise you this, not a moment will be wasted on loving this oh so beautiful life in honor of the joy and happiness you brought into my life and to Finn's life.  We will honor you by truly loving every breath we take; the good, the bad and everything in between."

These are small moments of our day, exactly 2 weeks since you left us. I miss you and I love you. 

IMG_8125 2.JPG

Just as Steph did, I am inviting you to do the same, join us in this movement of letting life be more enjoyable just by letting it be exactly what it is.  Tag your photos with #thedailymoments so we can all share in the joy of the simple moments that make up a lifetime of happiness.

The Daily Moments || Week 1

The Daily Moments || Week 2

The Daily Moments || Week 3

The Daily Moments || Week 4

6 photography tips to create the perfect Holiday Cards

6 photography tips to create the perfect holiday cards

A huge thank you to Snapfish for sponsoring this post.  I received a credit towards my holiday card order in exchange for this review.  As always, I only share products I truly am obsessed with and all images and opinions are my own. 

Use code HEIDI40 at checkout for 40% off

AQ1A0039.jpg

The moment you go to your mailbox on Nov 30 and receive your first-holiday card, a state of panic comes over you.  How can I be so late? I don’t even have my pictures taken yet!?  Here in California is stays warm through those fall months and we don’t get snow so it’s easy to not get that holiday spirit early on.  

I do have to admit, even though a whole new level of envy and anxiety sets in when that over-achieving Mom sends me her cards that early, it does get me excited about the holidays.

AQ1A0441.jpg

I rarely check my mailbox, until December rolls around.  It’s true, nothing good comes from that metal tin until Christmas cards begin to arrive.  There’s nothing like receiving a picture filled card from friends and family during the holidays.  Am I right?  

So you start to think? What picture will I use? What will we all wear? What location has the perfect landscape? How can I make this year's card perfect?  All good questions but the truth is, you don’t need perfect, you just need to be you. 

AQ1A0183.jpg

Holiday cards are a way to celebrate all the good things this year has brought as you get ready for the new year. Sending seasons greetings to the ones you love, having that personal connection with a picture of you in their mailbox, let’s you share this year's joys with your friends and family.  Whatever goodness came this year, whether it is a new marriage, new home, job promotion or even just celebrating a good year, Christmas cards are something everyone looks forward too.  Luckily, you still have time to get that memorable Holiday card out that snags the front space on everyone’s fridge this year. 

Here are 6 photography tips to create the perfect holiday cards this year:

1. First things first.  Hire a professional to do the job.  Yes, iPhone photos are amazing these days and print beautifully and if you happen to have one of those right place, right time amazingly candid photos in your camera roll to use, USE IT!  Totally acceptable.  However, many of us, including yours truly, take 27 candids all of that perfectly curated shot only to scroll through and delete them all.  If that’s you, here’s why you need that professional. These cards may be keepsakes for grandma and grandpa or Mom and dad of their little ones each year, so you want these images to stand out.  If you're like me, we only do one family photos session a year, and this it, so hiring someone who knows what they are doing really is necessary.

IMG_3762.JPG

2. Don’t wait for a snowstorm or the perfect sunset to take those images.  Little known fact, I believe the best lighting is a cloudy day.  It brings this whole soft and ethereal feel to the photos if you ask me.  Bright sunny days, are hard to shoot in.  They cause shadows and nobody wants to be overshadowed by a shadow, right? [hahah]. Truth be told even though I love a cloudy day shoot, I dream of one day taking my photos in the rain,  you know, all The Notebook circa 2004 style.  All I’m saying is the pictures aren’t made by the perfect weather, they are made by you, the perfect people. 

AQ1A0166.jpg
AQ1A0218.jpg

3. Find simple and beautiful backdrops in your neighborhood. You don’t have to drive an hour away to stand in a winter wonderland or get all sandy at the beach [although I love a good beach scene] to get the perfect holiday image. Go the minimalist route and find a white wall to stand in front of or stop by that empty field you drive by on your way to work, or that brick wall down at your local mall, that’s the best one! Just find a blank canvas, grab your family and shoot.  Then you can choose from about 1000 designs on Snapfish to make your card pop. 

AQ1A0087.jpg

4. Use the same color palette but don’t be matchy-matchy. Nothing says Sears family Christmas cards like a family all dressed in white shirts and jeans, so, don’t do that.  Here are a few tips on styling your outfits: Pick 3-4 colors [no more than 5] and stick with those. Start with one person's outfit, probably your own because that’s easiest. Try and add in one print to bring it all together.  Add some texture with a scarf or vest.  And most importantly, be comfortable.  The last thing you want is to be fidgeting with your sleeves or pulling down your shirt throughout the whole shoot.  Nothing ruins a photo like you tugging your dress down in every photo. 

AQ1A0282.jpg

5. Embrace perfectly imperfect. We’ve all been that person.  The one who spends hours on Pinterest looking for the right outfits, the right backdrop, and the right poses for our family photos. Oh wait, that’s probably how you ended up here.  He he.  Well ok, so maybe your that person who’s more concerned with telling all your family members to look at the camera, or smile, or "look happy everyone."  And then all your images end up with your mouth open or your finger pointed covering your kid's face. Well here’s my number one tip, skip the perfectly posed, and go for the I’m having the best day of my life look.  Some of my most beloved images are ones where no one is looking at the camera.  It’s those candid, heartfelt moments and emotions that are snapped in between takes that are my favorite and those can’t be planned. 

AQ1A0249.jpg
AQ1A0051.jpg

6.  Don’t skimp on the quality of your cards.  I’ve tried several companies over the years and abandoned some once I saw the flimsy paper or poor image resolution.  This year I used Snapfish and I was super impressed by so many levels. I’m not super good at sending photos to family members with updates, so my holiday cards are the only keepsake they’ll have.  We didn’t even send a birth announcement for our first child because I just never found the time.  [It still bugs me I missed that] so, ever since then I’ve been determined to do one photo shoot a year and it’s for Holiday cards.  Needless to say, since this card is the only thing I send all year, the quality needs to be good.  Photos printed on good paper, don’t have to be expensive or take forever to get.  Snapfish has tons of designs, and cardstock options and they get the job done in a couple of days. 

AQ1A0363.jpg

Lastly, don't take this process too seriously.  These photos should show your playful and happy side and if you make this a stressful event, it will show through in the photos.  Have fun, play around, have a tickle fight, throw your little one in the air and laugh, and you'll end up front and center in everyone's fridge this year.  

AQ1A0235.jpg


With Snapfish you have so many great layout options including these gold foil cards I chose.  They offer fast shipping for your procrastinators like me too.  And to save even more time, you can have you return address printed for free.  I won't be using any other company besides Snapfish from now on for all my card needs.  USE CODE HEIDI40  for 40% off your order.

9D8E0971-6A1D-416E-A85C-6555515F4530 2.jpg


PC: @ameliaprotiva


This website contains some affiliate links to products that we use and love. A very small percentage of purchases made through these links goes to help support our family in a small way. Thank you for following along.

A family trip to the Museum of Ice Cream | San Francisco

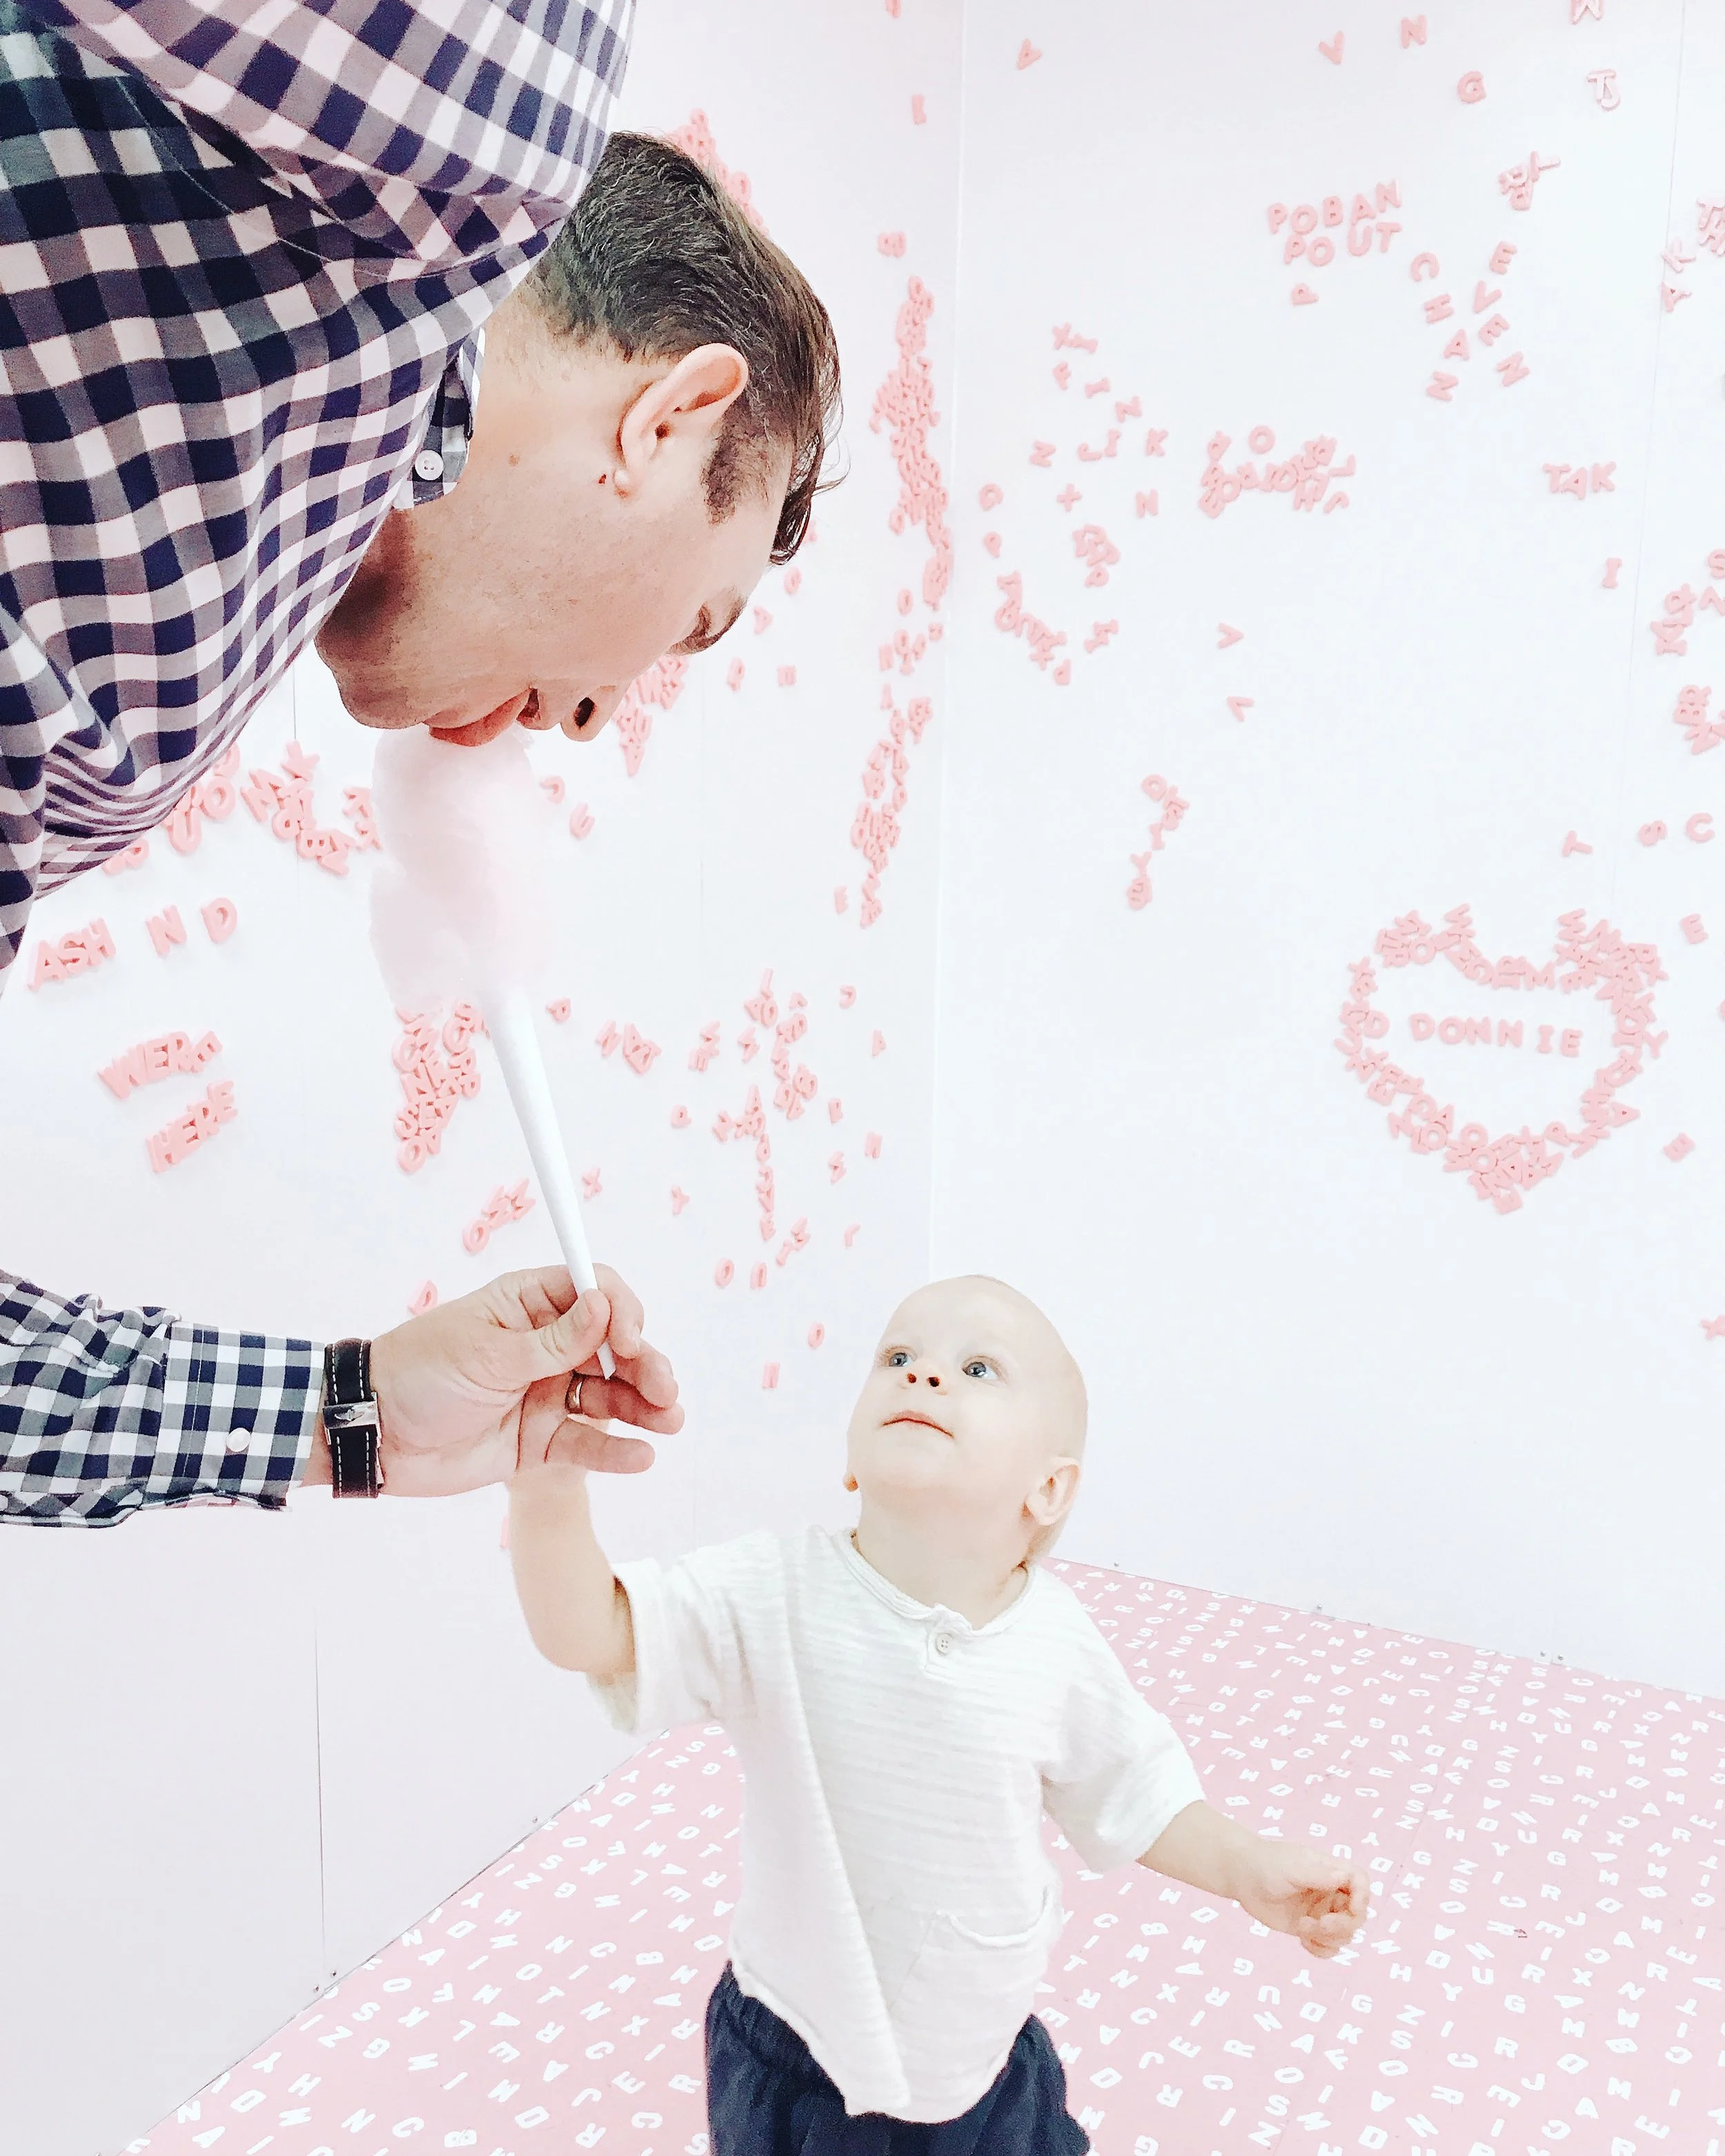
Today I'm blogging all about that one time I found myself in a pretty spectacular museum that’s 100% kid friendly.  We spoke to the Co-founder who told us he built the museum with the hopes to inspire children to love art in a magical way.  The Museum of Ice Cream lives up to all hype and more.  I'll share my tips on how I scored tickets, what to bring (and not bring), my favorite rooms, and how long it takes to fully explore everything behind those pink walls.  Also dumping a large amount of super fun and frame-worthy photos so, enjoy friends!

2CE4AA38-1BB4-4323-AEA2-D99270711B12.jpg

Two things:
One, my favorite color is white.
Two, Vanilla ice cream is the most popular ice cream flavor, which happens to also be my favorite.  My grandpa taught me young, the best way to eat it is smothered with maple syrup.  Don’t knock it until you try it, it’s delicious.

22DDC9E3-C6B1-4842-8E2B-39AD20F7C43A.jpg
C9CE1FC6-BE99-46A1-89E9-72D54D97E161.jpg

Being from LA I still have a ton of friends down in that area, and last year my feed was full of yellow banana swings, pink cotton candy walls, and pictures of smiling friends in a blue pool filled with rainbow sprinkles. So, of course, I needed to see this for myself.  I planned to go next time I was down in southern cal and then found out they were sold out through forever.  Yup.  Forever.

A131FDF1-4131-4901-868E-58A00F5A834E.jpg
7CDB5310-EF37-4F80-BEEC-FF518CA2F0B4.jpg

When I found out they were building one in San Francisco, I quickly made this my lifelong quest to get the golden ticket to the modern day Willy Wonka Factory.  I got on the email list, I stole (well, borrowed) my husbands platinum Amex and I set my alarm for the pre-sale date.  They offer the first tickets to Amex holders only, and then to the general public after two days. Basically you get an email the day before letting you know the tickets for Amex holders will be available at 9am on X date.  I set my alarm, called the number at 9:02 am, sat on hold for a few minutes only to hear a recording telling me they were sold out and to call AMEX directly.  While on hold I went online and I was able to book them that way.  So skip the call and just be ready to book online the moment tickets go on sale.

It wasn't an easy task, but I got two tickets on a Thursday in September.  Now, the SF location is sold out until Feb of 2018. But you can get on the email list to see where their next location is happening.  I think they have one in NYC that sold out 30,000 tickets in 5 days!  When you buy your tickets just be ready, I wasn't at all prepared.  You have to list the names of who's attending ON THE TICKET, so know who you’re going with and know their schedule.  You also have to pick a specific time on a specific day AT THE TIME of purchase.   Lots of good time slots get taken first, so have a few dates that work for everyone prepared.  If your dying to attend TMOIC you must be flexible with your dates and times.  Like most things everyone is dying to see, it isn’t easy to get into.

B500C67B-5693-4CAF-8BB8-793D3EBE8DD9.jpg
C1A9350C-44DA-4F71-B786-212271EA9B5A.jpg

We went on a Thursday at 2 pm.  The building was inconspicuous until you saw the bright pink banner and pink velvet robe directing a line of people to the glass door with the bright pink wall behind it. We didn't wait in line long, just until a small family showed up behind us.  They take you in, in groups, every 10-15 minutes or so.  You move from small room to small room, and you can stay in each room as long as you want, you just can't go backward.  They told us it would take about 45min to an hour depending on how fast or slow we go through each space.

C5C3C9B3-8311-476A-AACB-C80B10895C7D.jpg

At the first stop, we are greeted by what I will call a very seasoned Disneyland employee on steroids.  The brightest, most cheerful humans I've ever come in contact with. She shouted at us, "Before you enter, you must think of a team name!"  Now, for the record had I known I was was going to be traveling with the group I got in line next to, I probably would have planned this better. [take note- whoever your grouped with at the entry, is who you’ll be with for your entire experience and all your pictures]. Don't get me wrong, our group was great, but it consisted of an 80 year who was coming to the museum alone, she definitely didn't expect this type of museum experience, I guarantee that! And a small family of 3.  Two brothers, a sister and one of their small children.  She must have been 8 or 9 and they were in their 40s.  White washed jeans (not the fashion-y kind) and t-shirts they've probably had since high school.  The little girl shouted, "Sour gummy bears!"  The lady jumped with joy and said, "I love that on my ice cream, it's the perfect topping and team name.  You all may now enter the museum of ice cream!"  Jason looked at me with a concerned look on his face.  He isn't the biggest fan of crowded places or loud people; nor is he a fan of Ice Cream.  (He's that guy who eats the rainbow sherbet) but he loves me, so in we went.

C46DAA52-07C2-42B7-B911-574A01991D6D.jpg
72F82278-AACD-4973-AC4F-C19C8B876213.jpg
4D40CB27-3550-4B5C-AB3B-ED14F8923442.JPG
67BAD79D-46F6-4494-81A0-E575504E0DEE.jpg

I was running a little late and couldn't find parking.  As I noted you are scheduled for a specific time on your tickets and they will give 15 grace period but after that, you won't get in.  So, I quickly grabbed my camera in one hand and my phone in the other.  I knew I didn't want my massive diaper bag/purse in all my pictures so I left it in the car.  Big mistake!  Everytime I wanted to snap a picture I had to put my camera or phone and sunglasses on the floor.  If I were you, I would just bring a small bag that you can throw all your small necessities in. Jason carried Finn, we didn't take a stroller and I am not even sure if they would have allowed one.  If you have a walking toddler, plan on leaving the stroller in the car, and chasing him around the entire time. [but, that’s kind of the point, right]?

6BBF6057-D0DC-49C7-924E-46BF1BB65E27.jpg

We started in the first hallway, it wasn't even a room.  It was actually one of my favorite places we stopped in because we were the only people in there.  Because they filter you in every 15 minutes or so, it gives the group ahead of your time to take pics, explore, etc before the next group comes in.   But don't go too slow or what happened to us, will happen to you.

D7A867DA-5508-4E7B-B876-B25376A96515.jpg

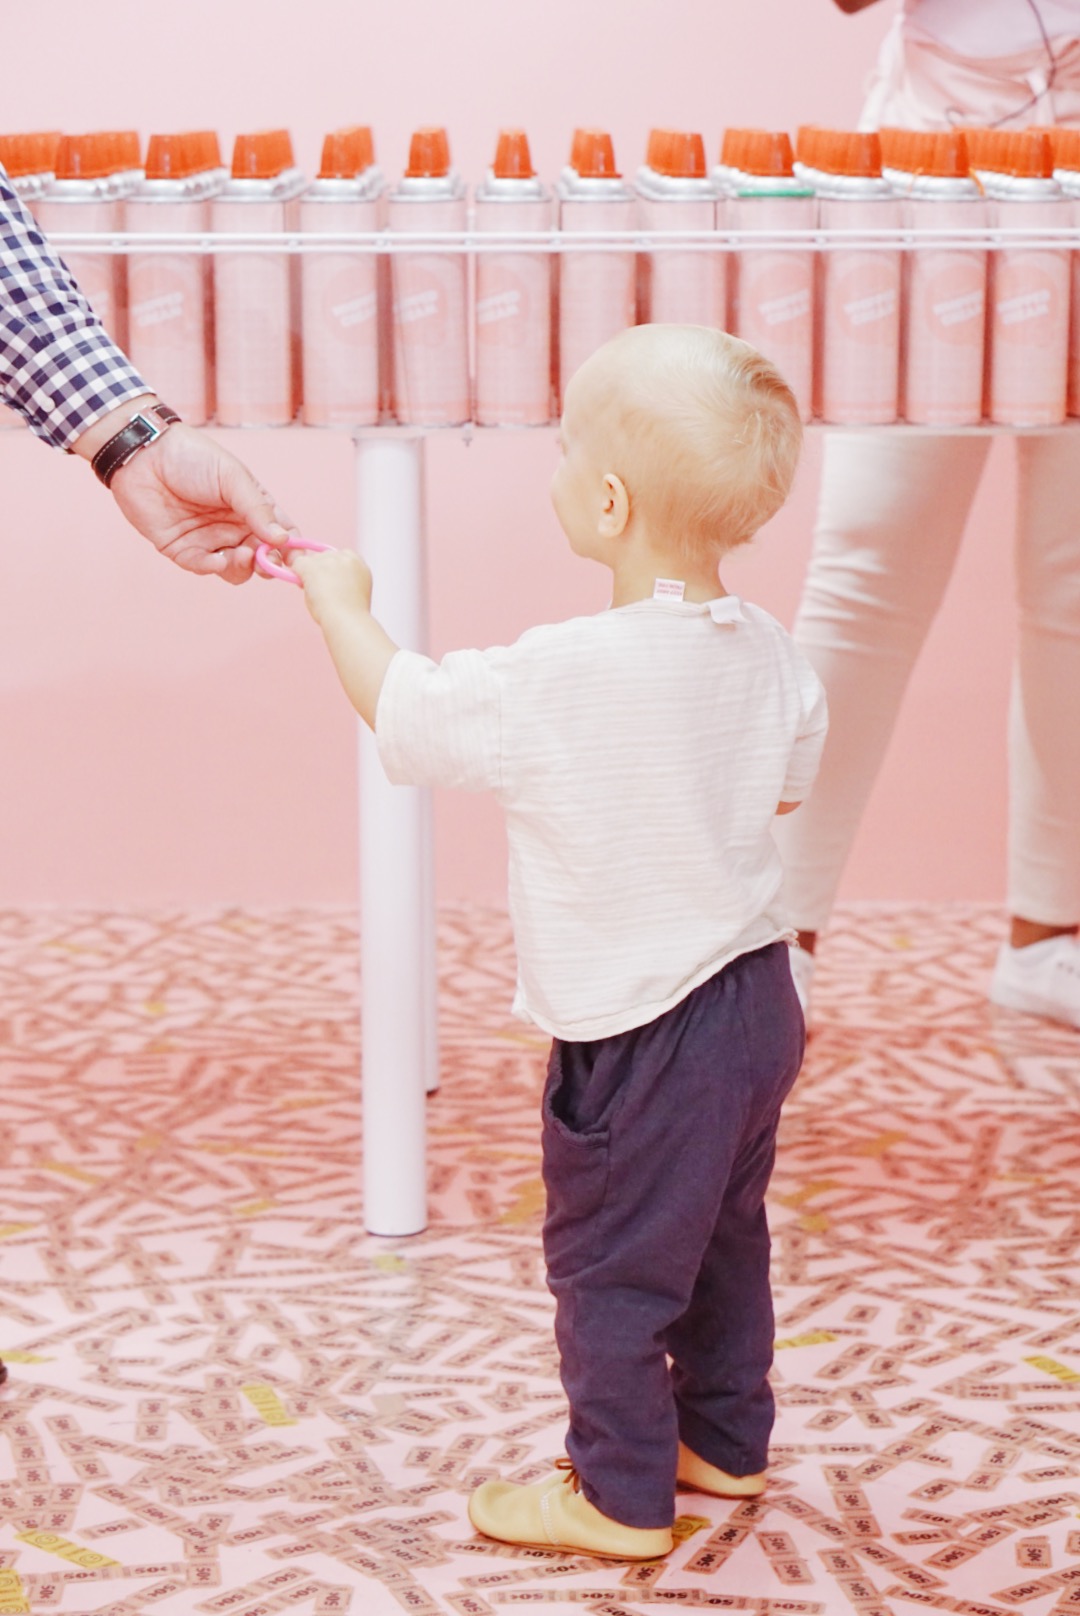
I won't talk too much about the rooms because each museum is different and images should give you a glimpse into the goodness the museum has to offer. The first actually room we went into was an interactive room.  They had a carnival-like game of ring toss set up.  I was busy taking pictures that almost missed my hot husband hit 5 in the row while holding a wiggly toddler. Man, did I score the jackpot with this guy!  Just wait until we take him to the fair and walk away with 85 oversized stuffed animals and 3 basketballs.

5817F07F-AFC9-47AD-8E68-D7100FF32080.jpg
9B381990-E7ED-4D03-81D4-B833191AAB43.jpg

We moved from room to room, snapped a few pictures and each space took us about 3-4min.  I started out using my camera but honestly using my iPhone was easier and the lighting was great! Now, fast forward to the 5 room.  It was this one, with the white walls and the letter magnets.  It should have held about 7 people at a time and then all the sudden, we were surrounded my about 100 GoPro executives.  The owner decided to host a massive all company event that same day at the same time.  I wouldn't say they were the most polite group of people.  They basically took over every single room until we got to the sprinkle room.  It was hard to take pictures, it was hard to grab Finn as he weaved in and out of people's legs and was off in a flash.  But the good news, he couldn't go far and there was a ton of people watching him.

C26F270C-FB2B-44B0-8D70-3C202410B3E6.jpg
D294A7C1-3770-45D8-8D95-9CB8A84A1D09.jpg
D4B7EE85-F9FB-41E2-9A53-1CD6364AF710.jpg

When we got to the top of the stairs after about 45min, Jason looked at me with a face of concern and said, "We're only at the bathrooms?  This is only the halfway point!"  Remember somewhere up there I said it was supposed to take 45 min total. Well ya, we hadn't even gotten to the sprinkle pool yet!
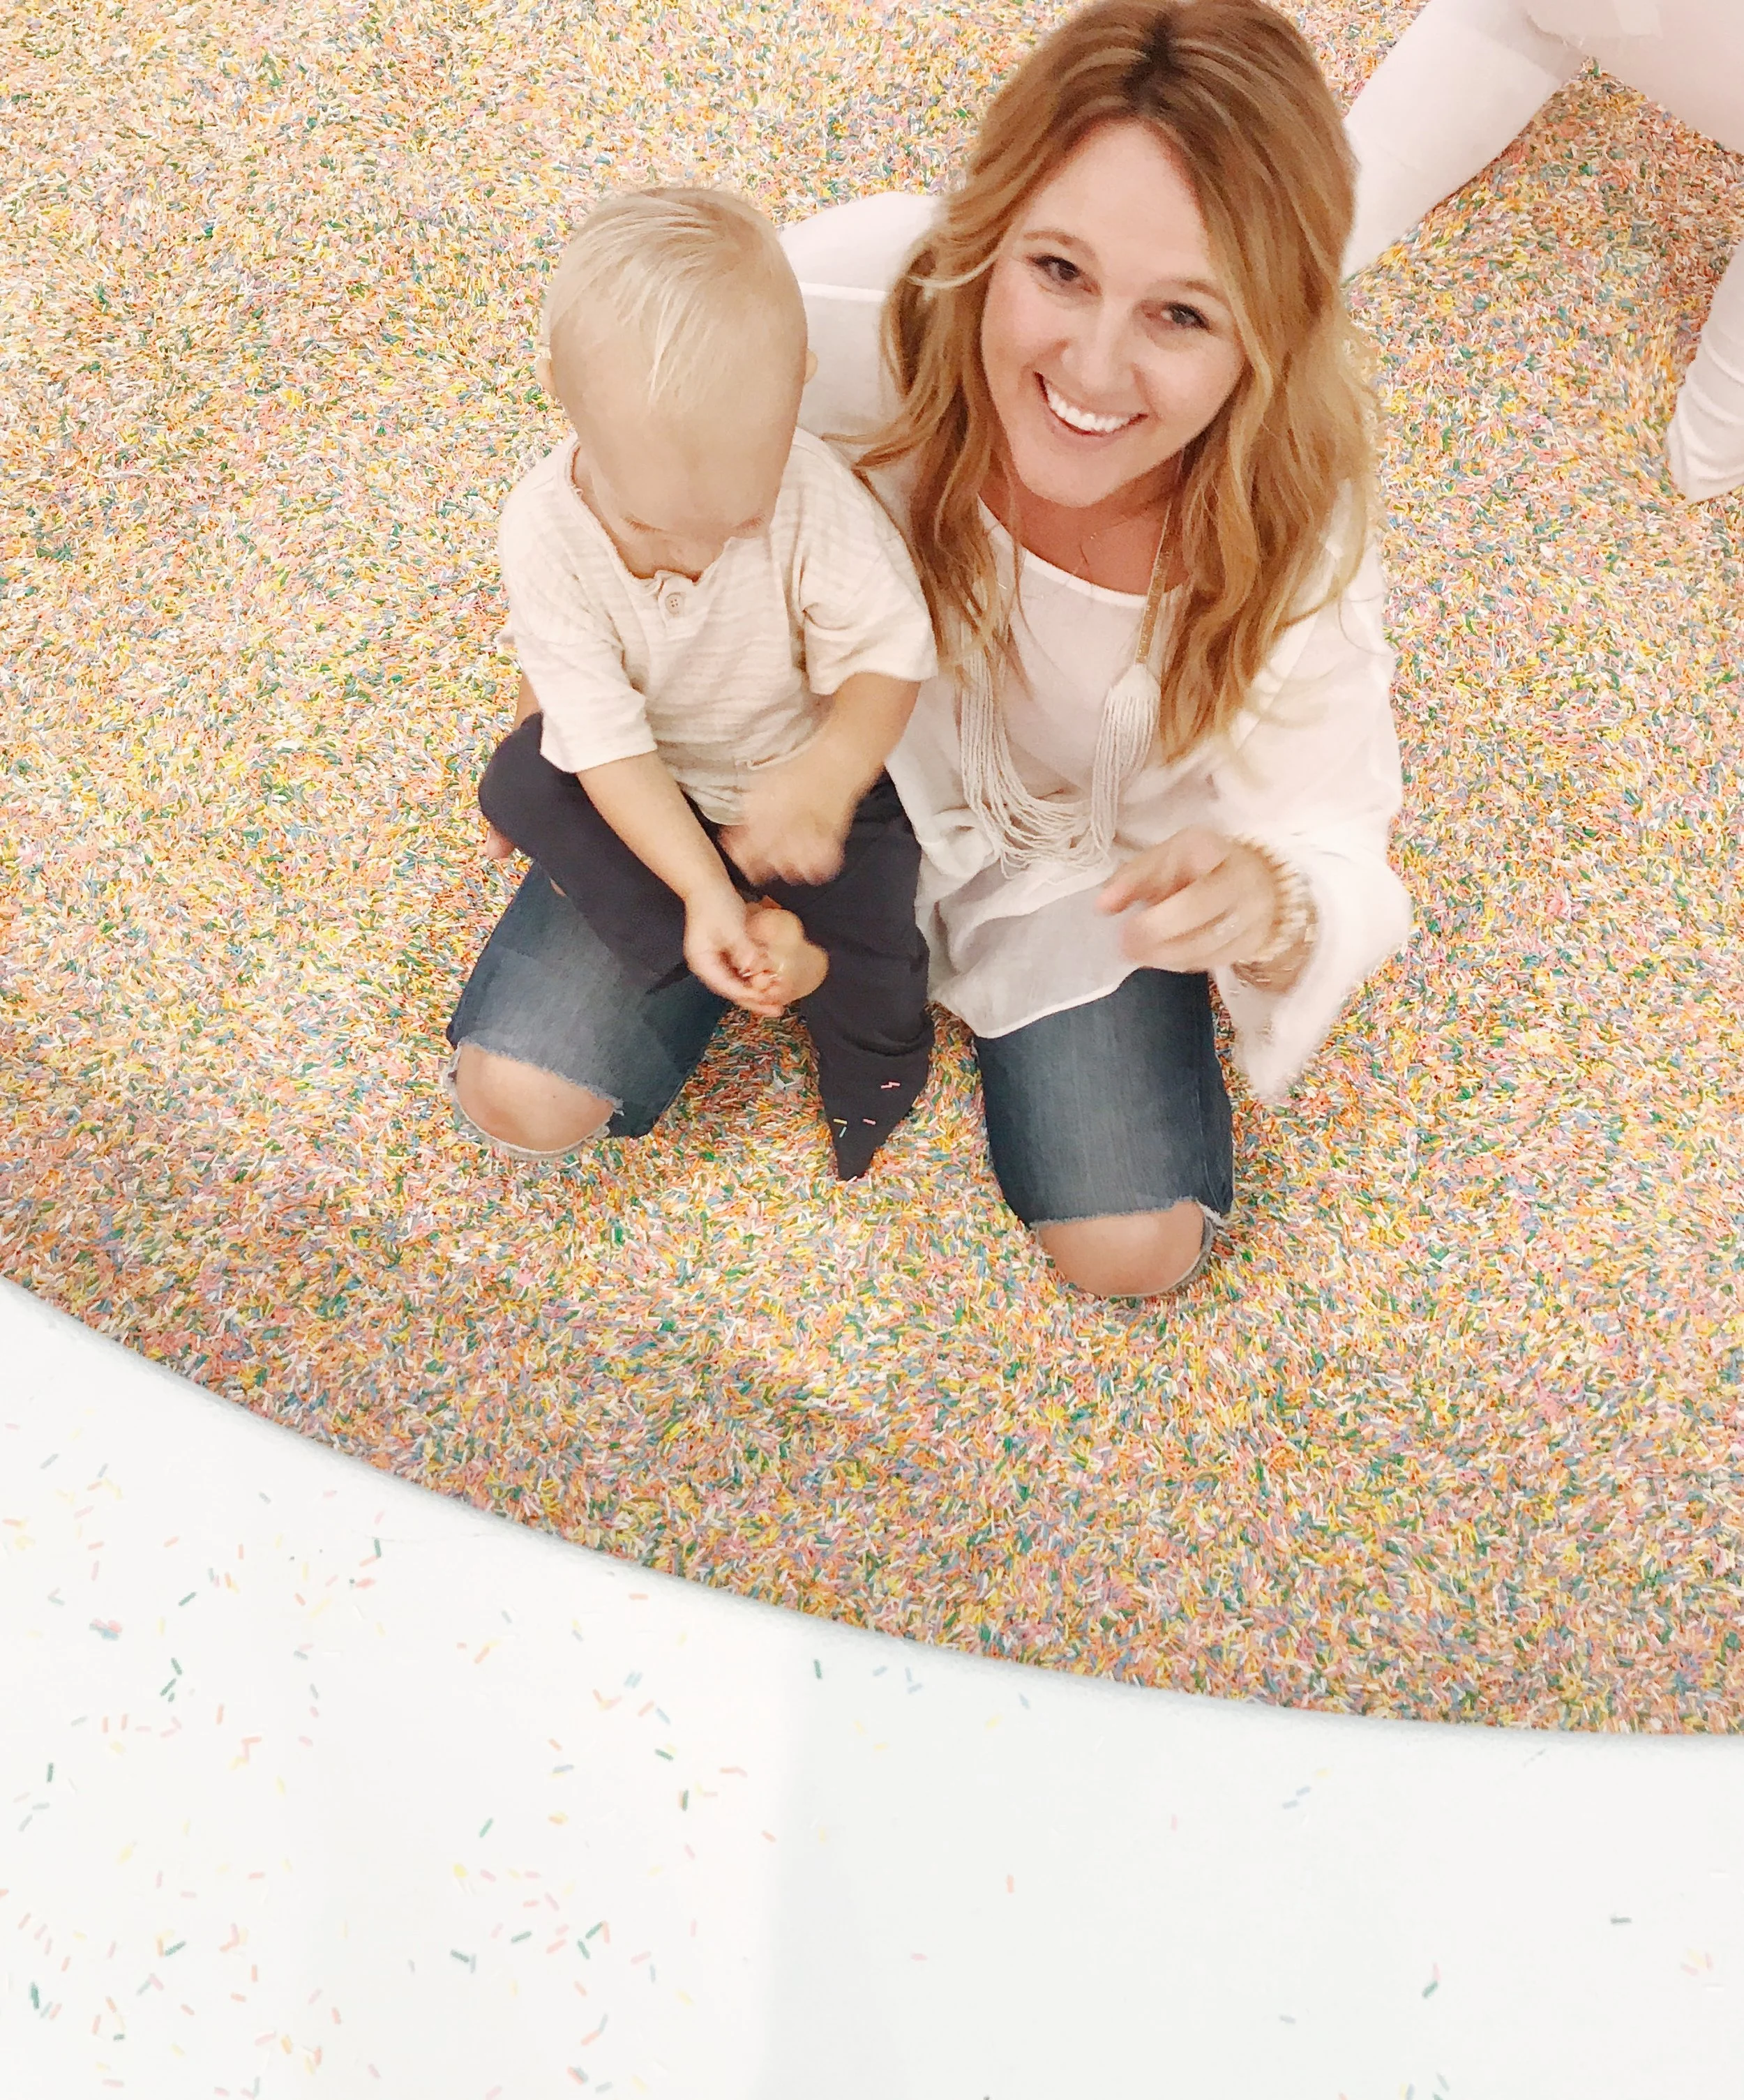
When you get to the top of the stairs you hit a wall and another velvet rope.  We finally made it to the sprinkle pool, of course with 67 of my closest GoPro buddies.  They let them go as a group for about 10 minutes as we tried to entertain our 21month old toddler.  As we stood with a crowd of people, a younger looking man who was dressed quite nicely said, "it will be just a minute folks, does anyone have any questions for me? I am (insert name here) the co-founder of TMOIC.  I totally have no idea what he said because I was dying of heat while trying to wrestle Finn in my arms.  Until Jason said, I have a question, "How did you come up with the idea for this?"  I was like who are you talking to? And then saw the cameras and realized he was being filmed for some sort of documentary or something.  He went on to talk about how he wanted a place for children to explore and learn and touch and feel art. I'm sure it was profoundly better said then that, but I was too busy thinking about what part of the pool I was going to 'swim' into.

8059D3E7-F0A7-45BD-8FE2-C487D858C776.jpg
CBB10541-9397-453F-B0D5-E2F95A3803D4.jpg
E6B8F2CA-0C31-4CC6-B65C-275A852E10E4.jpg

Finally, after what felt like an hour, we were in! It was time for the sprinkle pool! They make you remove your shoes and valuables and then you can jump right in! Don't worry, the sprinkles aren't real but they are small and they do stick to you! I found sprinkles for days after that trip!

5616AC68-77B2-4785-B5A4-F4761658BFD6.JPG
FB90BD03-E276-4F6A-B7CA-F179D19F558A.jpg

We rounded the next corner and at that point, we both were kinda done.  It took us almost 2hrs to get through it all and I think that would have been much faster had the other events not been happening on the same day.   All in all, 100% worth it.  And Finn had the best time!  Let's just say, if the Museum of Ice Cream sold season passes, we would definitely be holding one.

1257771C-69EA-458E-888D-C76E52B8A2BE.jpg
F6BE4AE1-25A6-4F89-8399-661DA6DB0190.jpg
F2F702C8-8E26-478F-AE3E-5279AF190716.jpg

8 stylish ways to kid proof your home

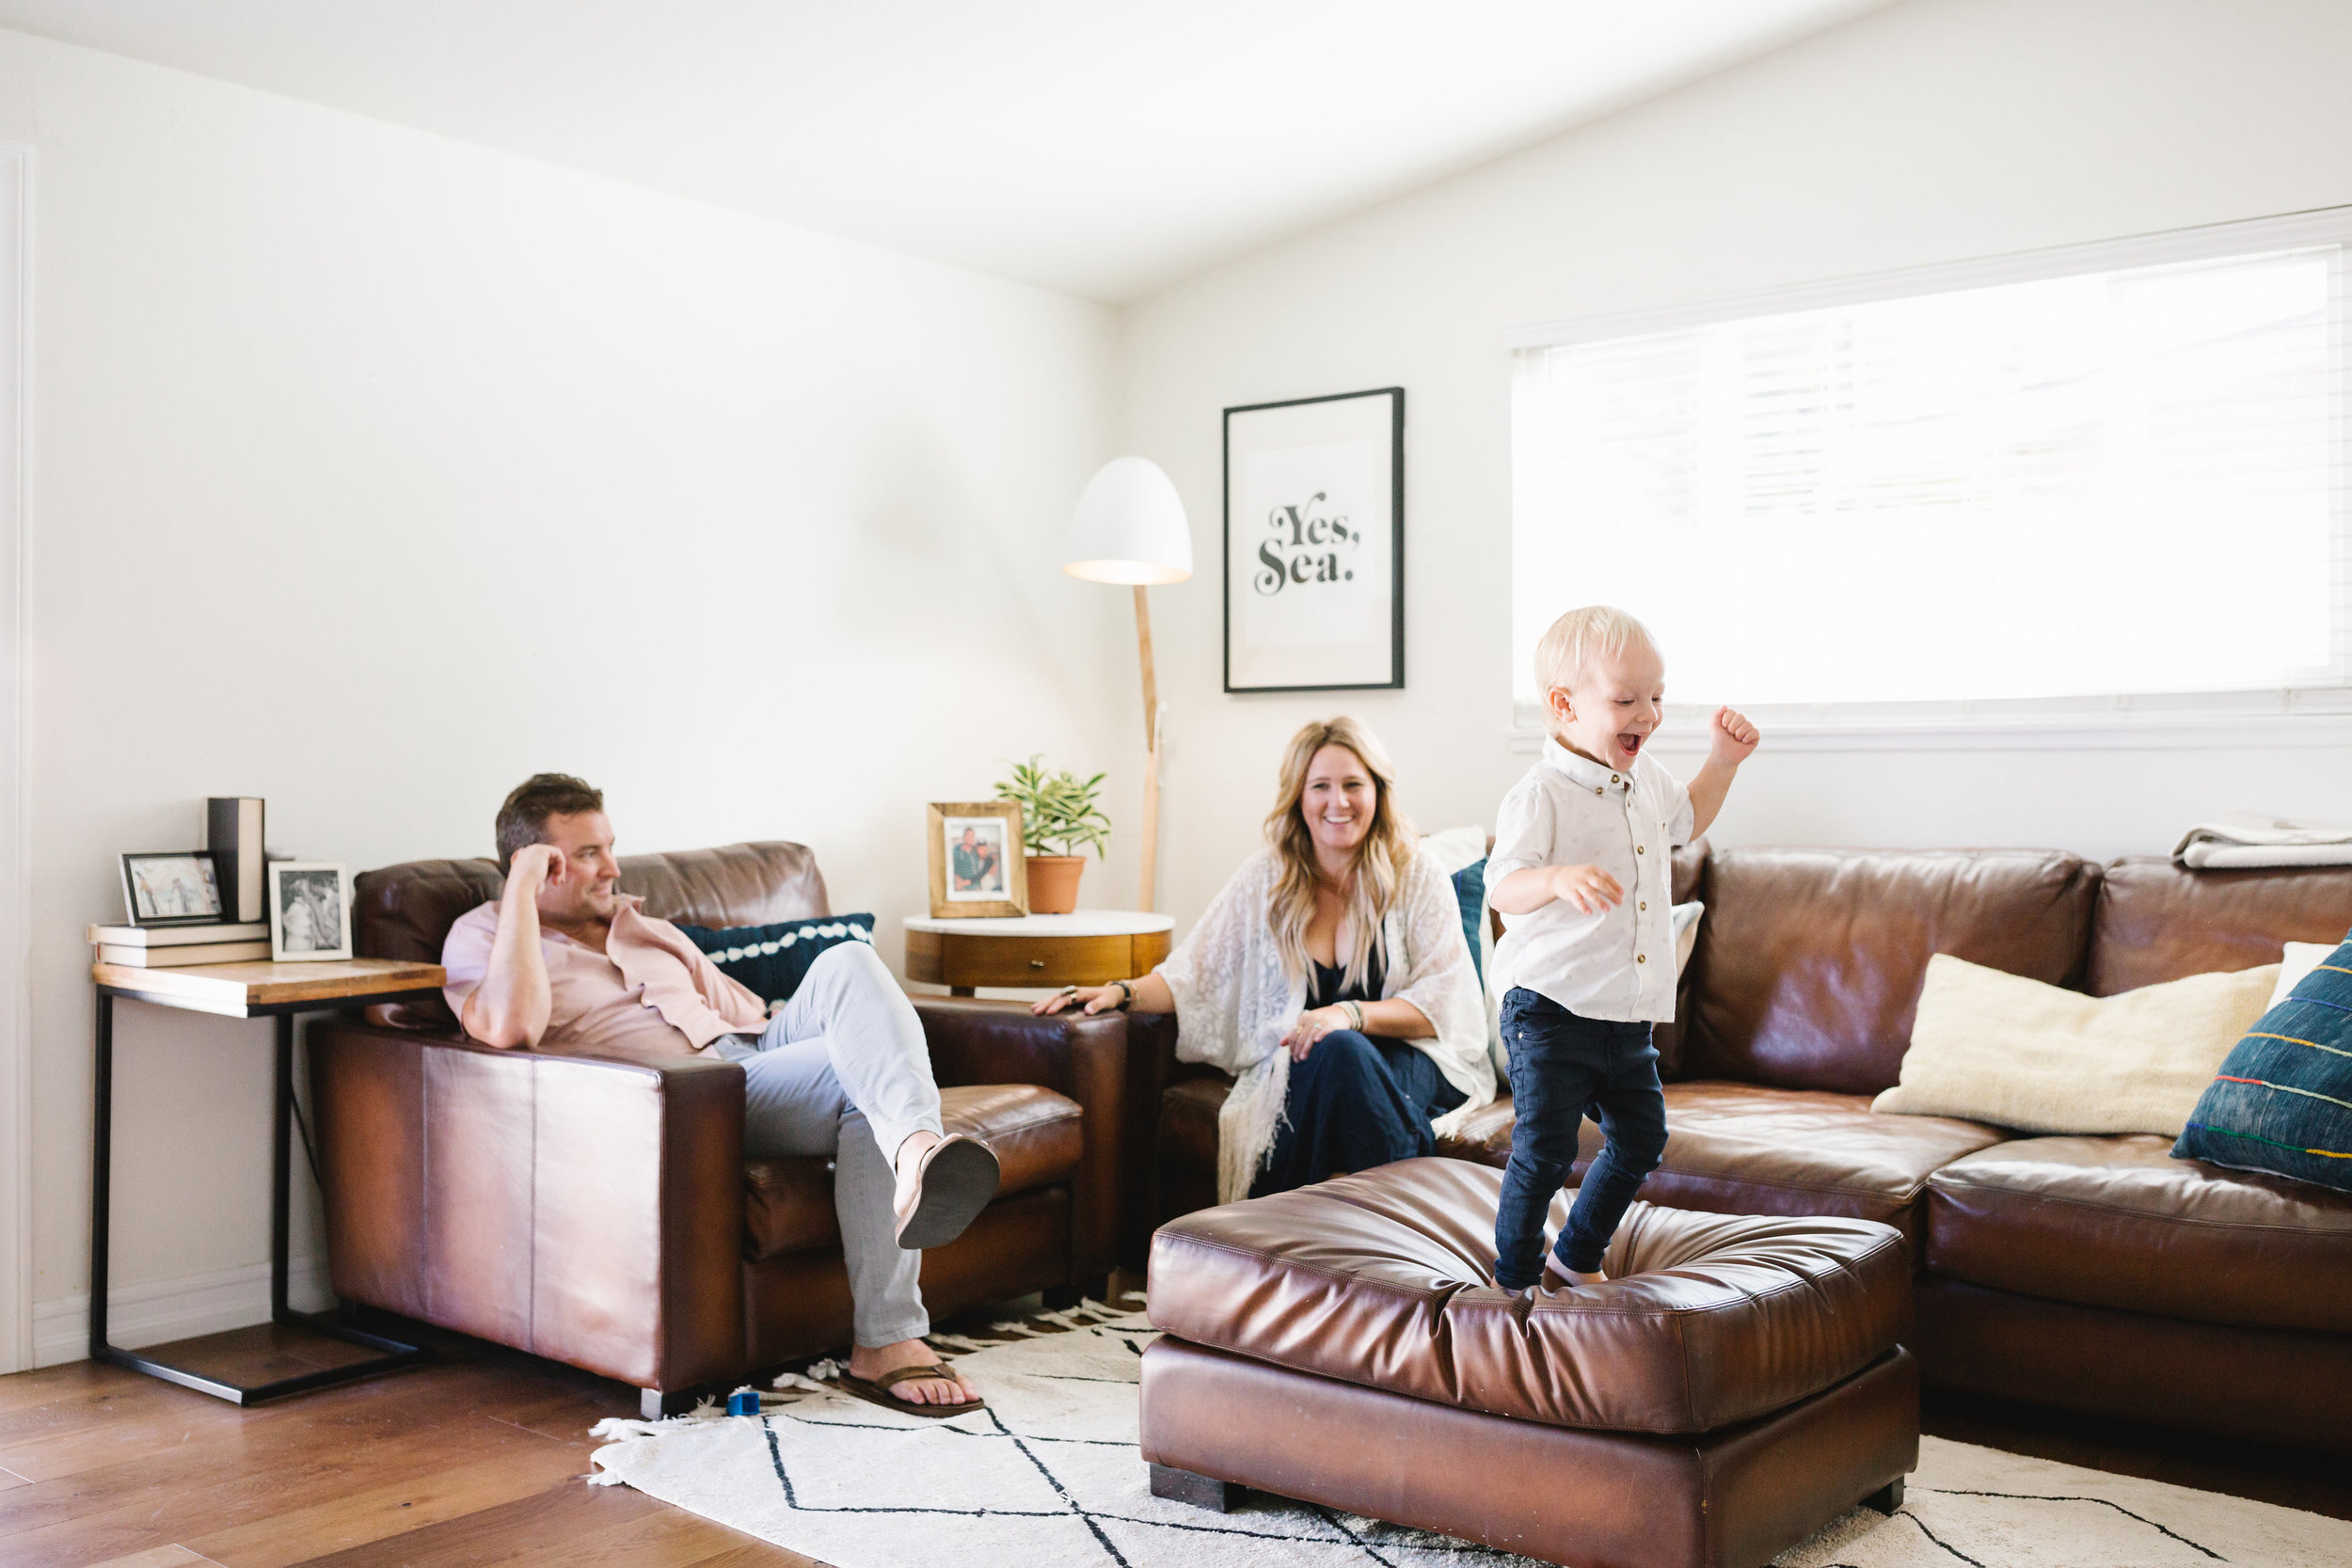
I wouldn't say that Jason and I necessarily have the same decorating aesthetic, so our home is the kitchen sink of styles.  Modern bohemian, eclectic, mid-century, call it whatever you like, but one thing is for sure, this living room is where most of our family time is spent.  And since this is where we make most of our memories, the last thing I wanted was to make it so fancy or clean that Finn felt like he couldn't touch anything. At the same time, I tried to avoid the living room that was taken over by toys and turned playroom look.  I think we've done a pretty good job making sure it is equally our space and Finns and I think it still manages to have a sense of cohesiveness, charm, and coziness all at the same time.

[disclaimer: Thank you to Lorena Canal for sending us this rug in exchange for an honest review.  As always, all views expressed here are my own.] 

stylish home.jpg
DSC07224.JPG
DSC06817.JPG

Here's what I thought about when decorating our favorite room in the house:

FullSizeRender.jpg
FullSizeRender.jpg

Stick to a color palette, and play with textures.  One thing that I love when decorating any room is to make it more about texture, and less about color.  Matchy-matchy has never been my jam.  I've never been a fan of the couch with 2-4 matching pillows on each side.  I like to mix a few of my favorite things in the same colors with a different texture that mesh well together.  My living room happens to be white and black with pops of natural, in the form of wood or greenery.  I do splash in some pops of brighter colors here and there but mainly try and keep true to black, white, tans or browns, and green.

IMG_0501.JPG
FullSizeRender.jpg


When looking for toys for Finn, I try and stay in the same color palette or find things that have the same accent colors as the rest of the room.  This way they don't stand out when scattered across the room.    One thing that works well is to curate a stack of kids books in the same color palette.  That way the books become part of the decor vs an eye sore. 


FullSizeRender.jpg

Less is more. A home should feel lived in and not perfectly clean.  But with that being said, it shouldn't feel like you have 6 kids when you only have one.  Try and keep the toys in the living room to a minimum.  A few balls, a handful of books, and 1-2 toys.  I like to rotate his toys every couple of weeks and only keep a few favorites in the living room. Periodically, I'll go through a purge and donate some and I'll swap out the others for some toys in his room and retire some from the living room to his bedroom.

FullSizeRender.jpg
DSC07484.JPG

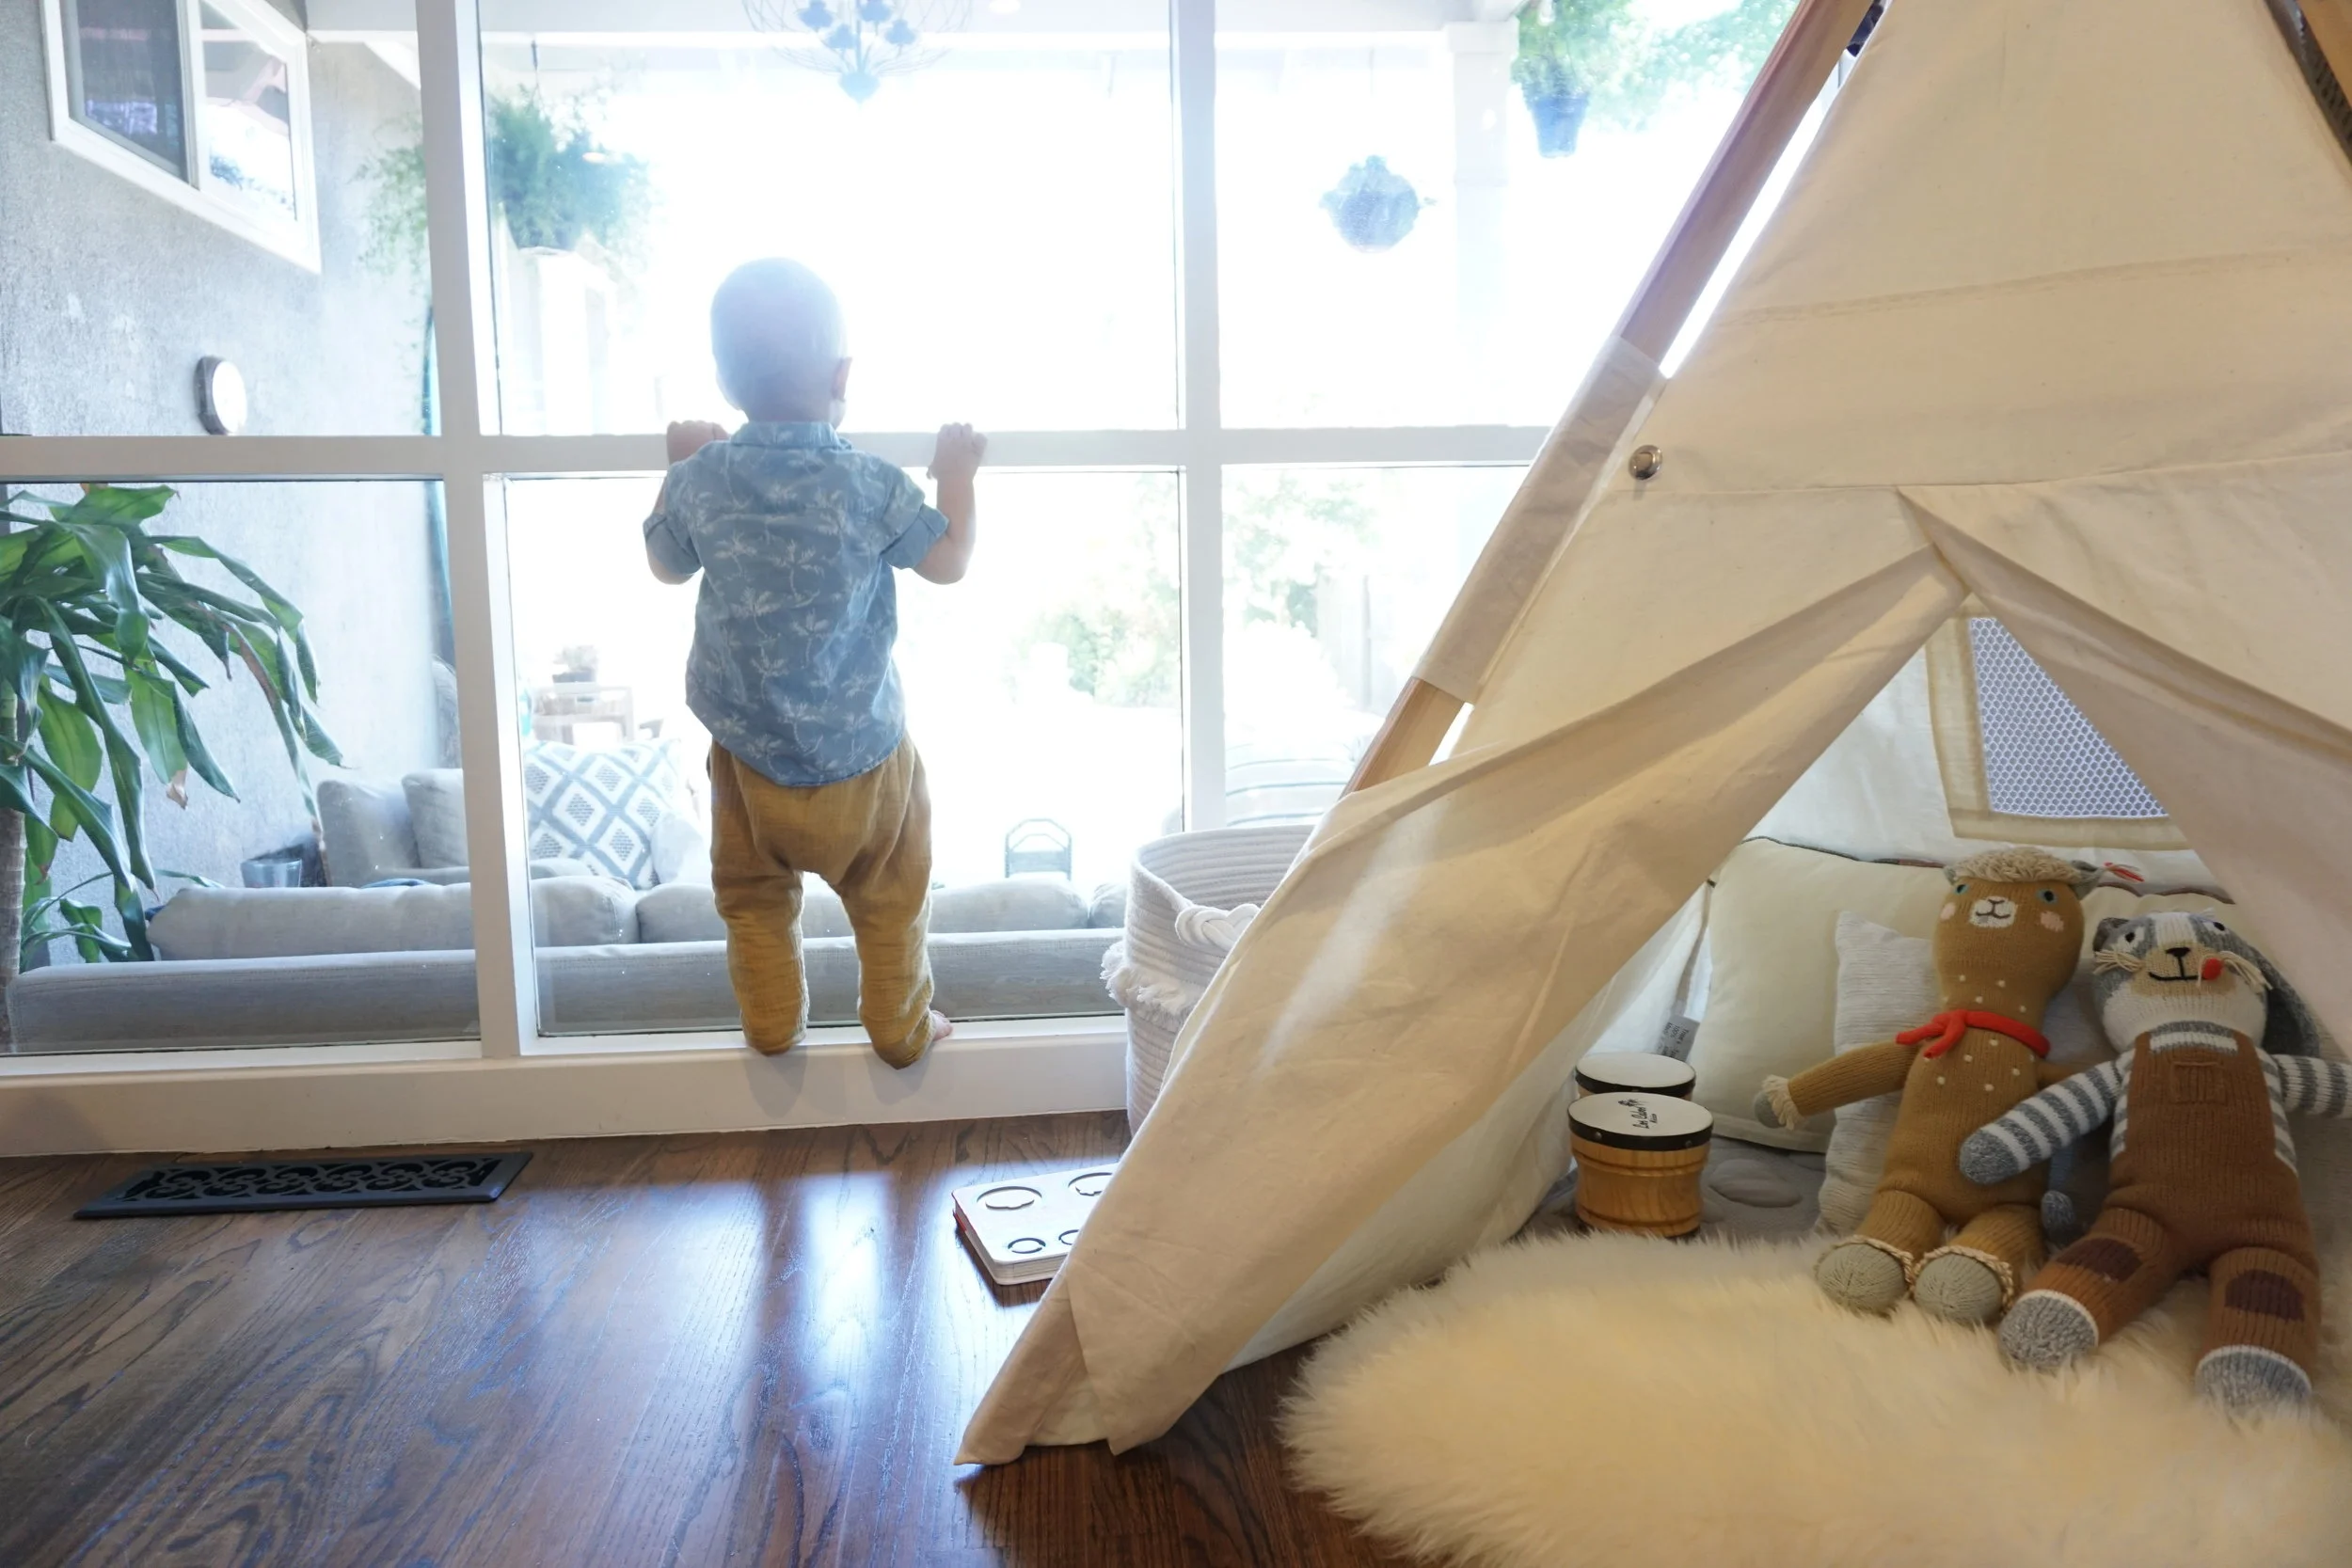
Create a defined space for him.  We don't have a play pen or baby gates, Finn has access to the whole living room.  The way we are able to achieve this without him getting hurt or drawing all over the furniture is to create smaller spaces within our space that are JUST for him. We use rugs, his gathre mat, and this tee pee to make the living room feel like a play area, but still like an adults live here.  He's able to play independently while I fold laundry, send an email, or just enjoy my coffee.  All in the same space. He loves reading his books in the morning in his tee pee and in the afternoons, I usually put down our Gathre mat with some crayons or toys on it and Finn knows that's his space to play.  

DSC07145.JPG
DSC07050.JPG
DSC06899.JPG

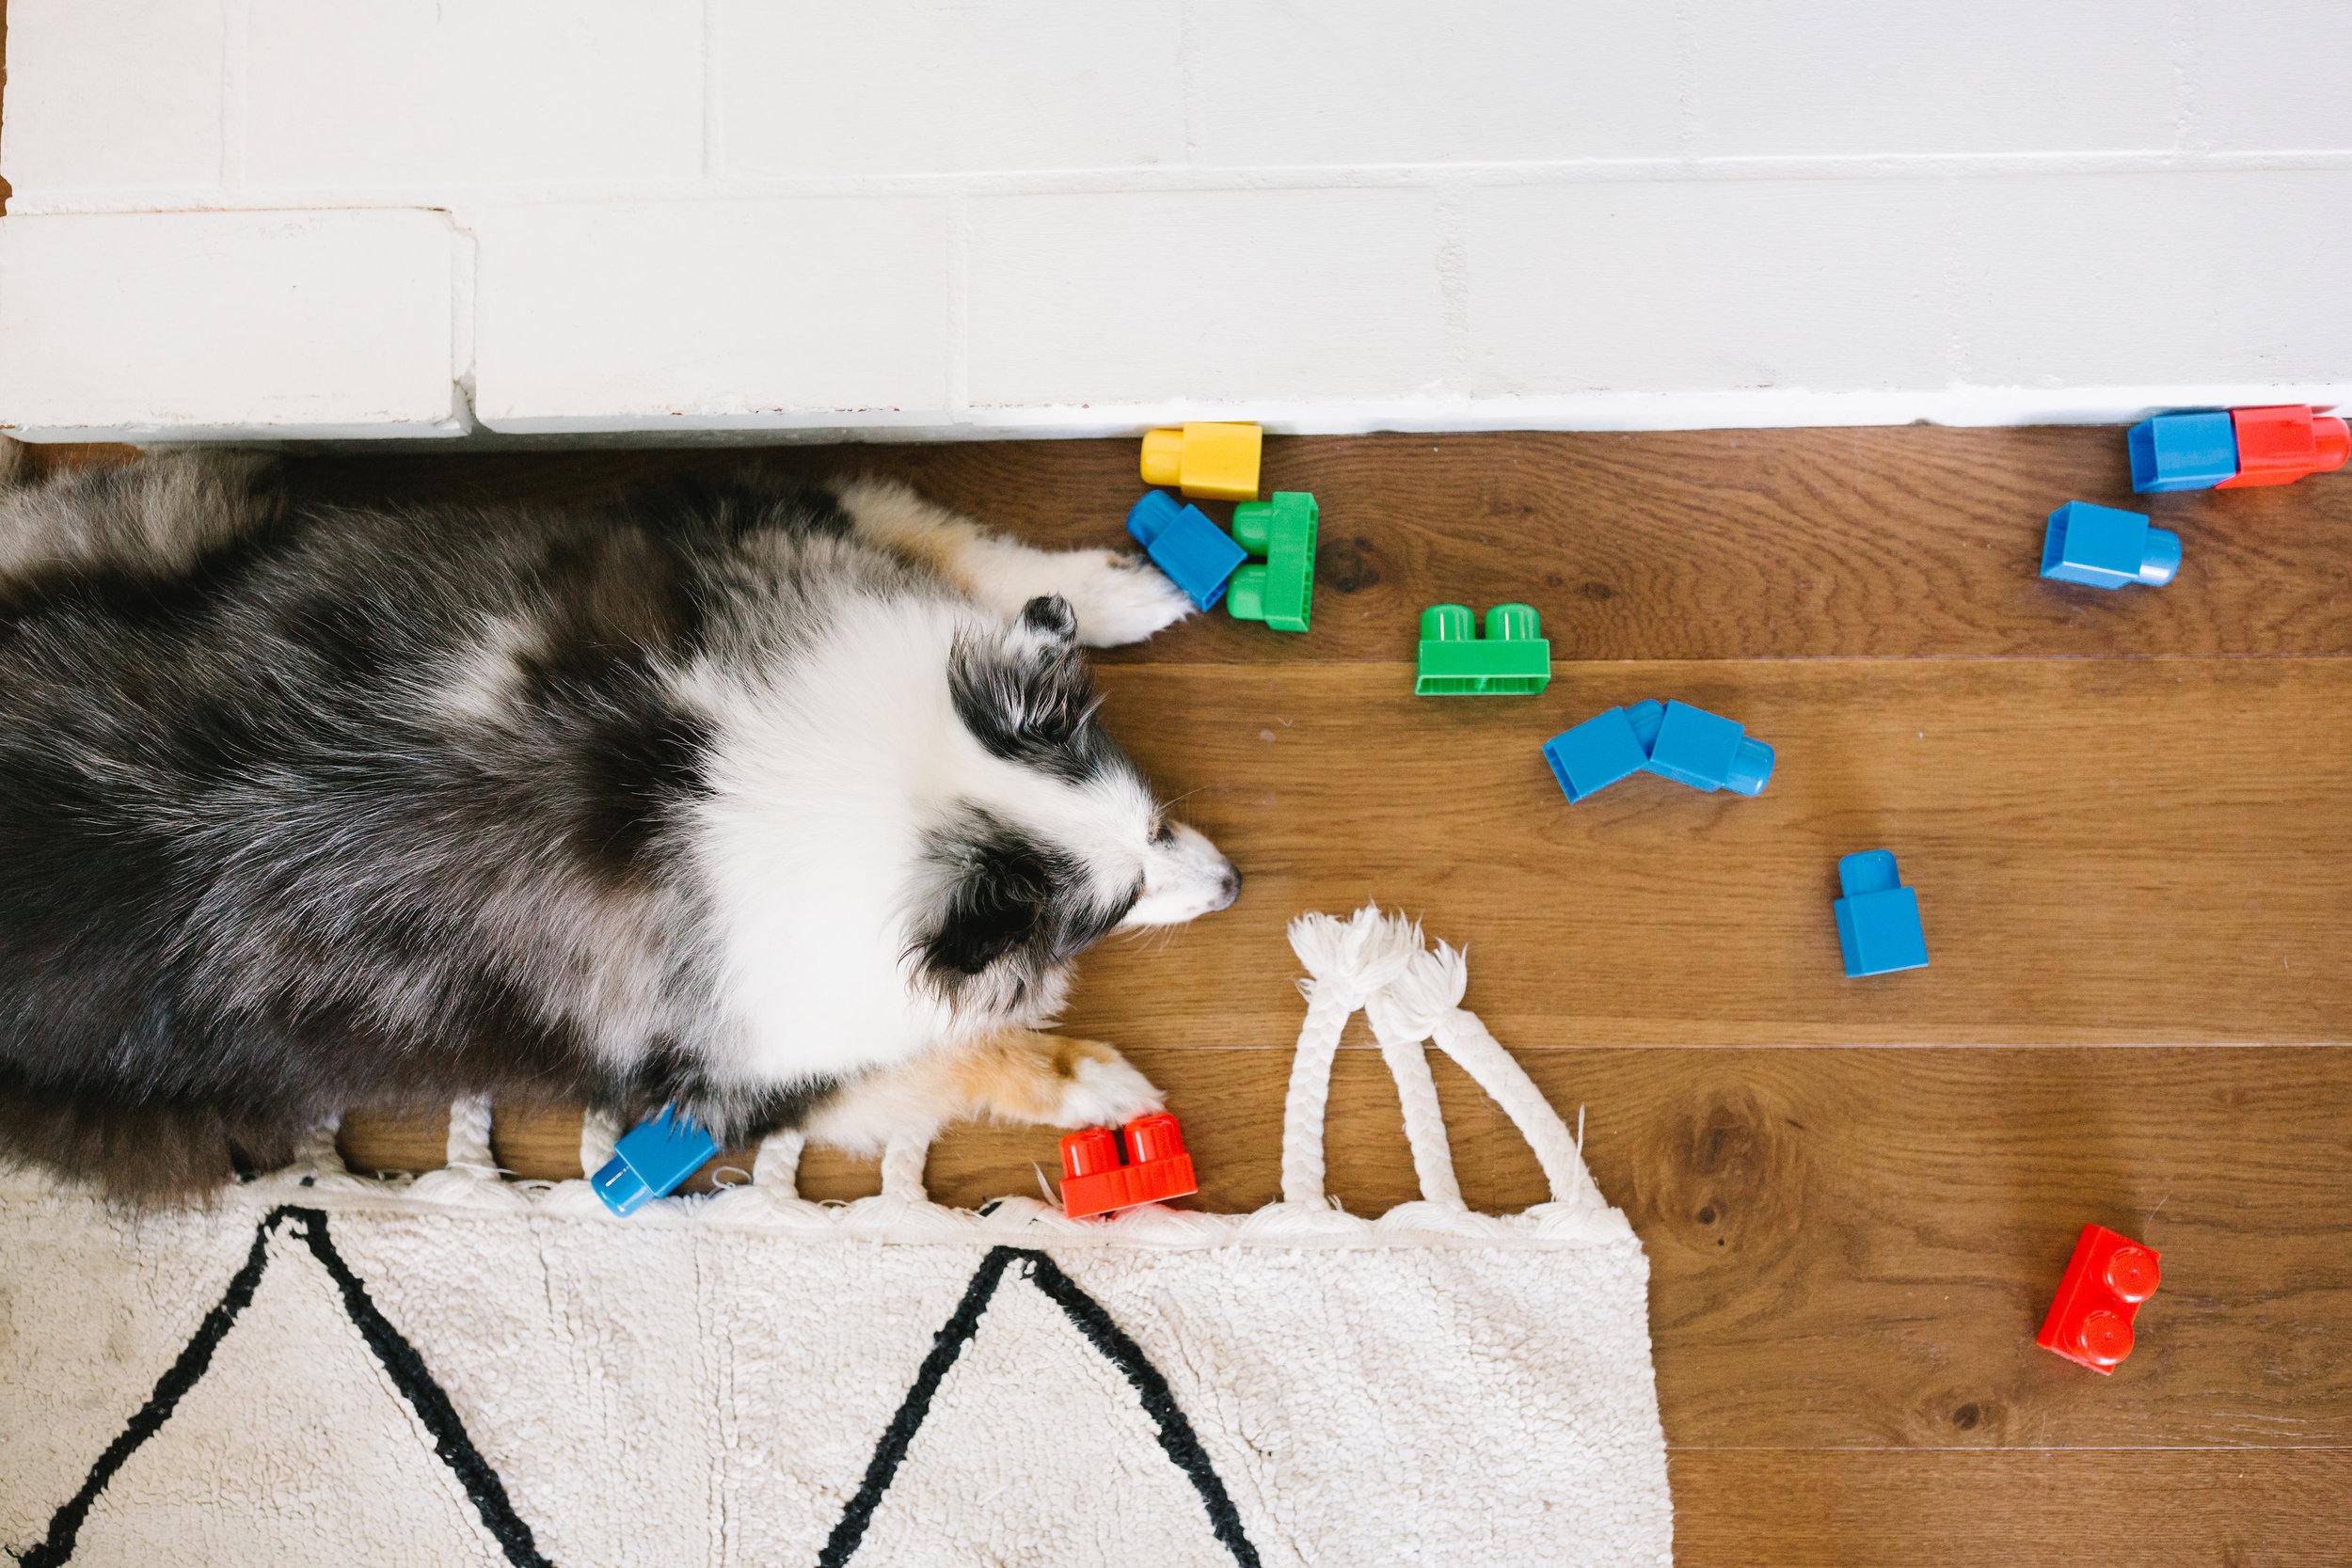
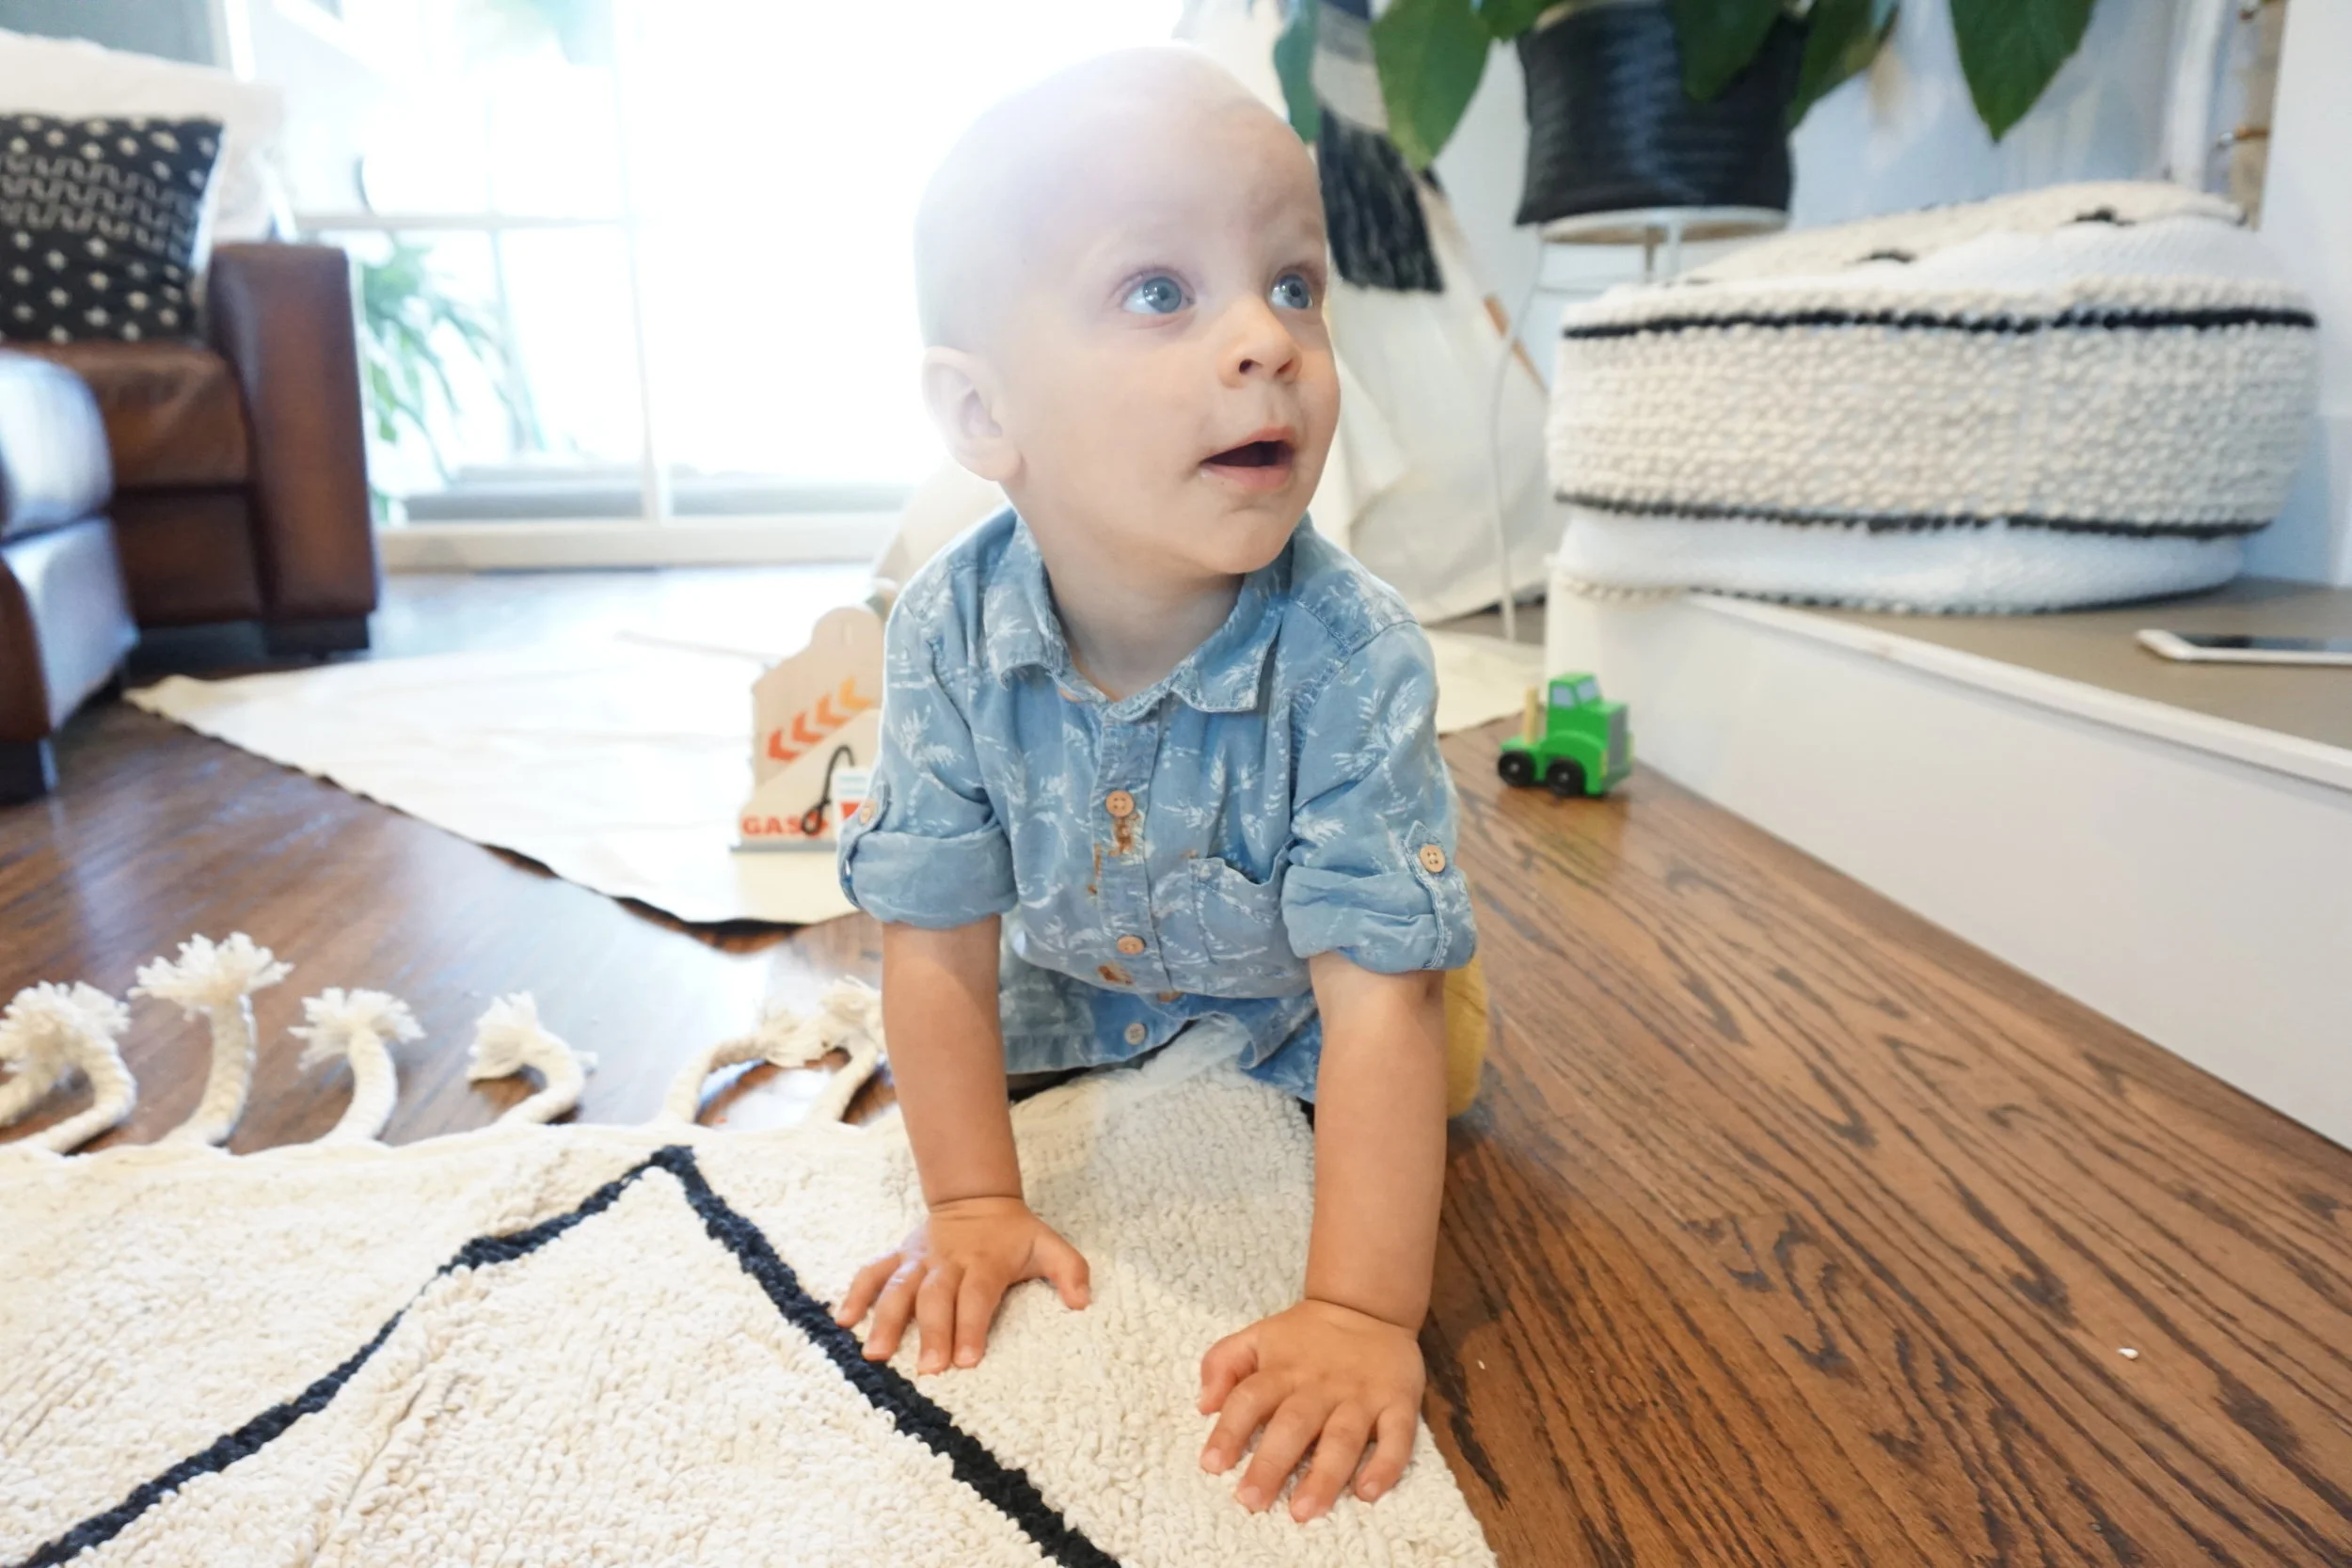
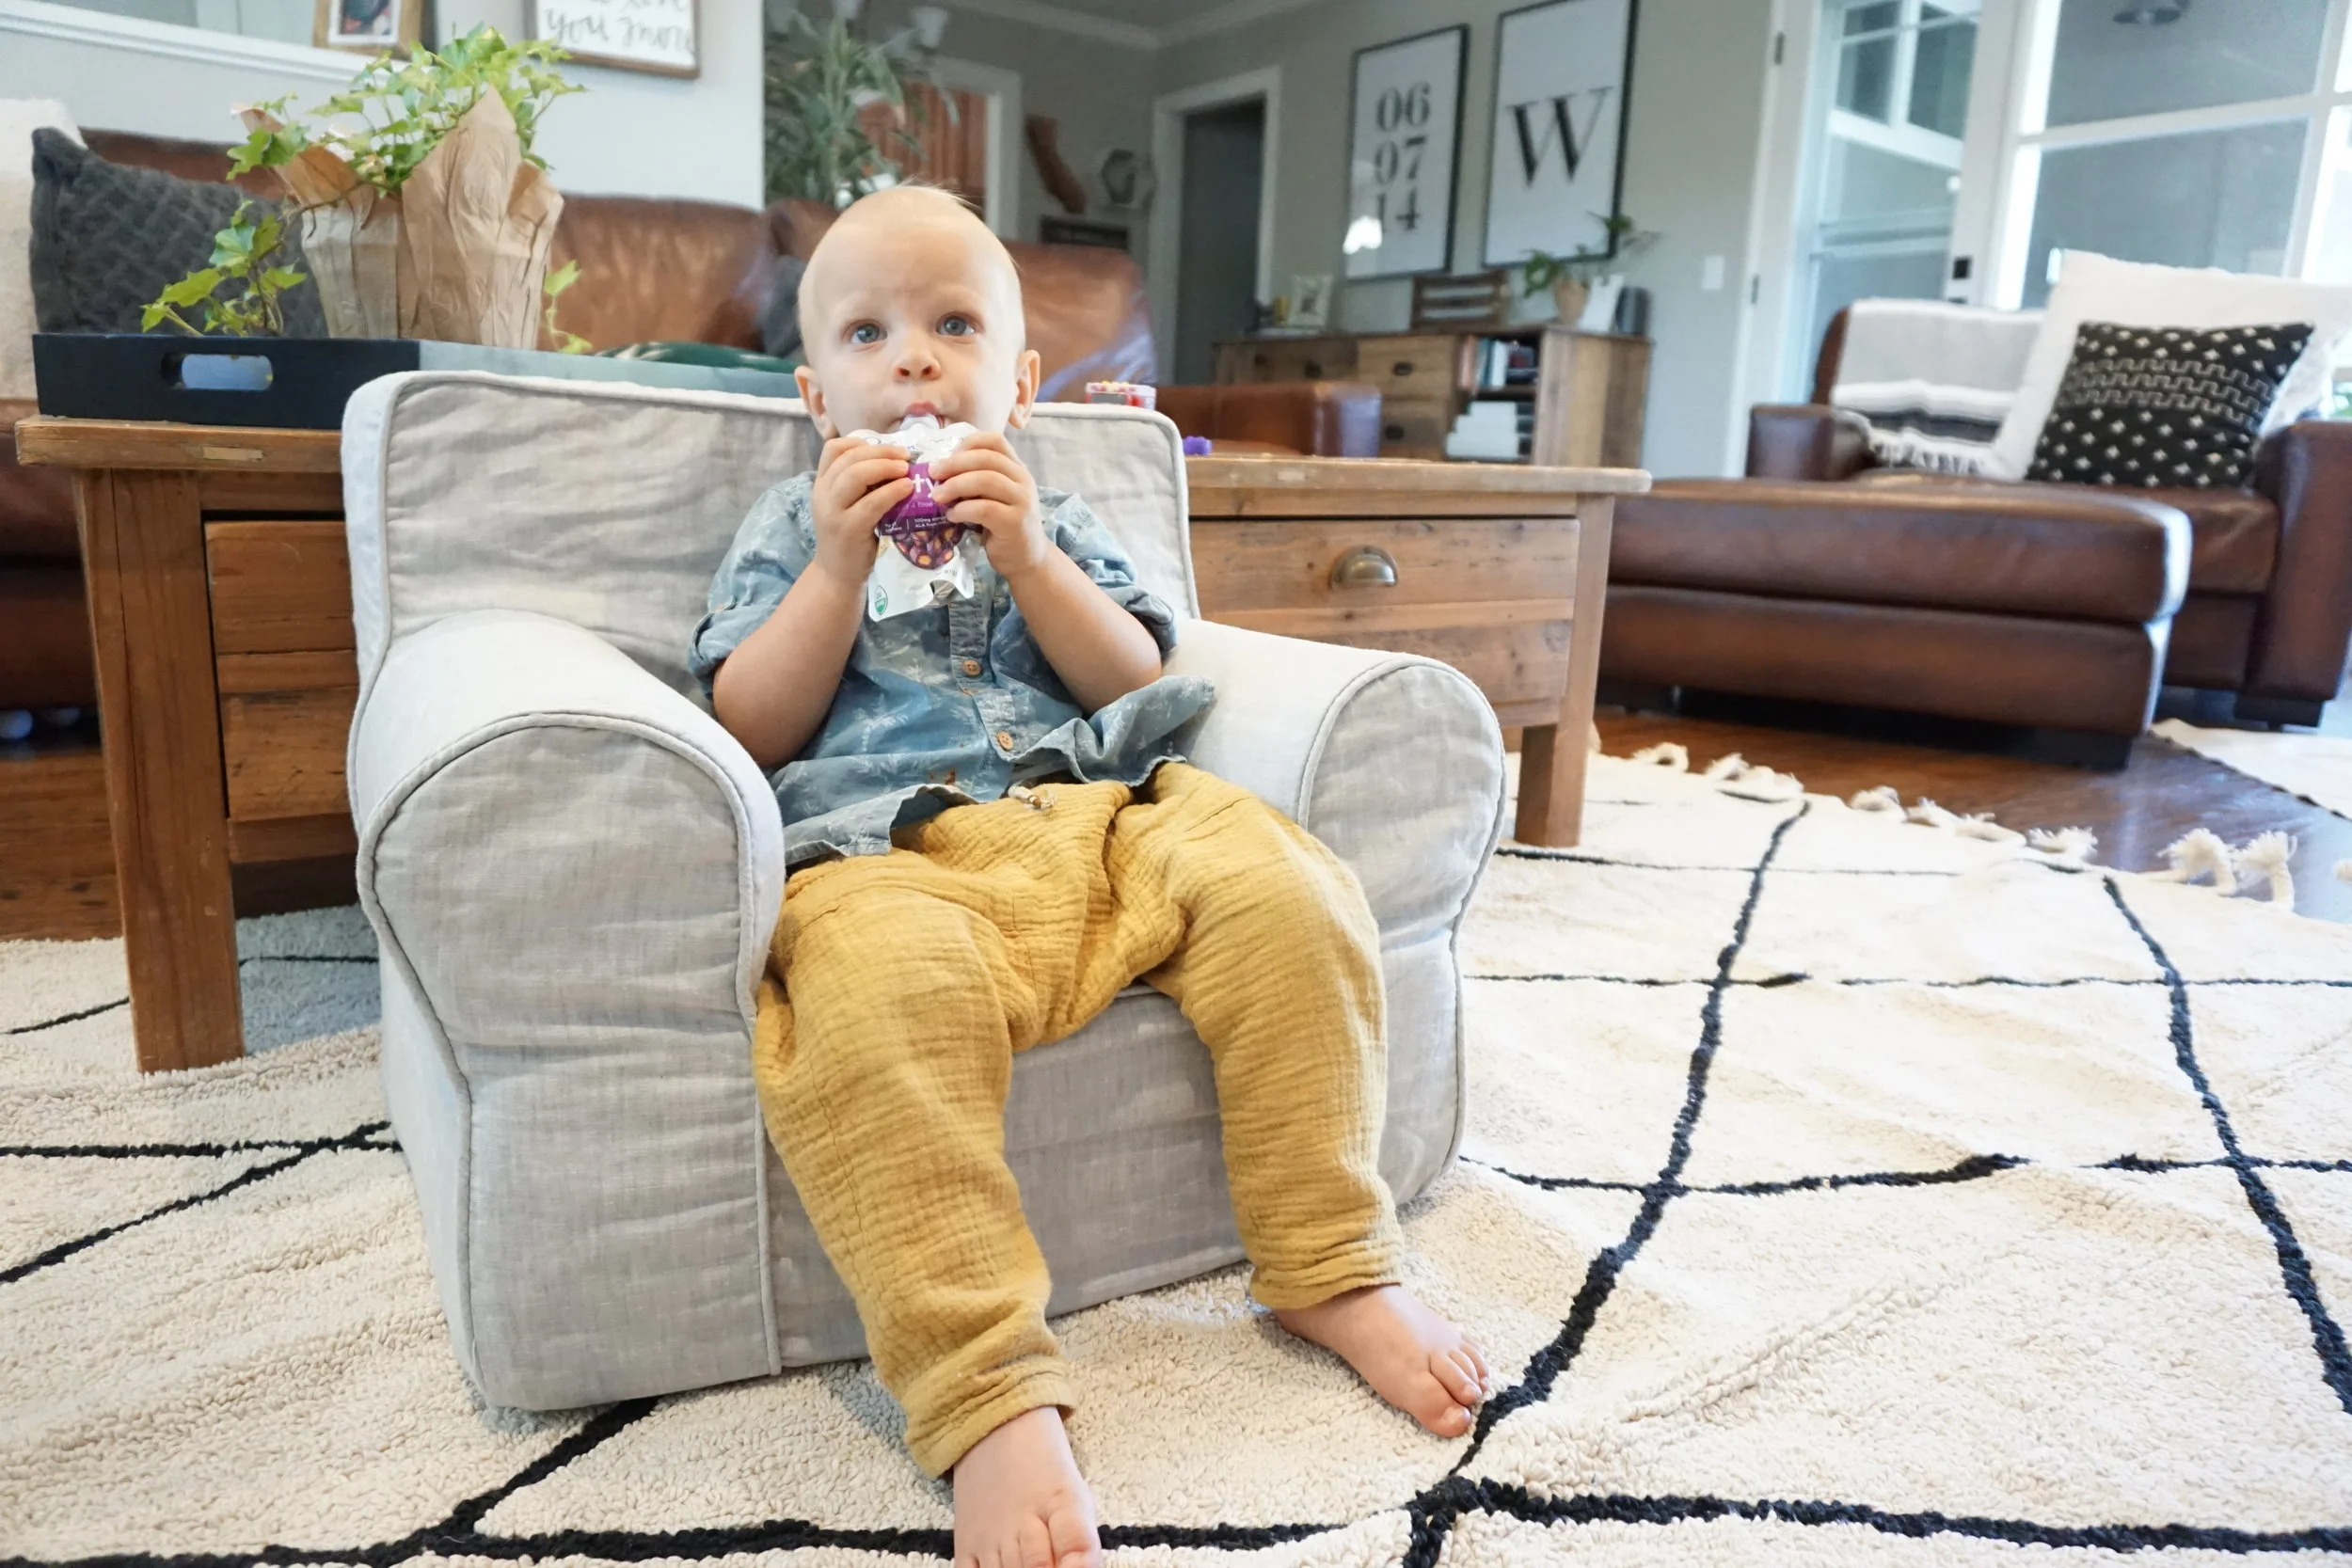
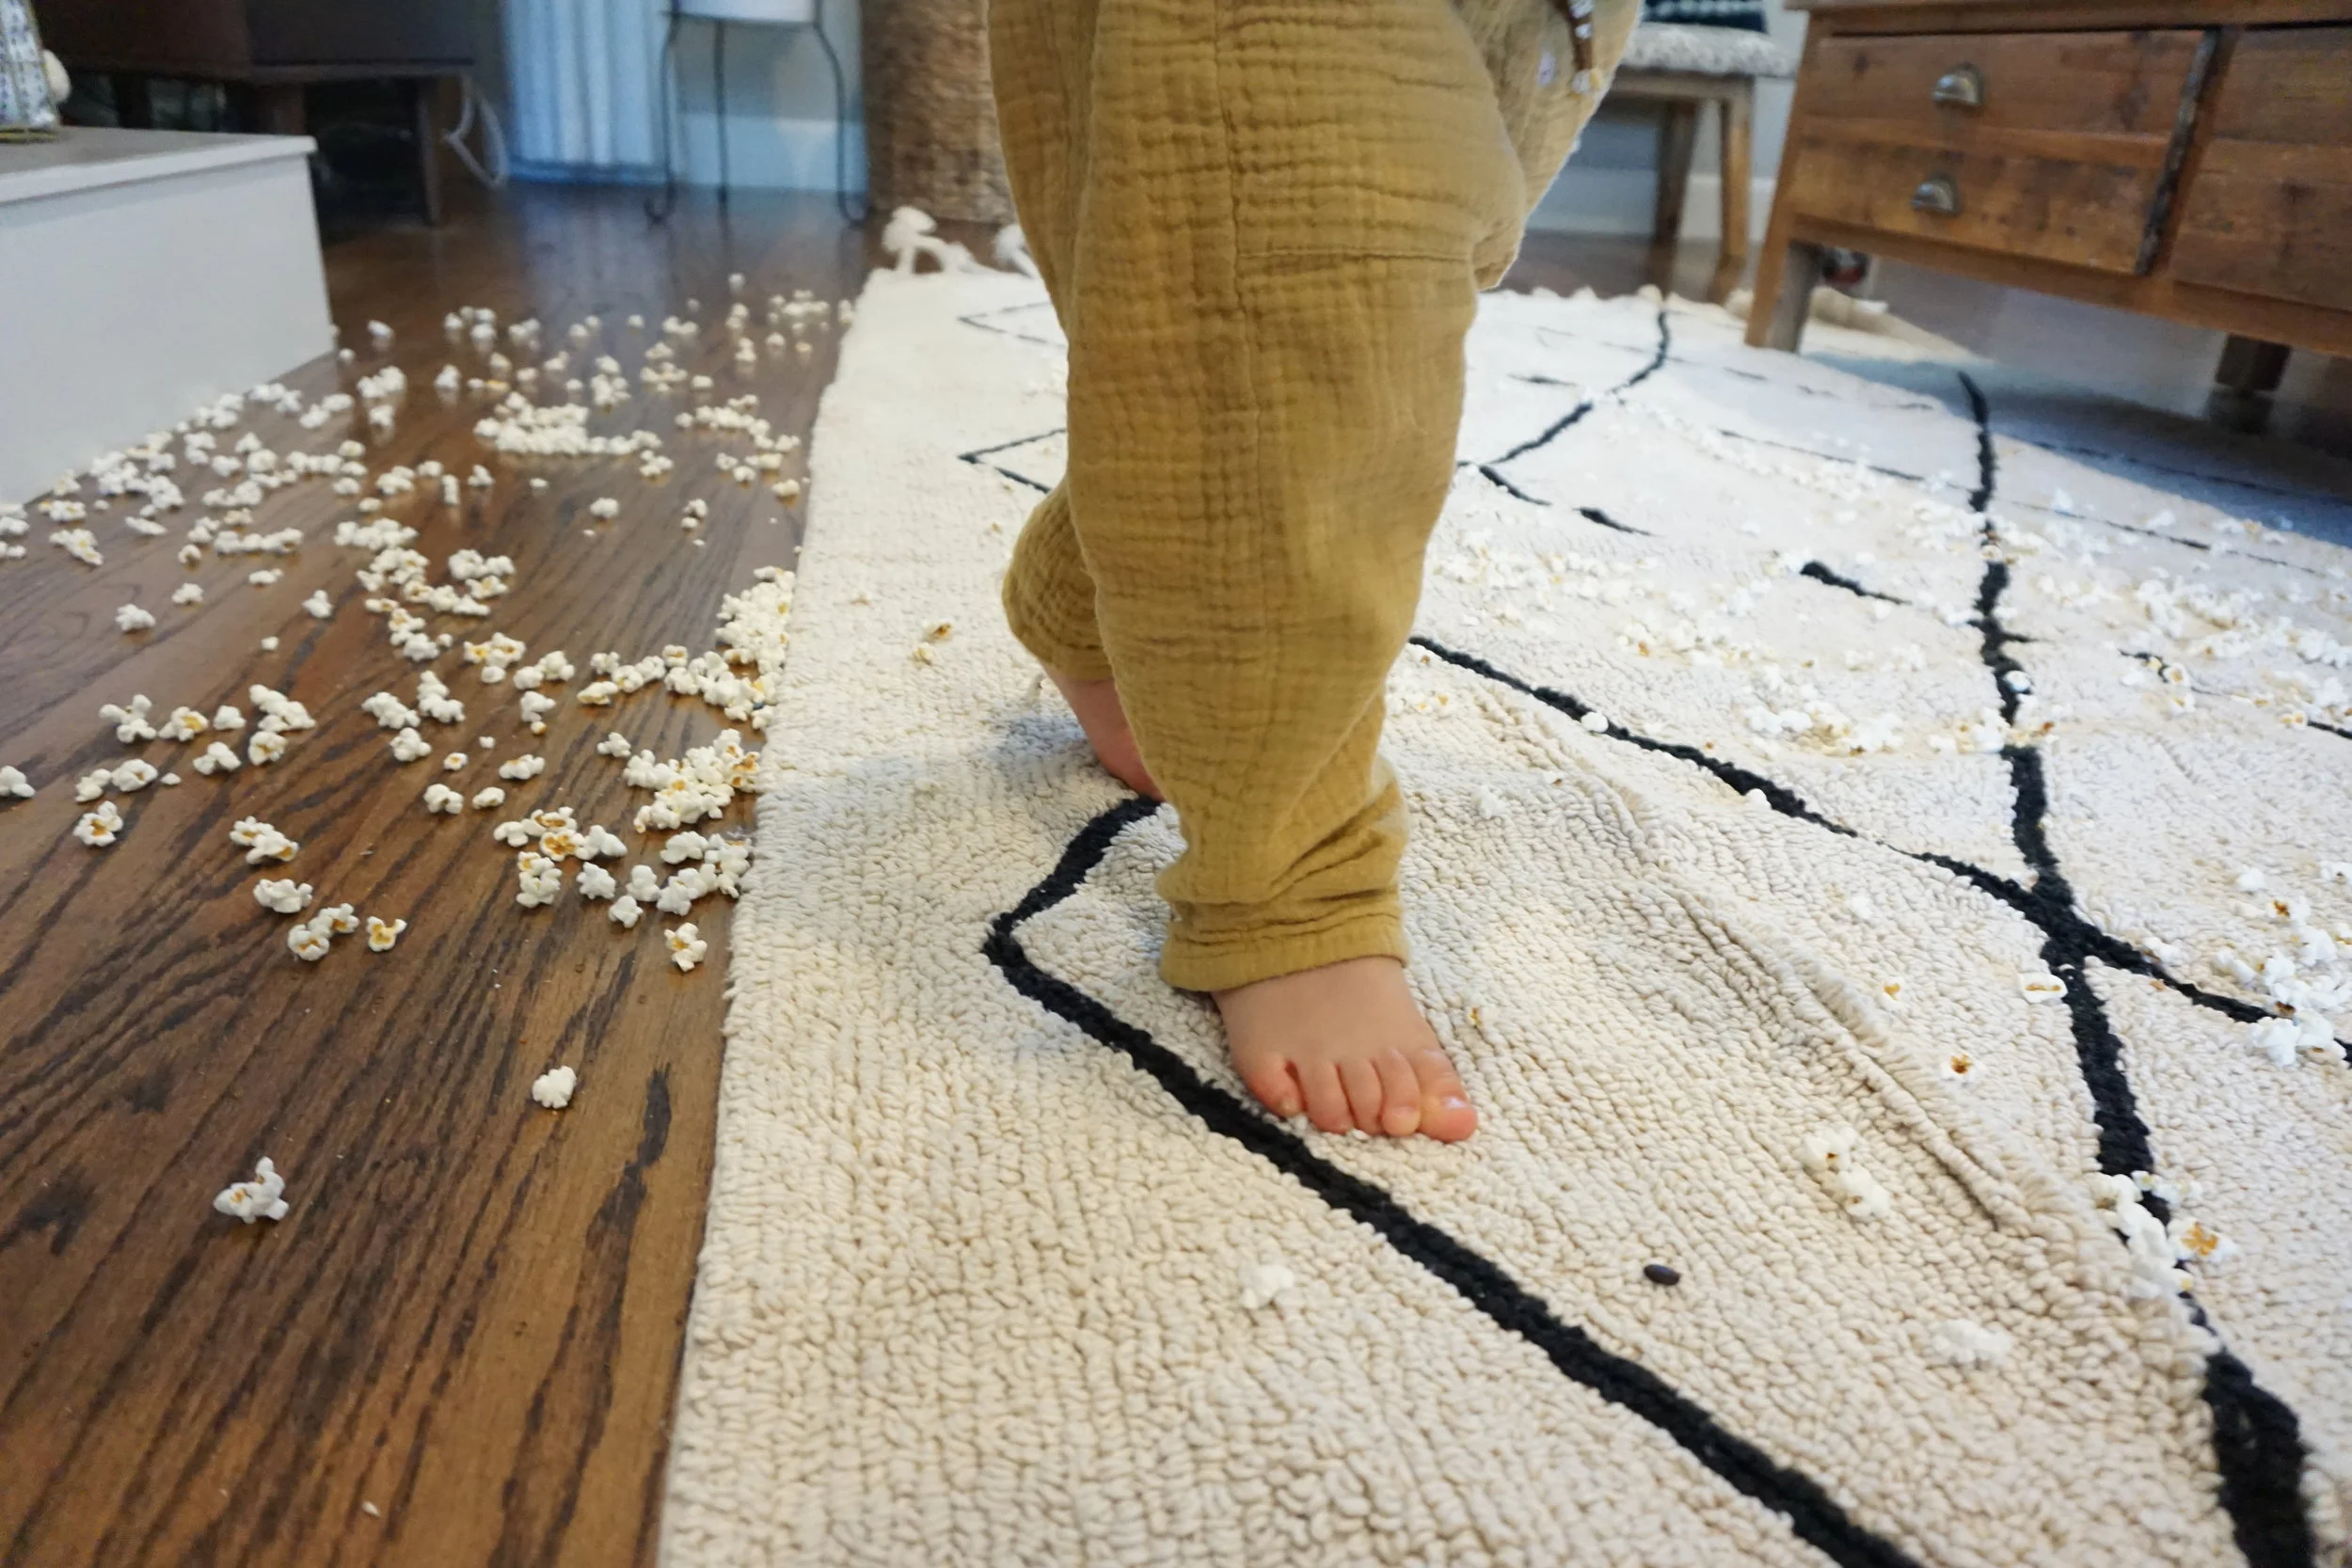
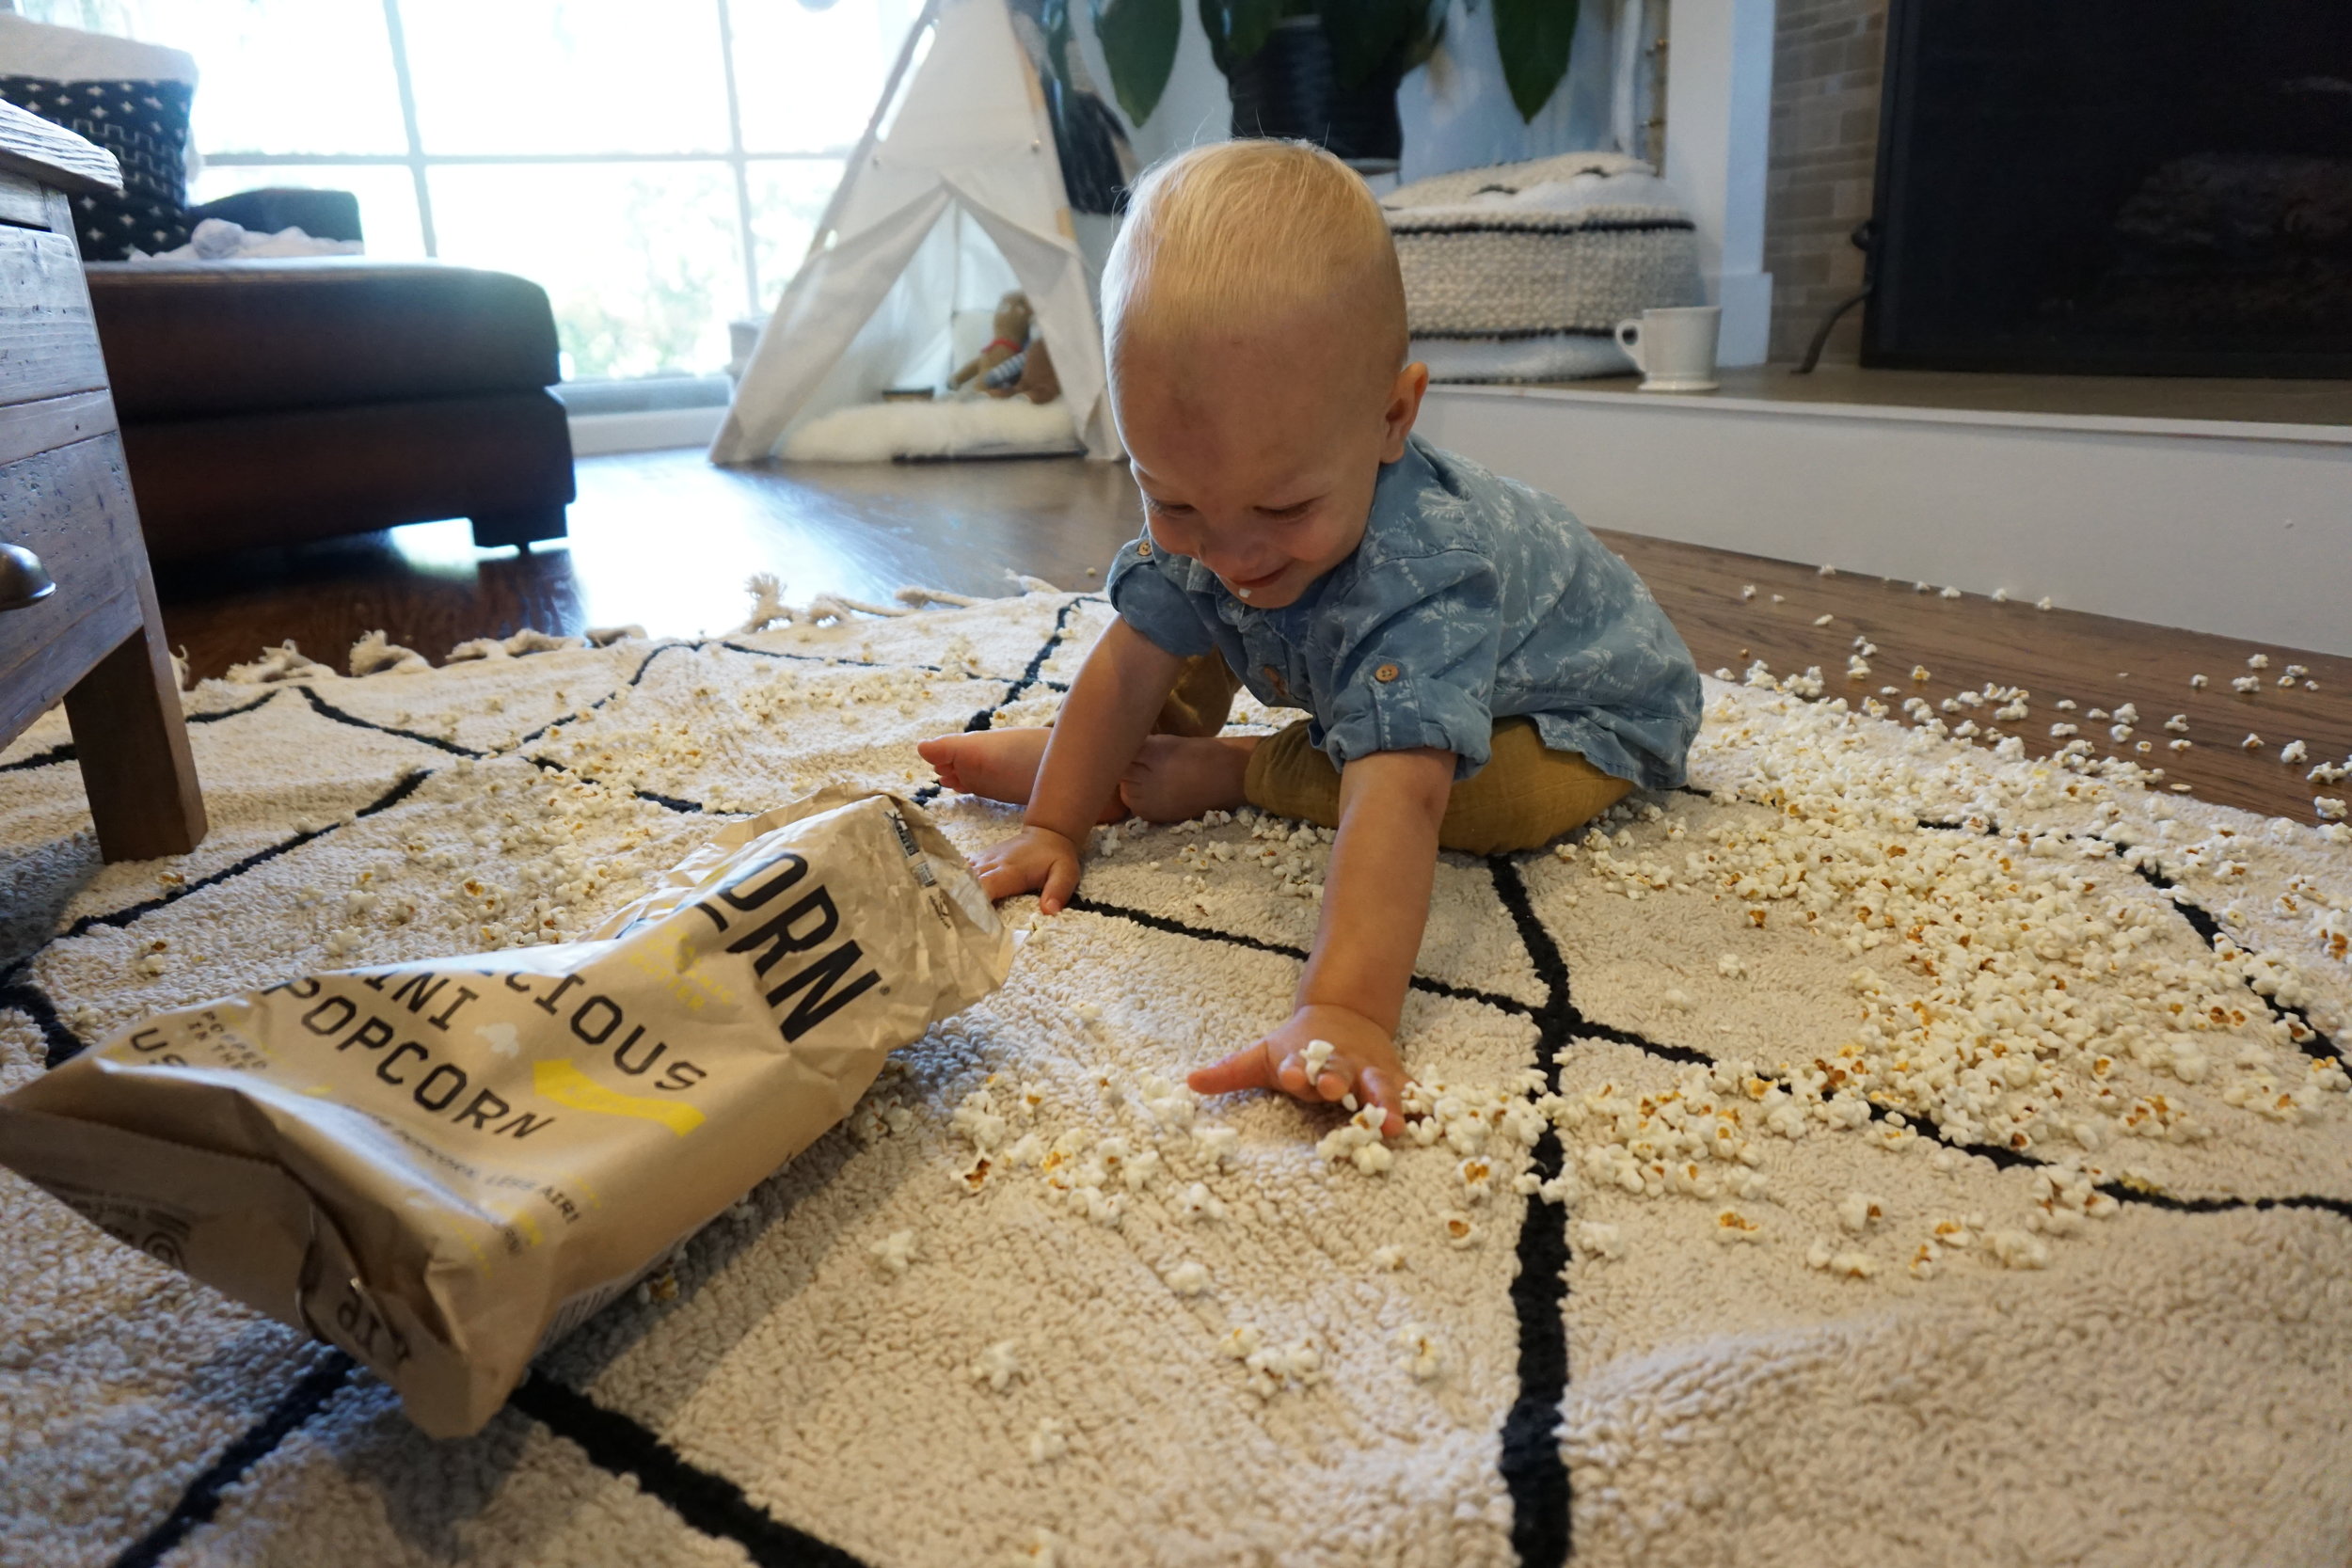
Rugs can make a space feel more like home.  Am I right?  I love hardwoods but I love the coziness a rug brings to a large space.  Nothing beats cuddling up on a cushy rug with some pillows and a fluffy blanket for family movie night or stepping barefoot on a soft cushy rug first thing in the morning.  But with a toddler, let's be real...things happen (Photo evidence attached).  Finding a bright white or cream rug that fit my aesthetic was purely a dream until I found Lorena Canal's machine washable rugs.  You heard me, they make rugs you fit into my own at home washer and dryer- GENIUS! Skip the stress and work of spot cleaning or the million dollar rug cleaning bill and stay home while you clean your rug! Finn can eat, play or just relax on the floor with his favorite snack without a worry from this mama because I know I can fix any stain with a quick stop to our laundry room.  Plus it doesn't hurt that they come in so many prints and solids, so you can add design to your living room,  no matter your style.  These rugs are the overachievers of home accessories and my favorite elements of my home.   We fell in love with the style of the Berber Beige and I linked it for you here.

DSC06807.JPG
FullSizeRender.jpg

I have a basket problem. (and maybe a Target problem too)  I'll admit it, I can't pass up a good basket.  We use them in all of our rooms, they have tons of uses; laundry hampers, blanket holders, pillow keepers, and toy wranglers.  The baskets can not only help keep things in their place and help your room feel more organized and clean, but they can also bring some style to your space.  Stop hiding things in drawers + closets, and go grab yourself some baskets!

FullSizeRender.jpg

Utilize all the rooms unused space.  Using your wall for organization clears up the clutter on the floors.  I found this awesome wall basket with hooks at target and it's hanging right by our front door and it's perfect.  It helps get Finn involved with daily tasks and when I tell him it's time to go somewhere, he goes to the basket, grabs his shoes, and hat and is ready to go!

FullSizeRender.jpg
FullSizeRender.jpg

Distract, distract, distract.  This is a tactic I often use when Finn is getting into something he is not supposed to.  I'm sure that most parents know this "hey look over here!" tactic all too well.  I purposely put things on the fireplace ledge to deter Finn from grabbing the fireplace screen.  If the screen was the only thing on the ledge, you know that would be exactly what those little hands would go straight for.  All the items on the ledge are kid friendly and if he gets into the poof or the pillows, it's all safe for him to play with.  

FullSizeRender.jpg

Lastly, IMHO, you can never have enough blankets pillows and throws.  Since my toddler is so mobile, I find myself either chasing him or trying to stop him in his tracks by getting on his level.  We spend a ton of time, actually most of our time, on the floor.  That's where a soft rug, these pillows and lots of blankets come in handy cause somersaults aren't that fun on hardwood floors, trust me.

Sources and links are below.

Lorena Canal : Washable Rug Berber Beige
Caco & kai : Mexican Blanket/indigo pillows 
Fireplace accessories: Similar pillows from Targethere, here and here
T-nees T-pees: All natural Tee pee
Gathre Playmat:   Medium mat in Blanc midi
Toys:  Bla Bla kids knit dolls + Melissa & Doug wooden car toys
Target: Links for fireplace basket click here.  Links for hanging wall basket here.  Links for play area basket here.

DSC07198.JPG
DSC06913.JPG
FullSizeRender.jpg
DSC06926.JPG
FullSizeRender.jpg
DSC07093.JPG
DSC06798.JPG
FullSizeRender.jpg
This website contains some affiliate links to products that we use and love. A very small percentage of purchases made through these links goes to help support our family in a small way. Thank you for following along.