


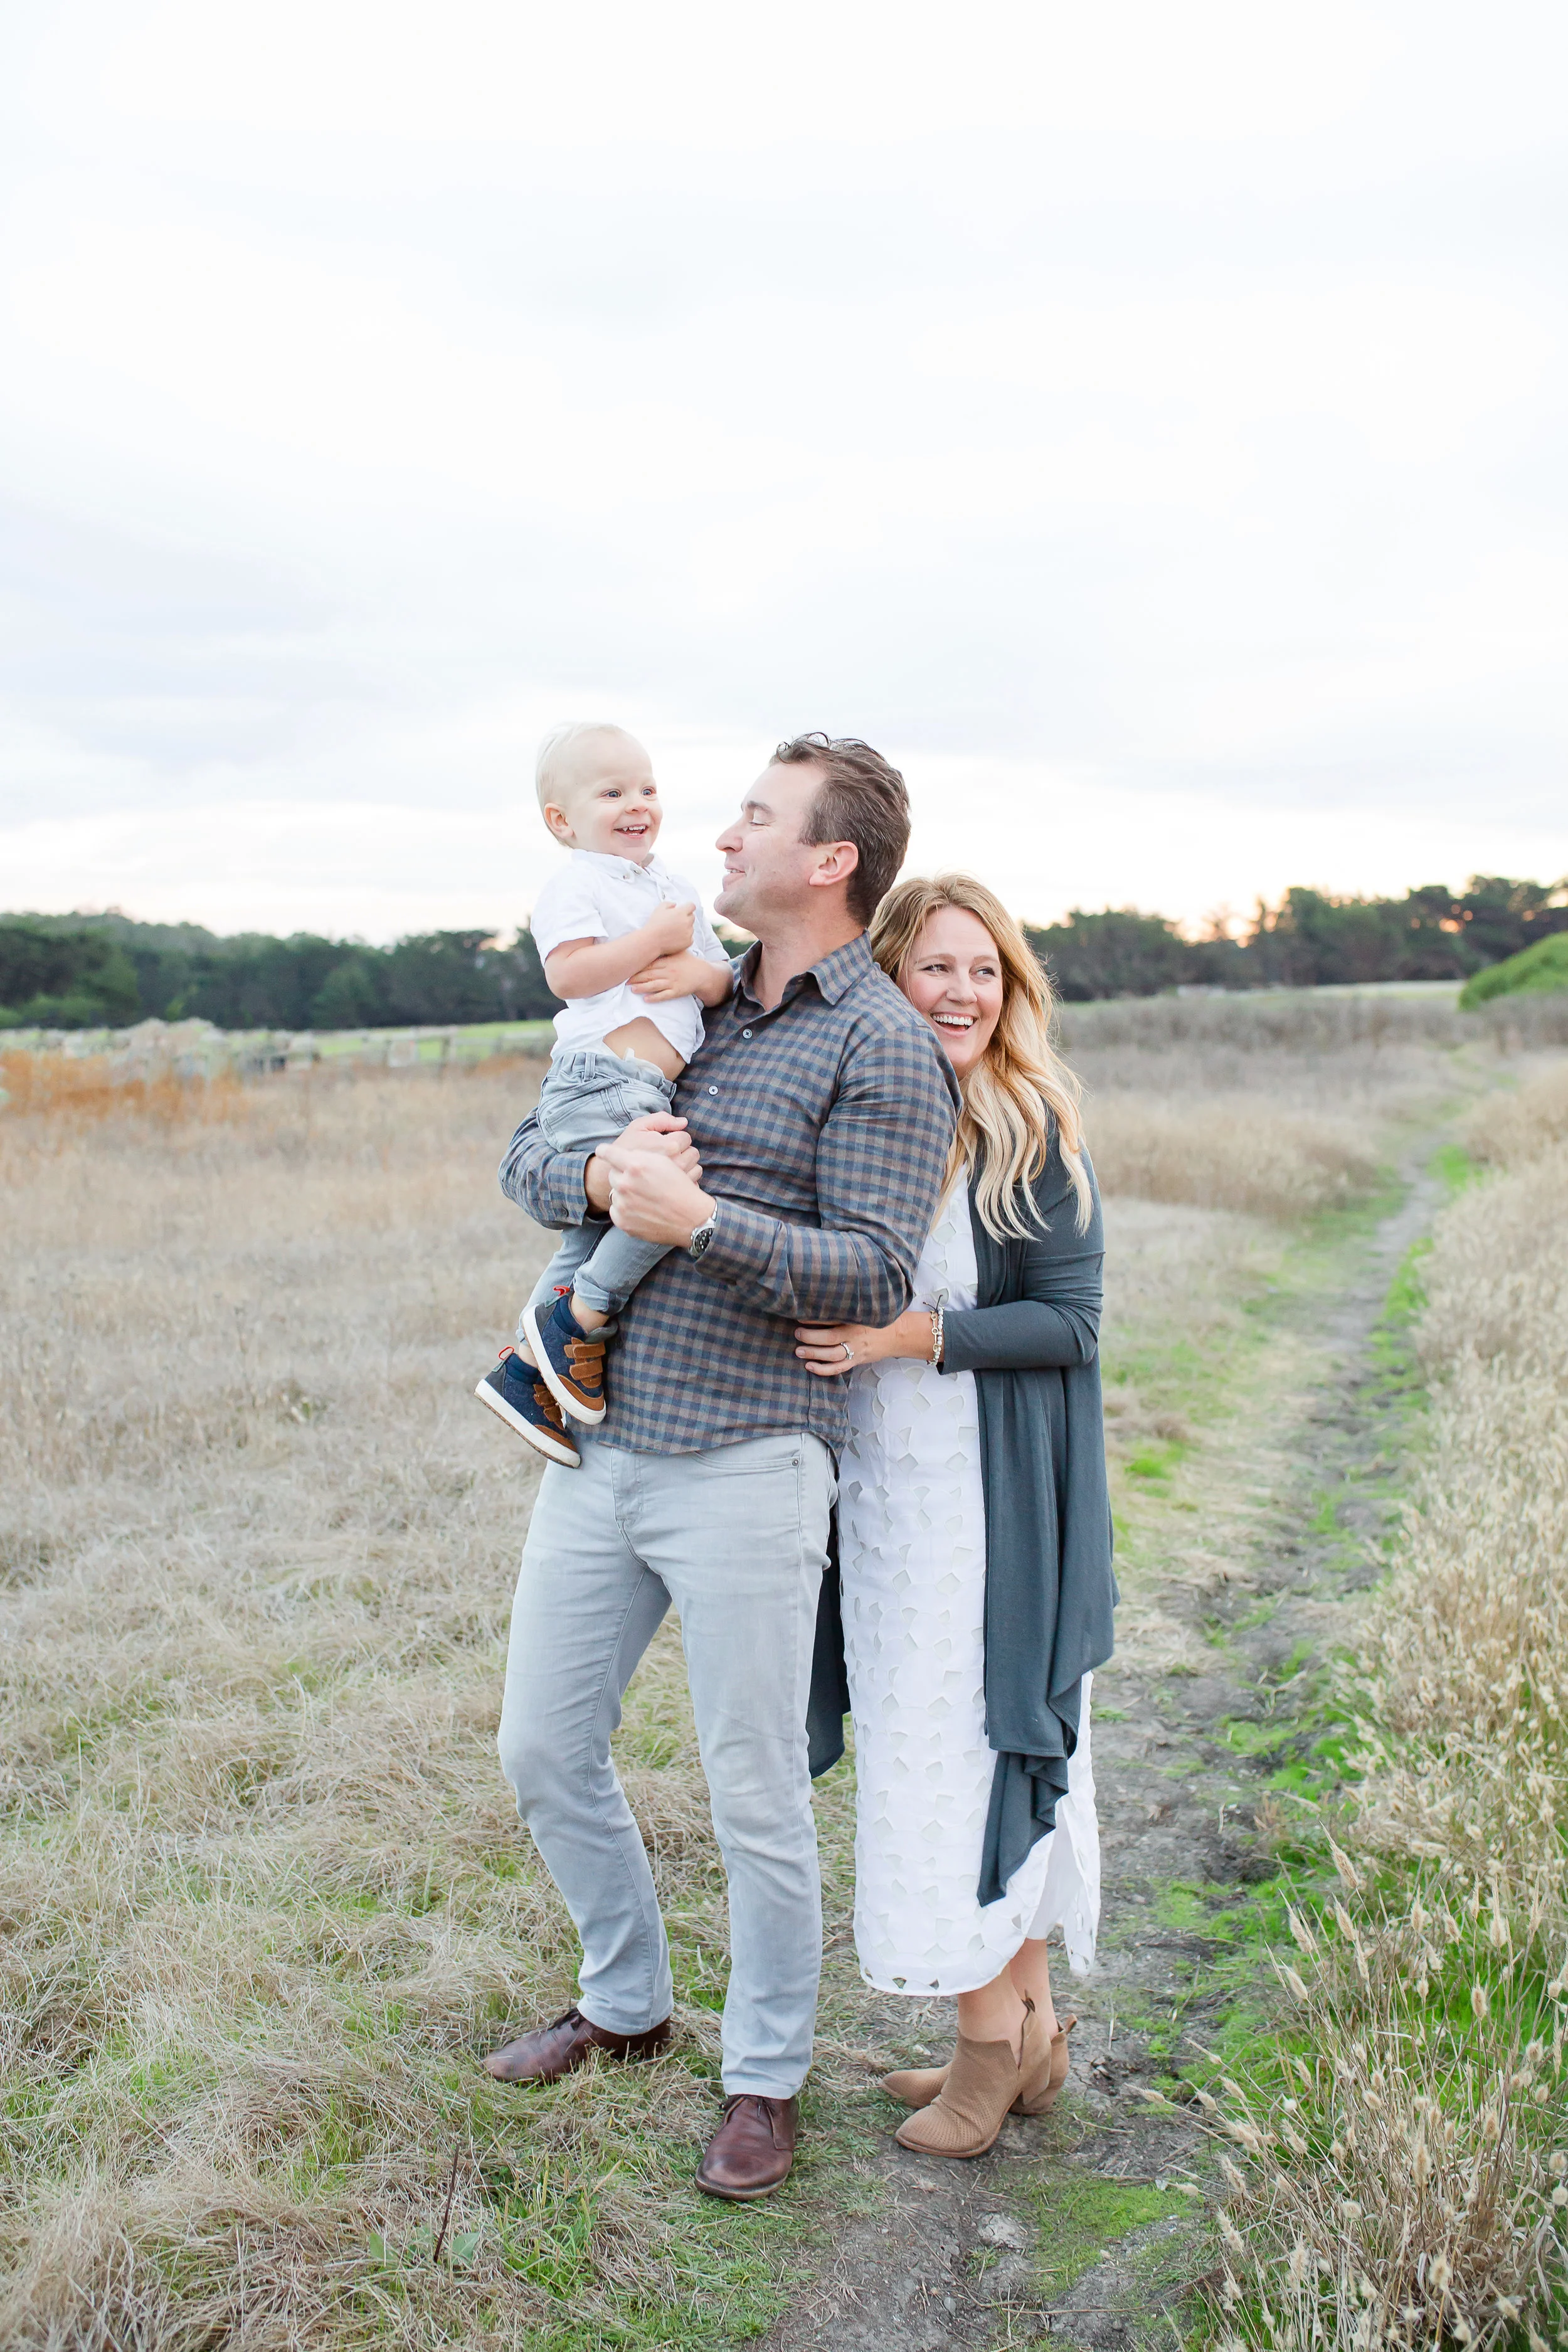
![#thedailymoments || Week 4 [in honor of my dearest Debi]](https://images.squarespace-cdn.com/content/v1/55035a45e4b0bf46165be20d/1533277489778-672U8T4ZI5X0HEVLZTID/IMG_8387.jpg)


the best photography tips i've learned for capturing your family perfectly, even on your iPhone.

If you're a mom trying to just get great photos of your family that you can frame, or if your an aspiring blogger who wants a curated and personal aesthetic consistently throughout your feed, these are some simple tips I've learned over the last few years that helped me do just that.
If you’re looking for step by step examples of how I edit my actual photos right now. Head over to this post. I walk you through everything step by step and show you how I use all my favorite apps.
Three things I focus on to keep my Instagram feed cohesive:
1. shooting [lighting + angles]
2. editing [presets, touch ups, and angles]
3. posting [9 grid]
90% of my photos I take on my iPhone X, and 50% of the time I use the portrait mode, it needs bright natural light to be crisp, so sometimes I can't use it to get the best shot. If I am using an actual camera, I'm usually using a Canon t3 that Jason bought for me 8 years ago. But truthfully, in my opinion, it's usually not the camera that makes the picture look good, it's the person taking it. It took me almost 3 years to finally feel like I kinda know what I'm doing at these are a few things I've learned that have helped me.

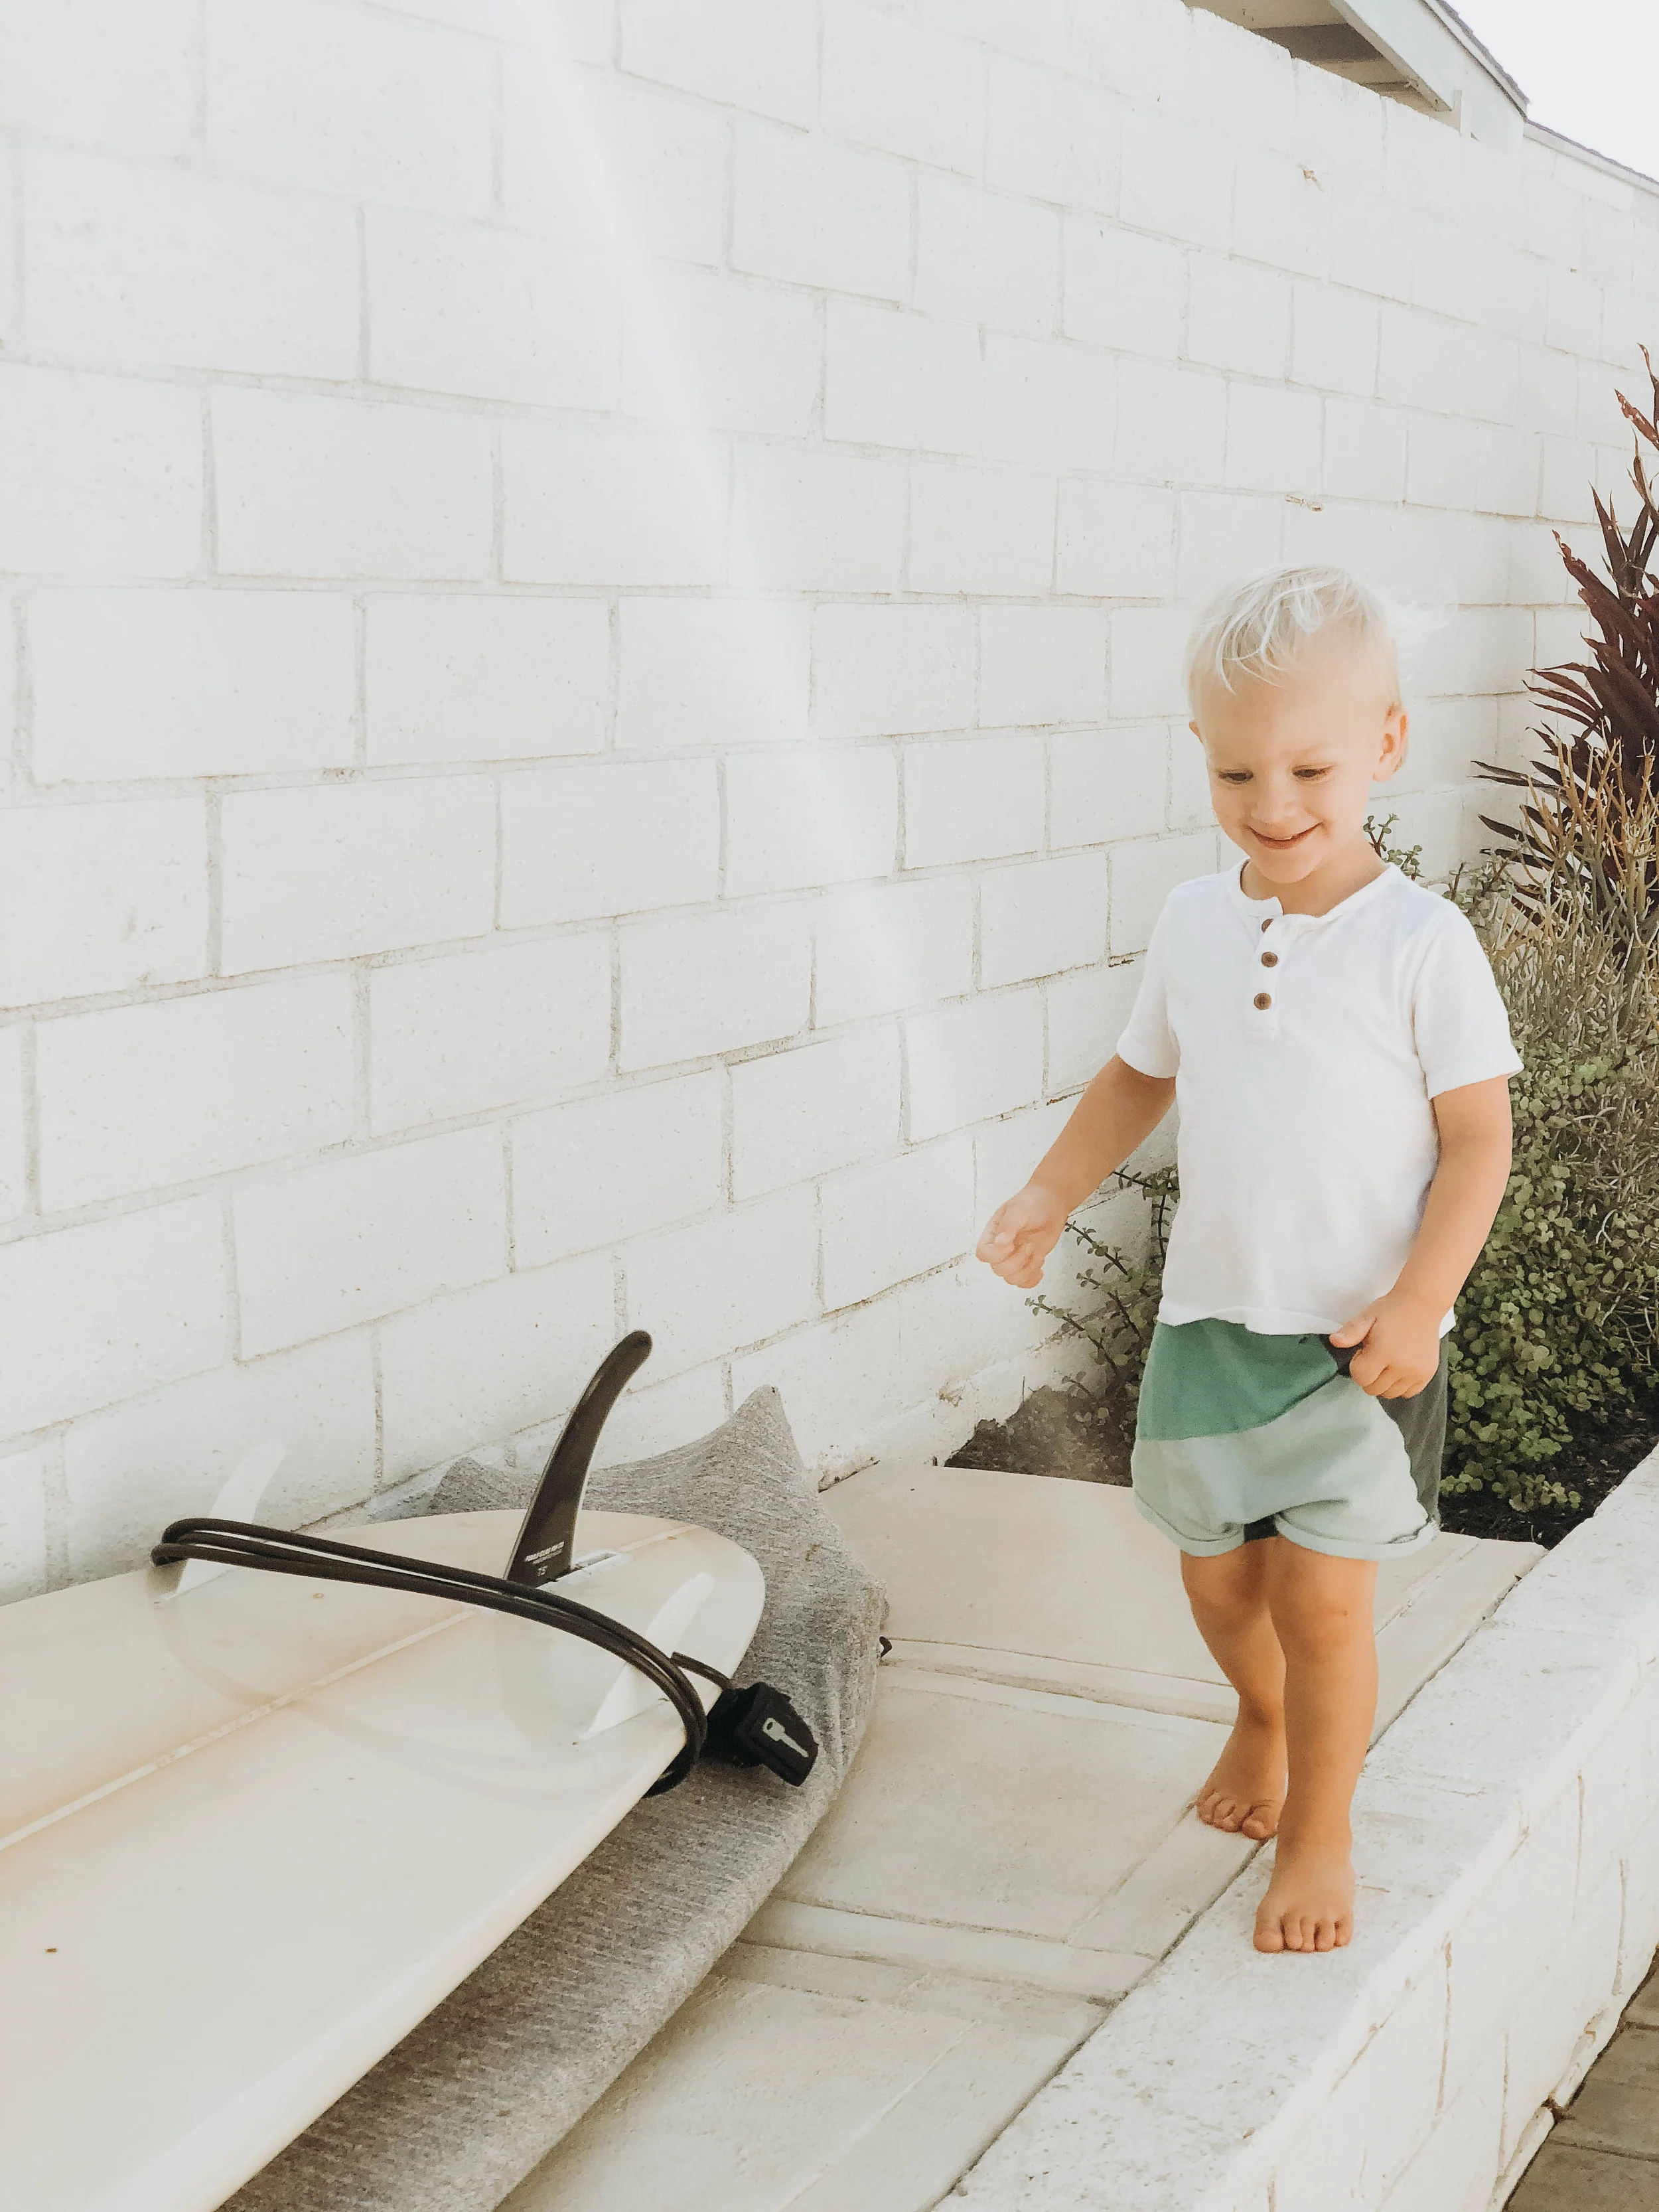
1. When shooting anything; people, food, scenery, selfies, be aware of your surroundings and don’t be afraid to take a few steps back and get more of the location in the picture. [you can always crop later]. A good rule of thumb I use when directing Jason to take a photo is to make sure you get our feet and our heads. It’s human nature to always want to take the image close to someone’s face but I like it when you get the whole picture of what’s happening in the image when you take it from farther away.


2. I almost always try and take my photos with natural light. If I’m outside, whoever is taking the picture [usually me] have them [or you] stand with your back to the sun. And try and avoid standing in the sunlight. Use a shaded area that still gets a good amount of natural light from the sun.
3. If you are shooting indoors, or with artificial lighting, you can get rid of the yellow tints by adjusting the yellow hues and the temperature of the image. [Lightroom does this best]. This is my favorite things I've learned so far. But when shooting, try and keep the lights off as much as possible and avoid using the flash. It’s easier to brighten the photo because it’s dark vs get rid of the yellow light or reflections from the glare of lights.


4. When you edit, keep your photos straight and centered. Use the crop/straighten tools and the perspective to adjust the angle vertically or horizontally. I will show you how to do this in SNAPSEED in this post, but you can use any app or just adjust them in your photo gallery in your phone. This helps with the rule of 3’s, by keeping your lines straight.


5. Use the rule of 3's in photography to align the photo. This is so simple but makes the biggest impact. The rule of thirds is applied by aligning a subject with the guidelines. The basic principle behind the rule of thirds is to imagine breaking an image down into thirds (both horizontally and vertically) so that you have 9 parts and creating a horizon so that your eye easily moves from square to square.

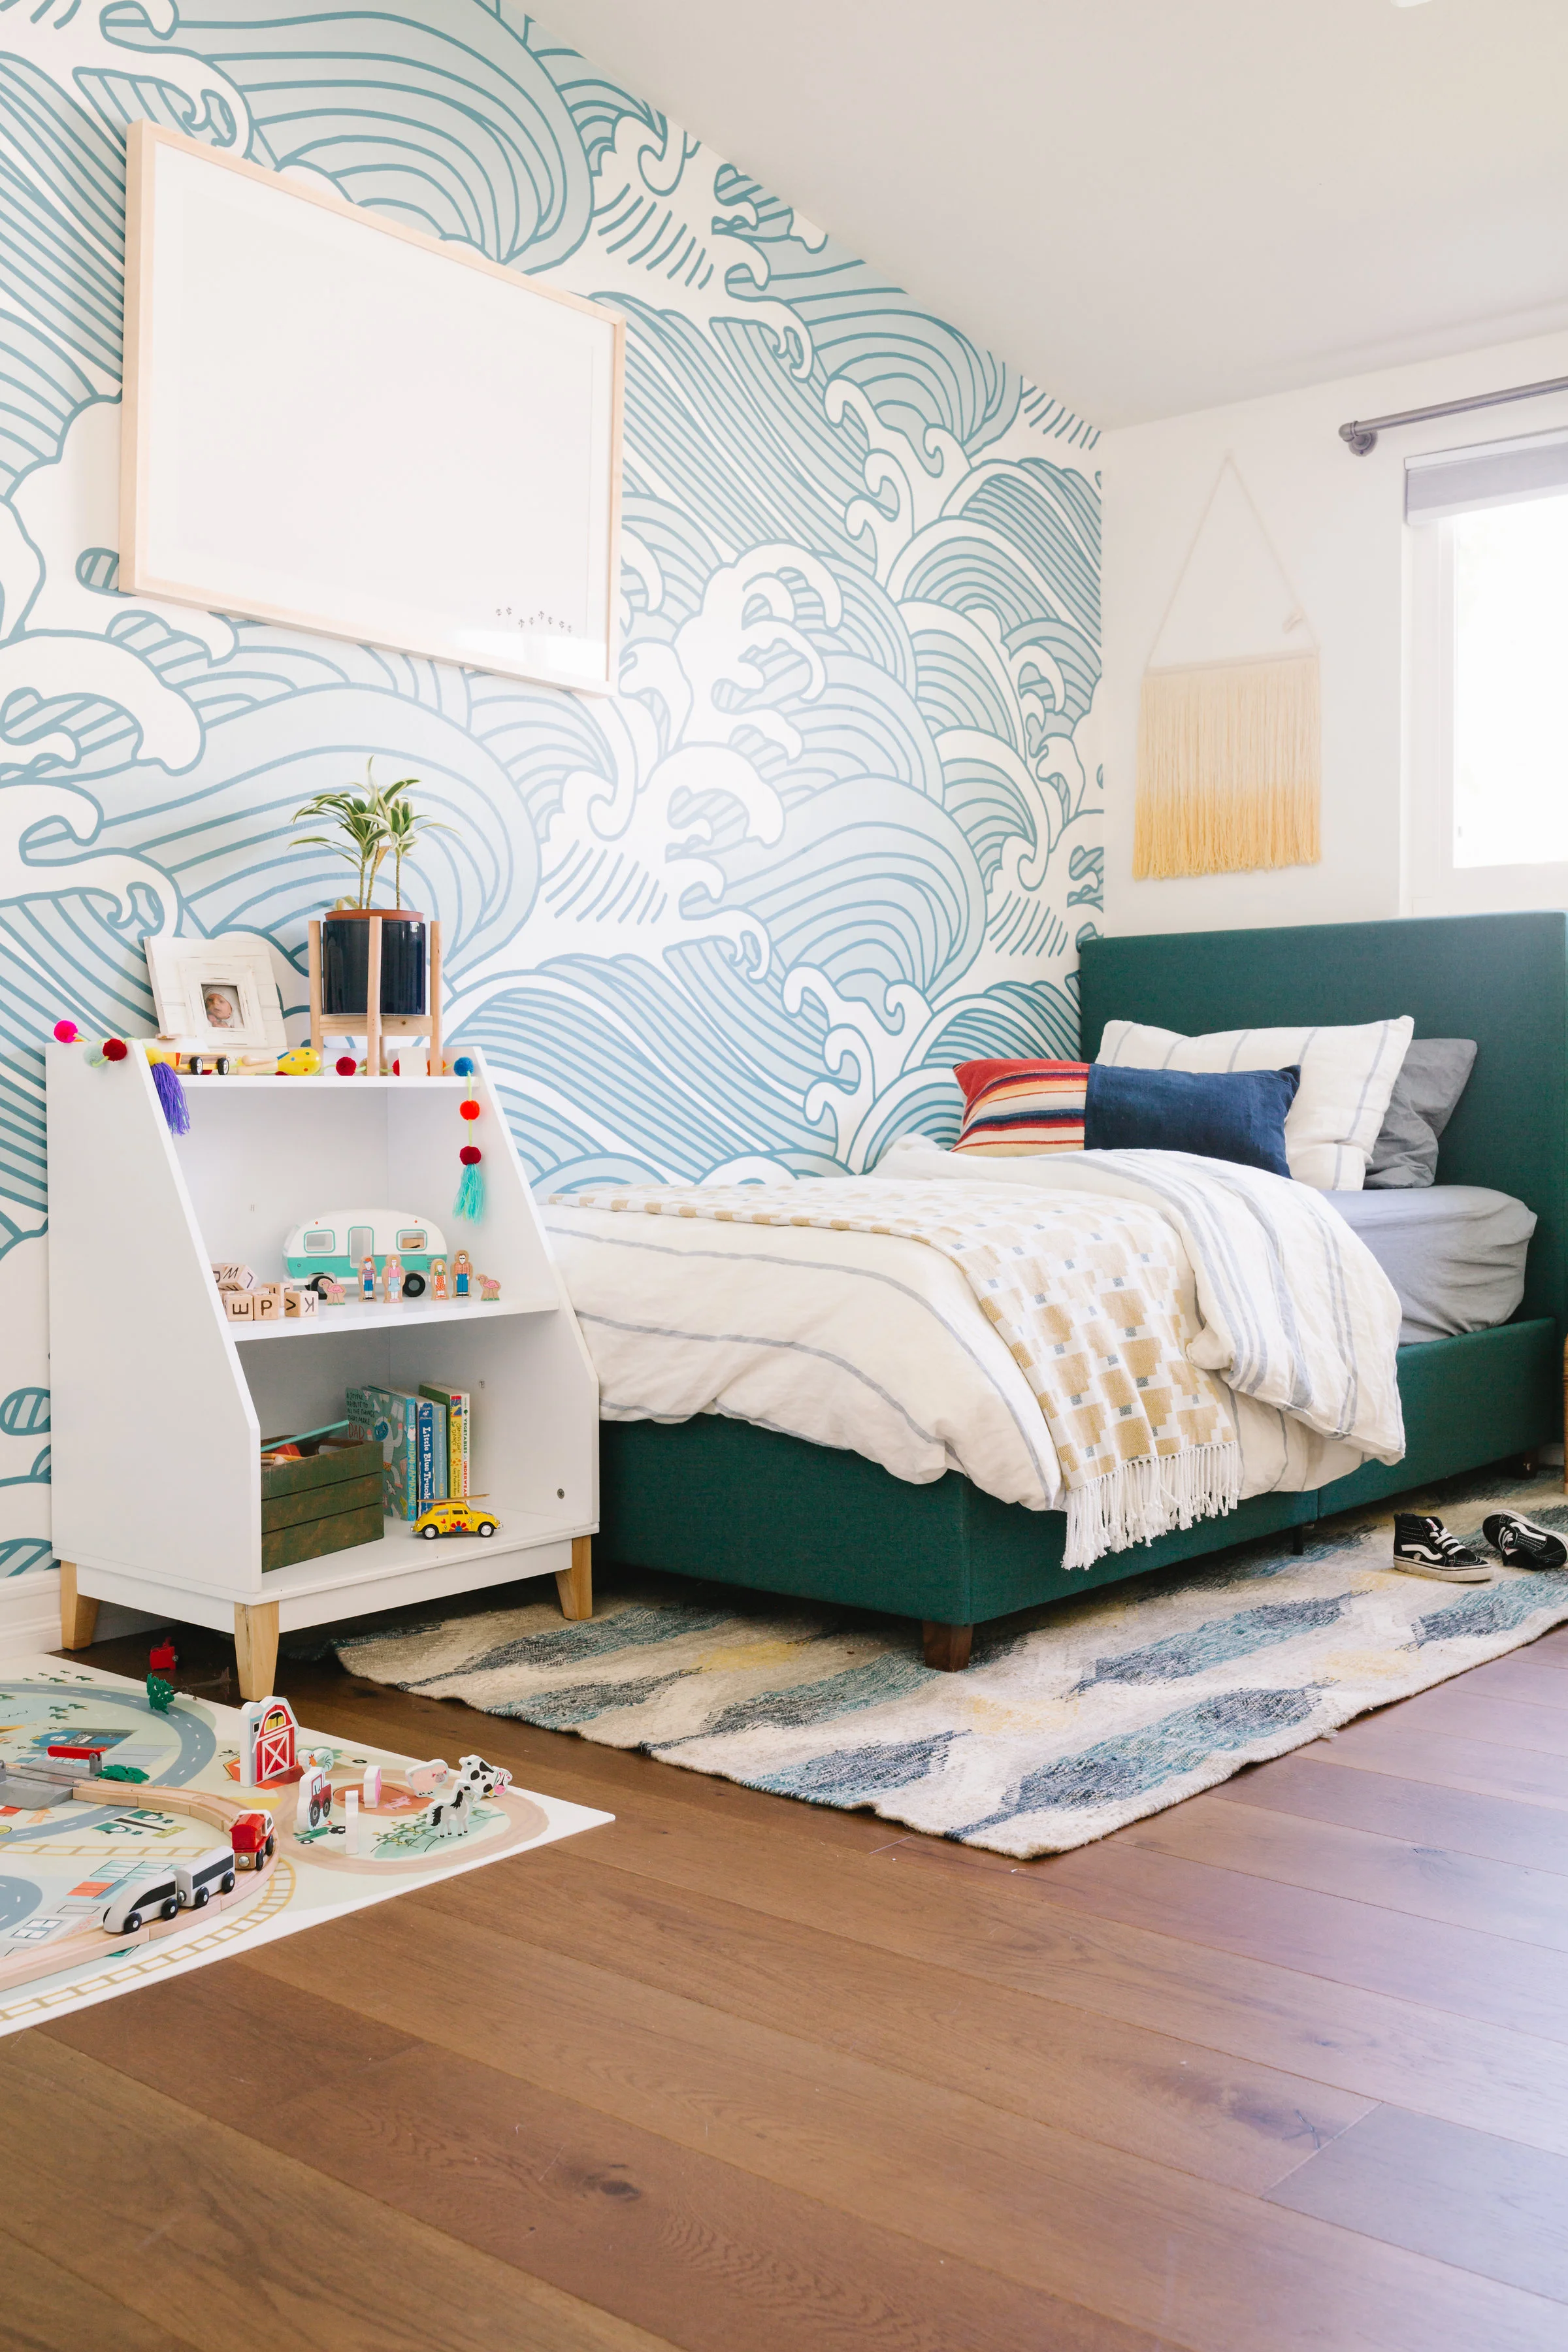
6. Set your scene first and make sure you’re taking the snap straight if you can. If you have time take a couple practice shots so you can see if a weird outlet or random thing stands out in the image. Try and take photos straight on so when you align your subject, don’t shoot from the side of it, shoot straight at it. Don’t be afraid to move around! Taking images from all angles you wouldn't normally think would be good, sometimes get you the best shot! If you end up with something in the image you want to edit, I use RETOUCH. Like this picture below actually had a vacuum leaning on the sliding glass door. I edited it out with two clicks.

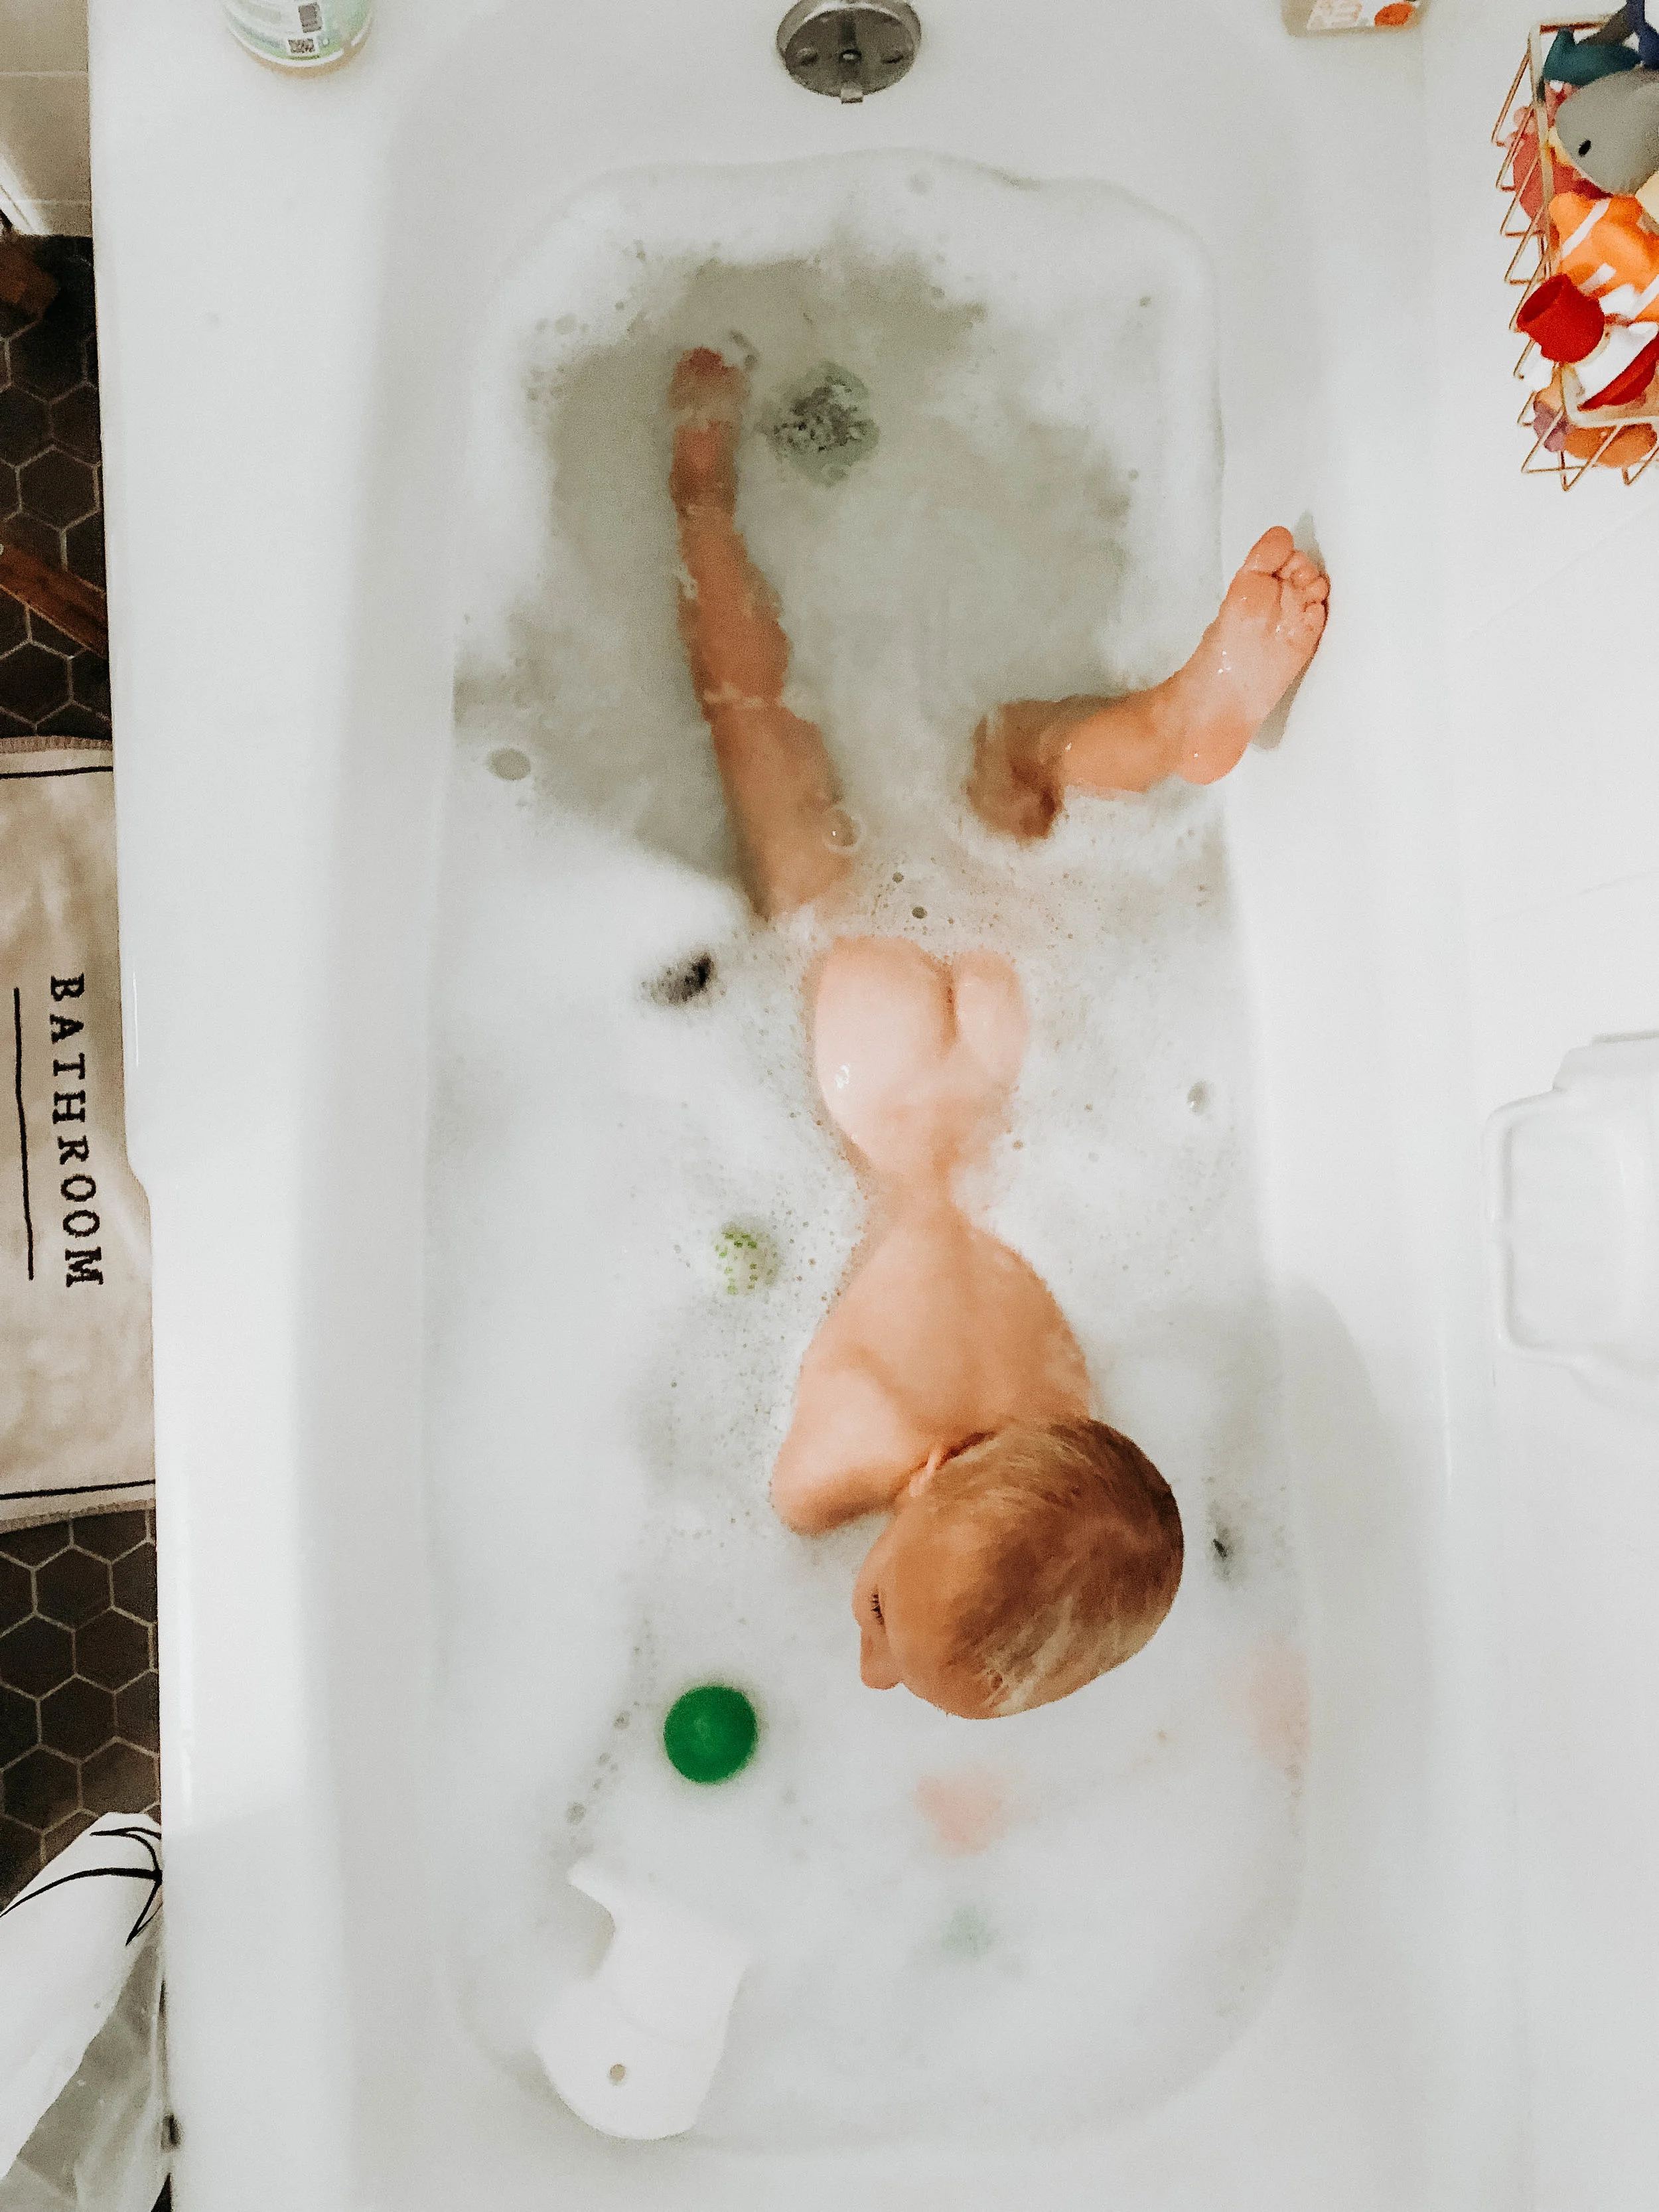
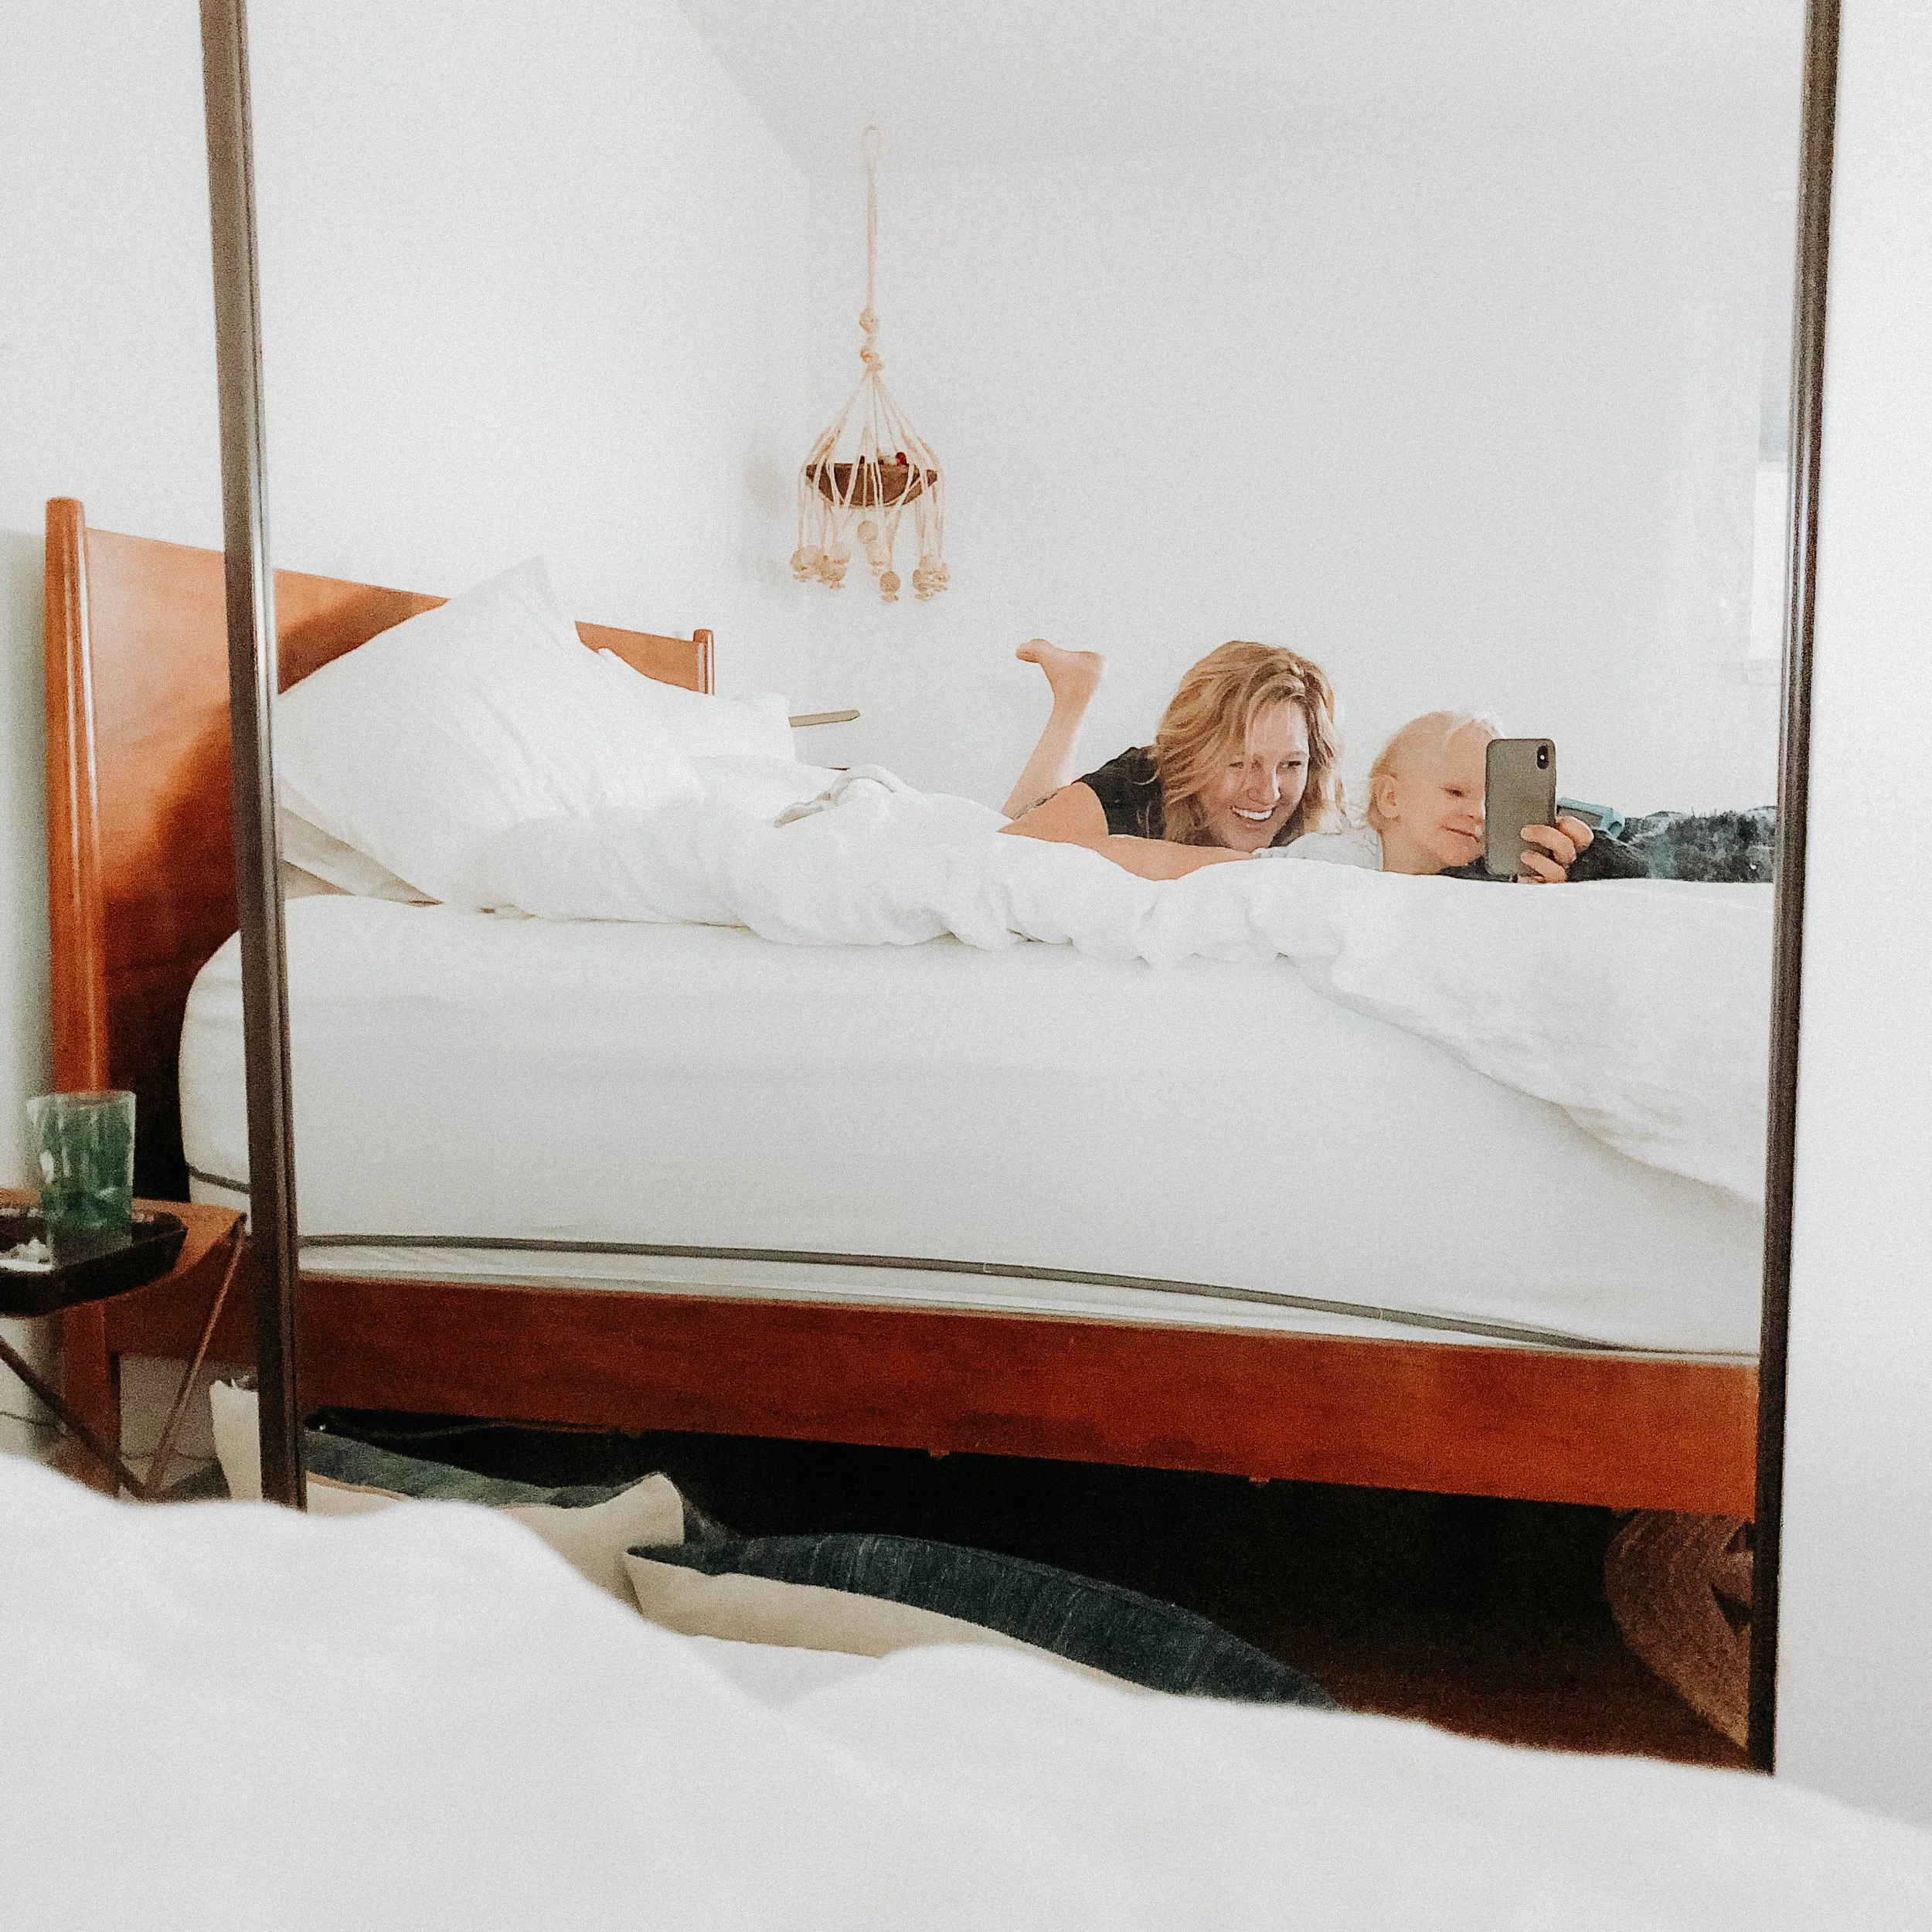
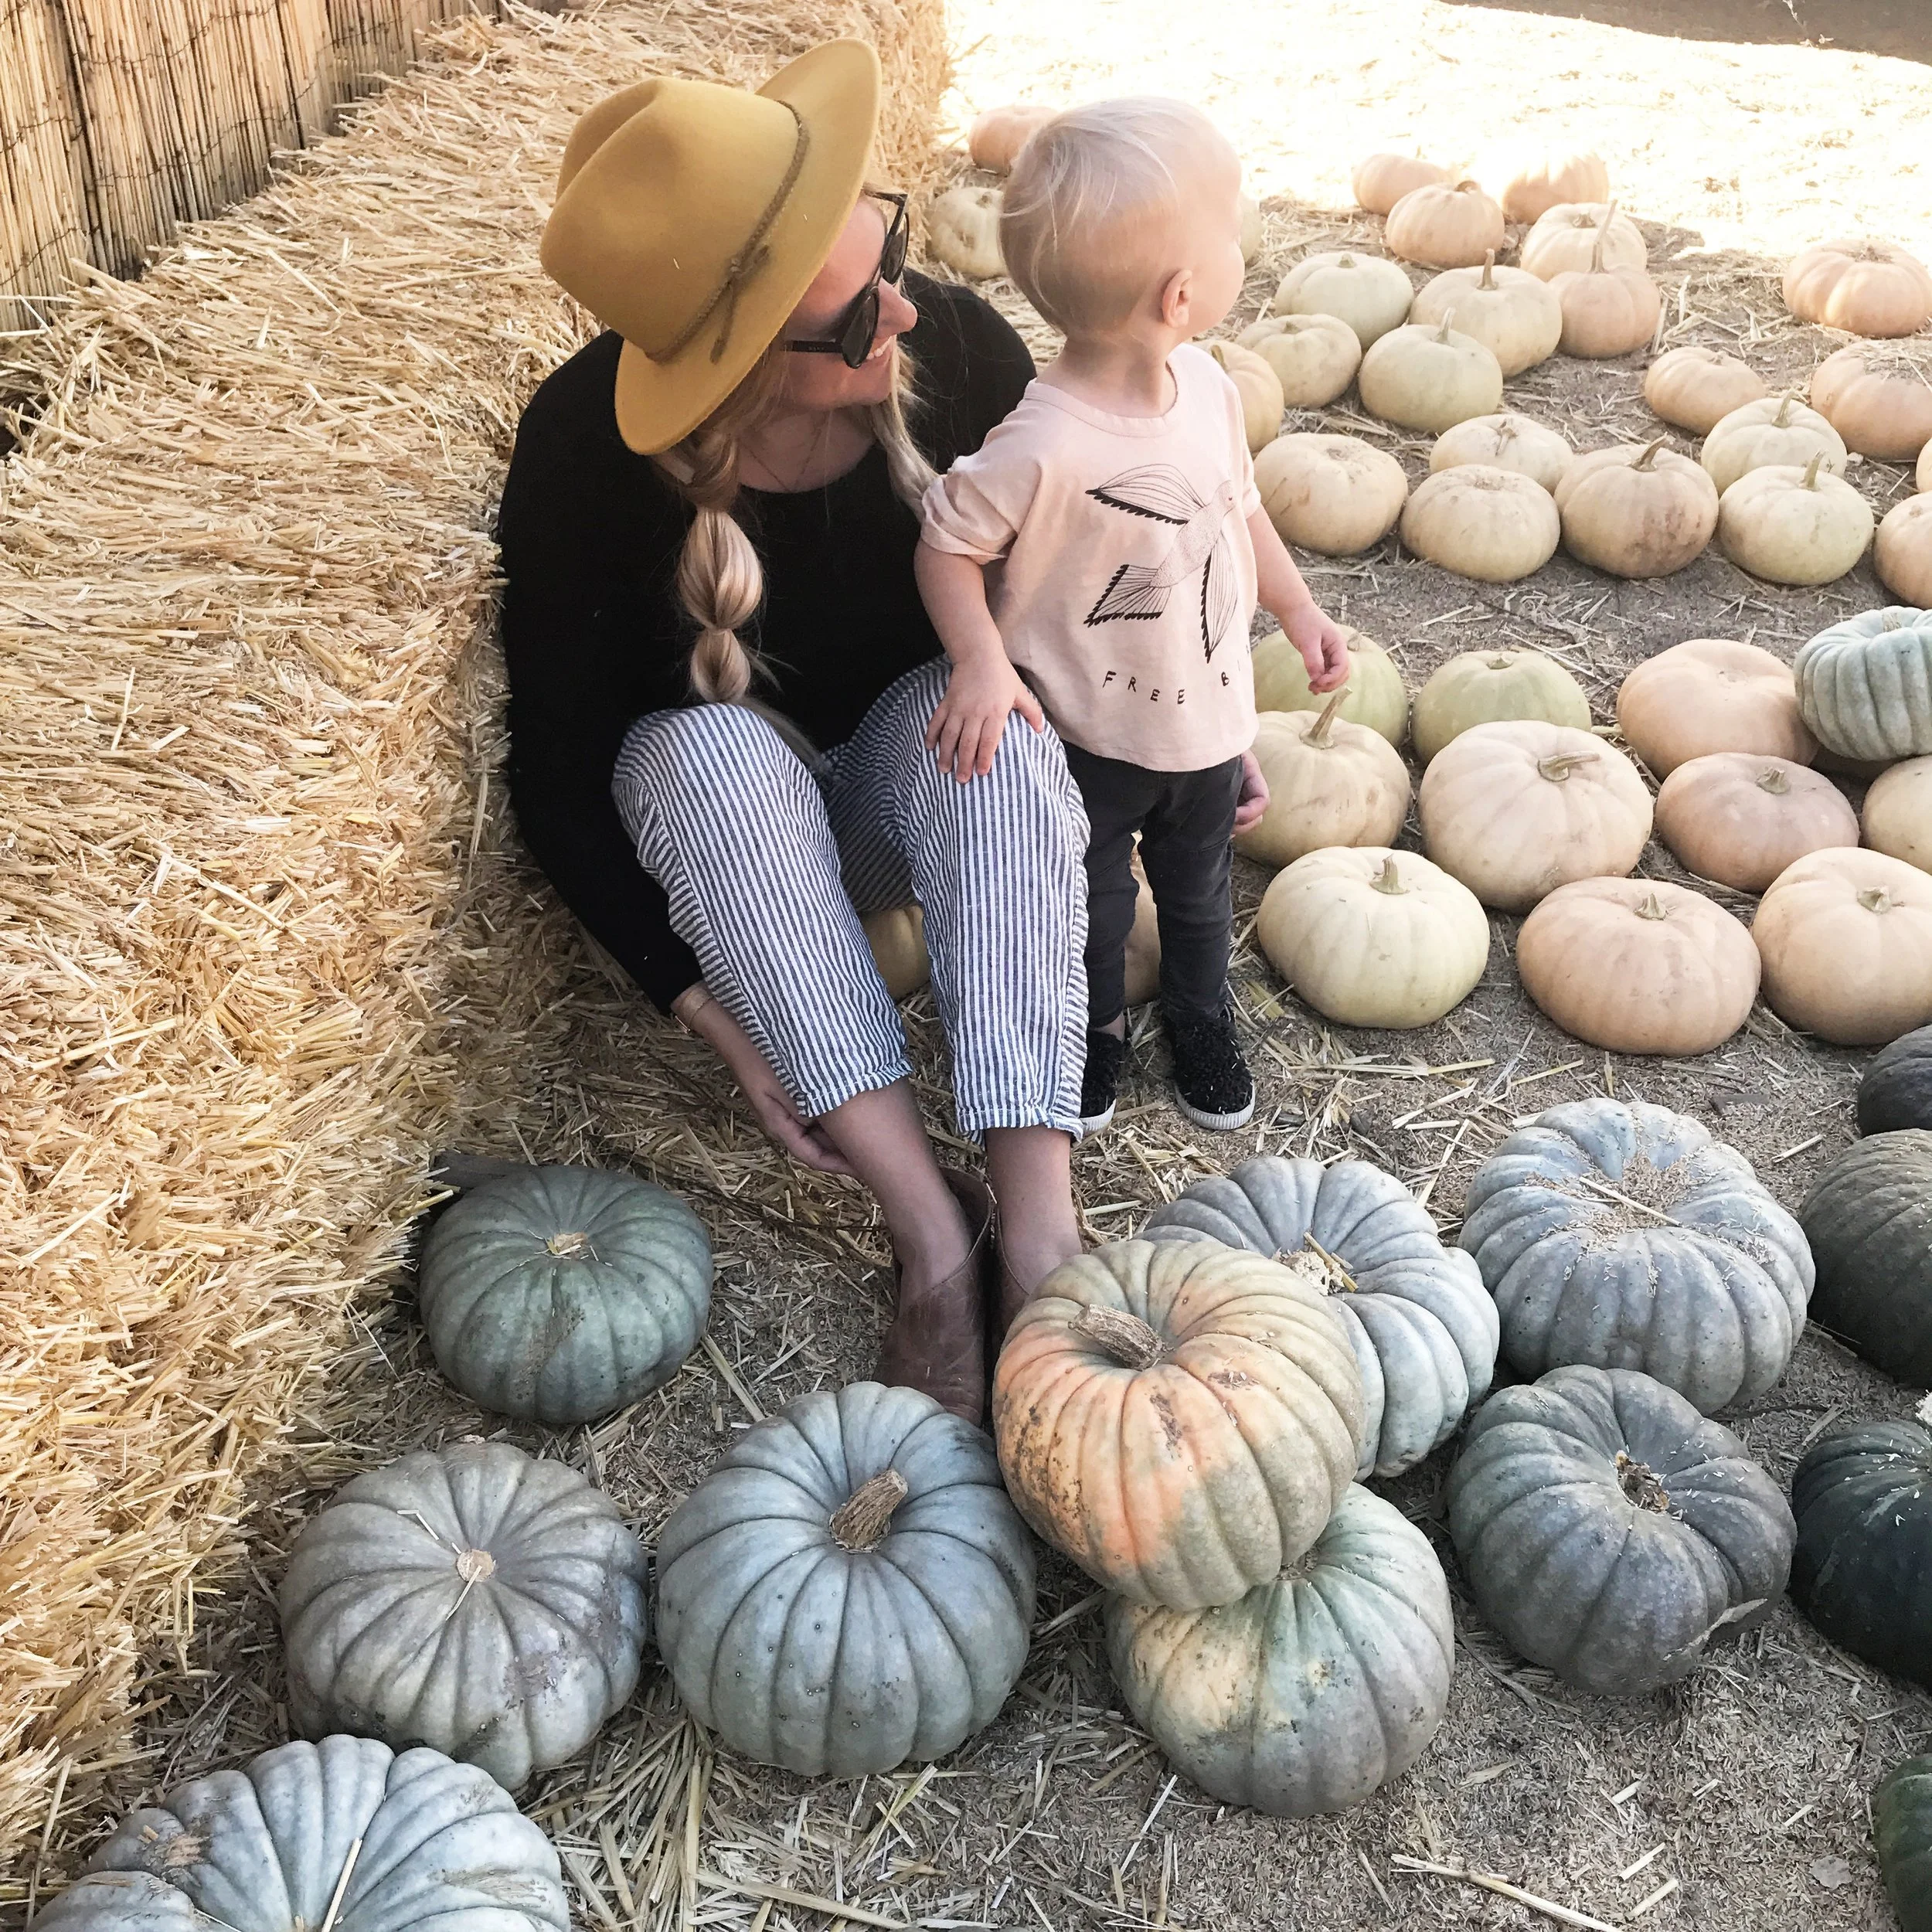
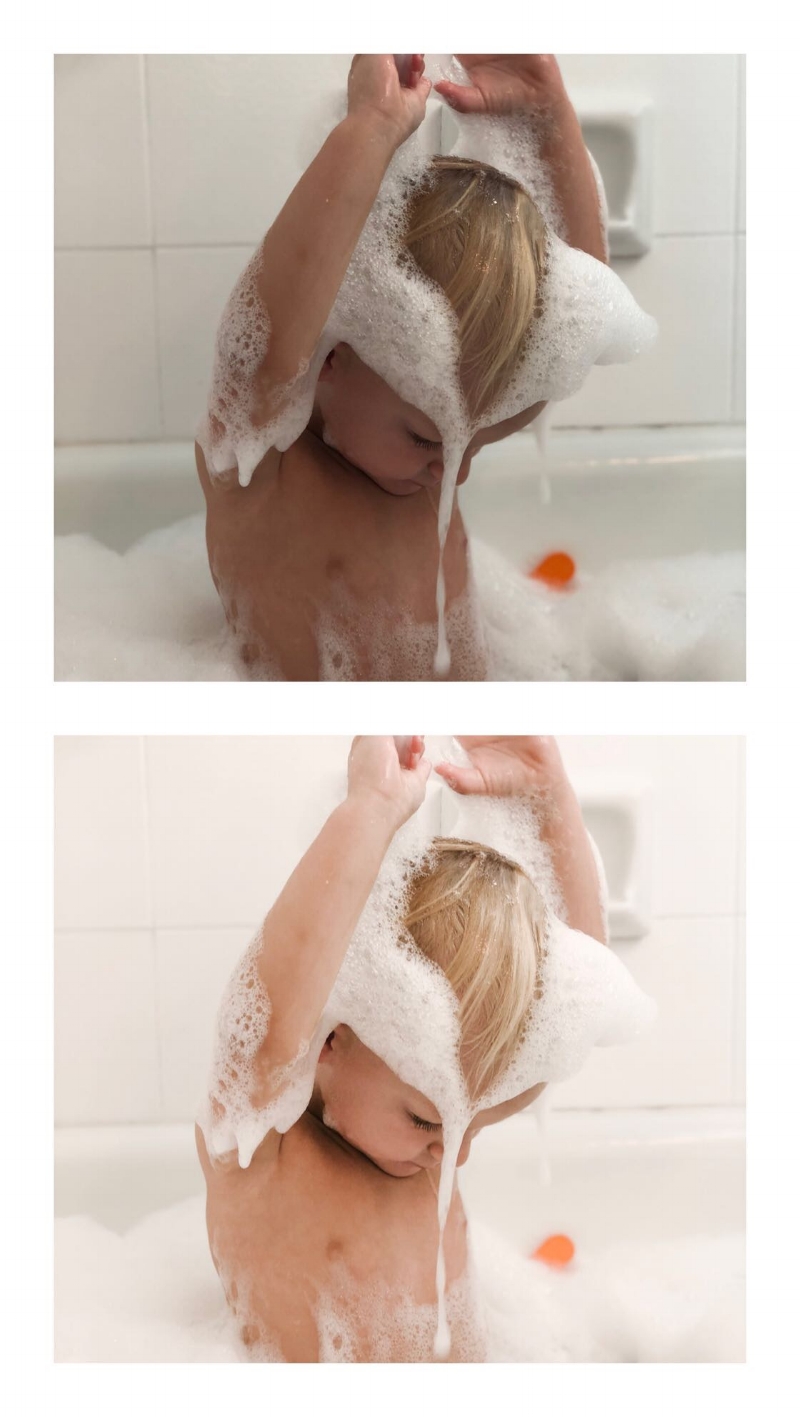
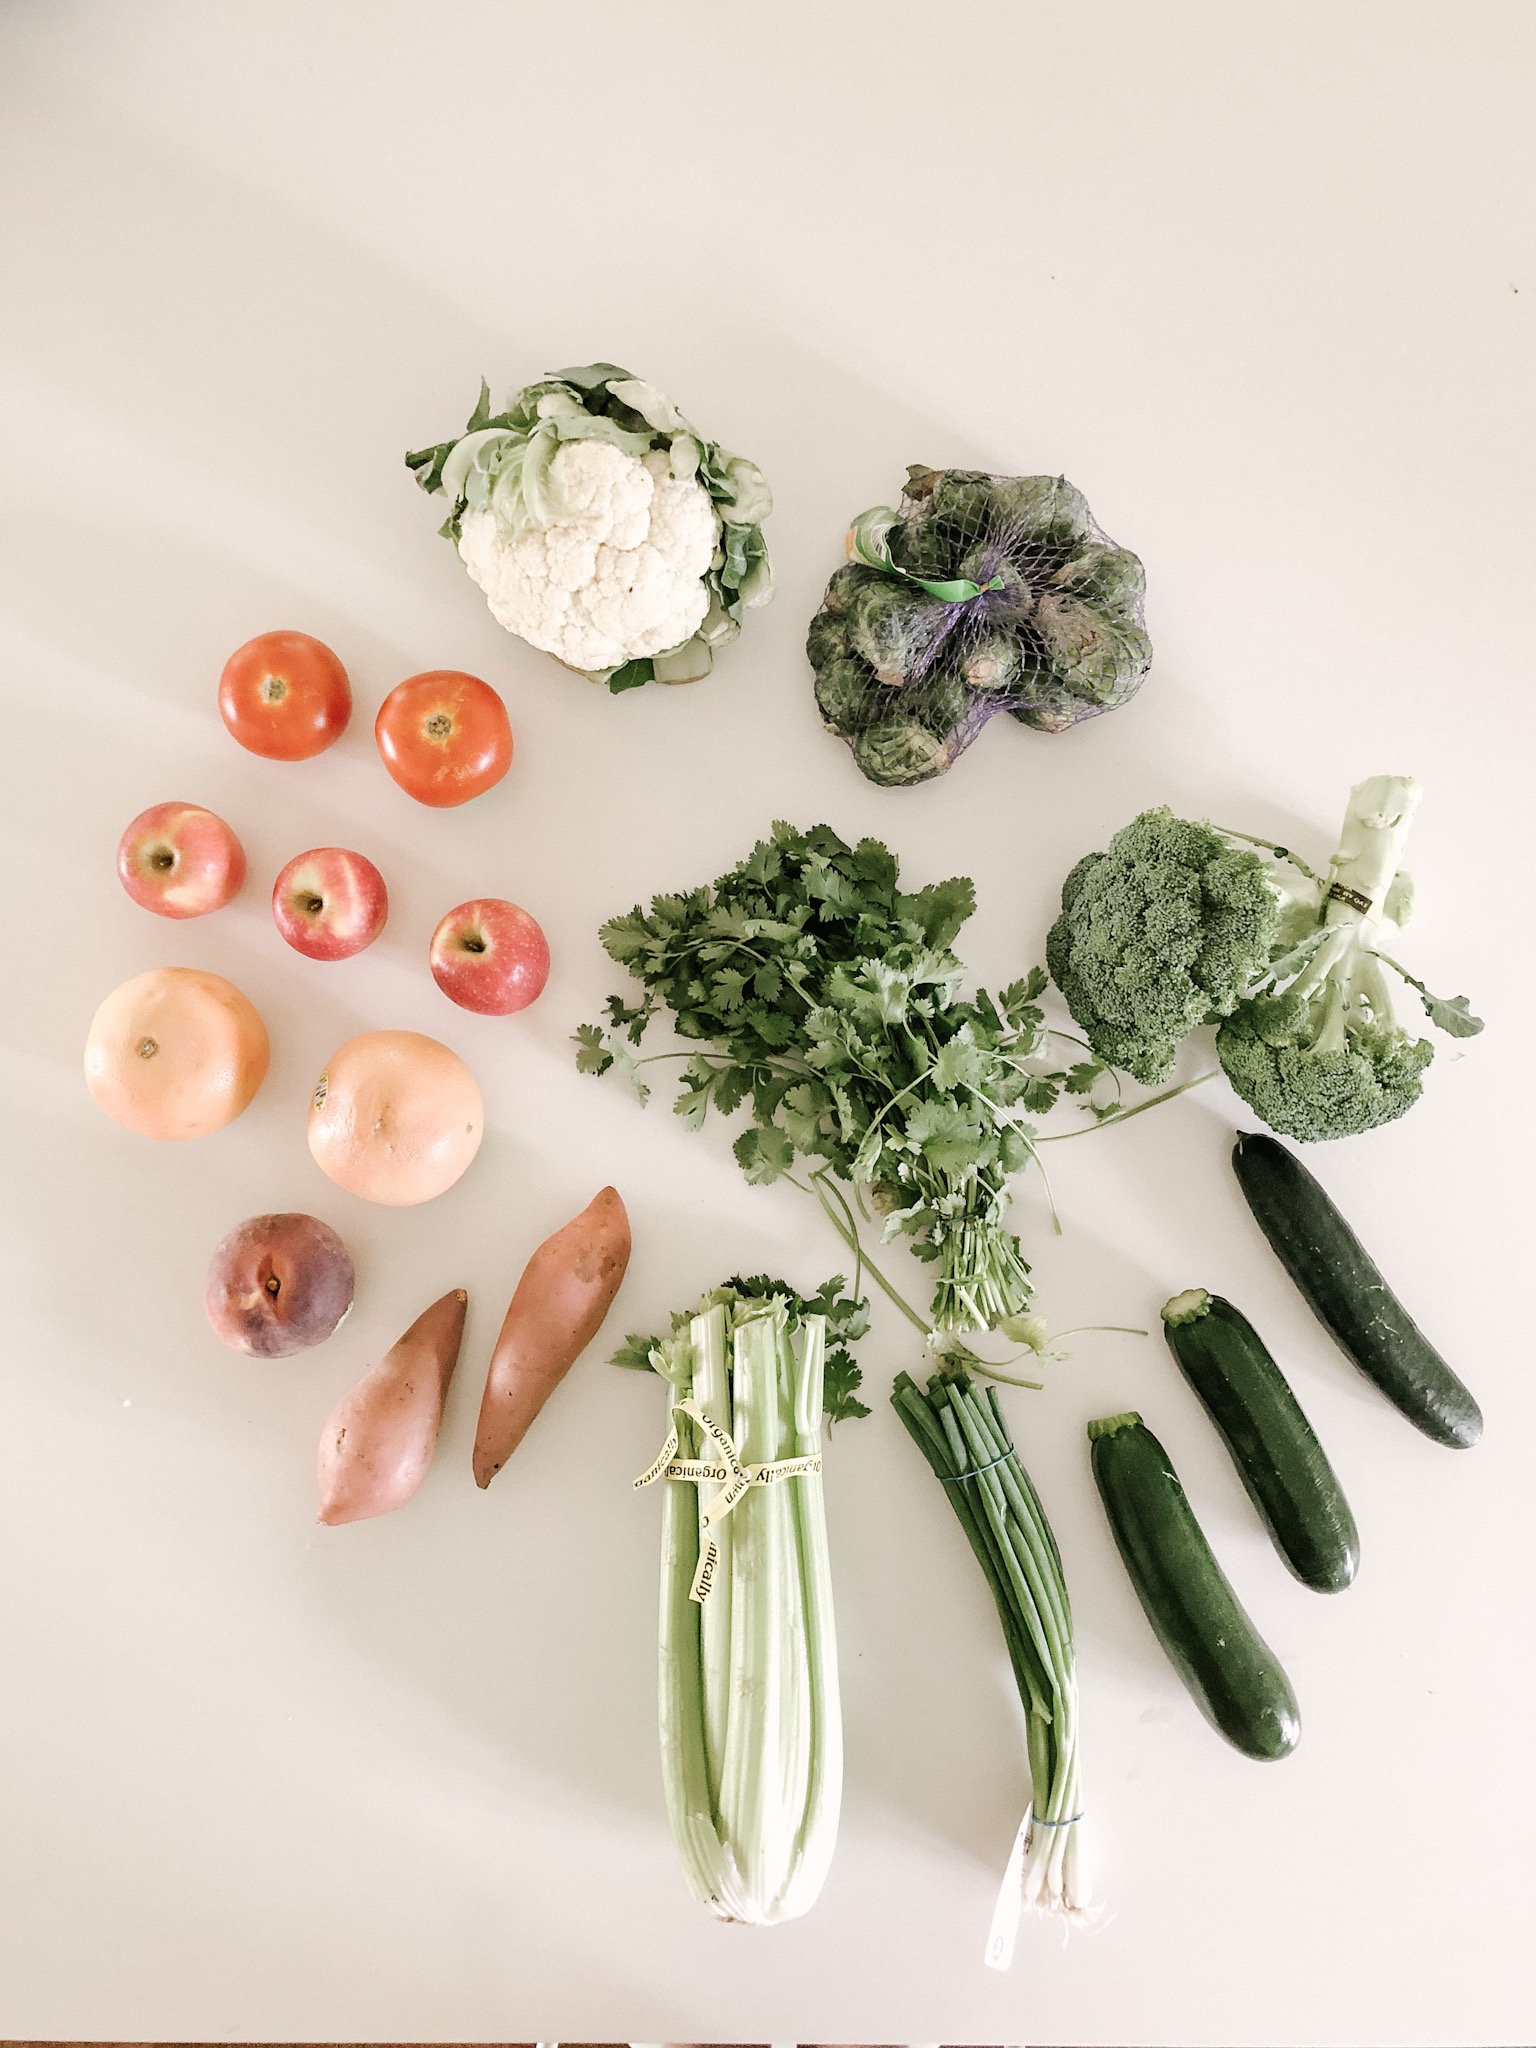
7. Use your favorite preset or filter to keep all your photos consistent. Lightroom mobile is free and it is a professional photo editing app that usually you can editing in one click using purchased presets. Below are 6 images shot in very different settings and light but edited with the same filter. I’ll put some of my favorite presets in my post, How I create a consistent aesthetic in my photos. [other apps I use and love, snapseed, color story, and retouch].


8. This one is more for influencers or bloggers, but I use a planning app for my posts. I use planoly, it’s not a free one... but I’ve used it forever and I love it. I usually only post once a day but sometimes I get multiple images that day that I want to post so I save them in there. I store my hashtags and write and edit my captions ahead of time. This helps me see if a photo's colors or how I edited to fit into my aesthetic or if I need to adjust the exposure or temperature to fit the rest of the images before I actually post it.
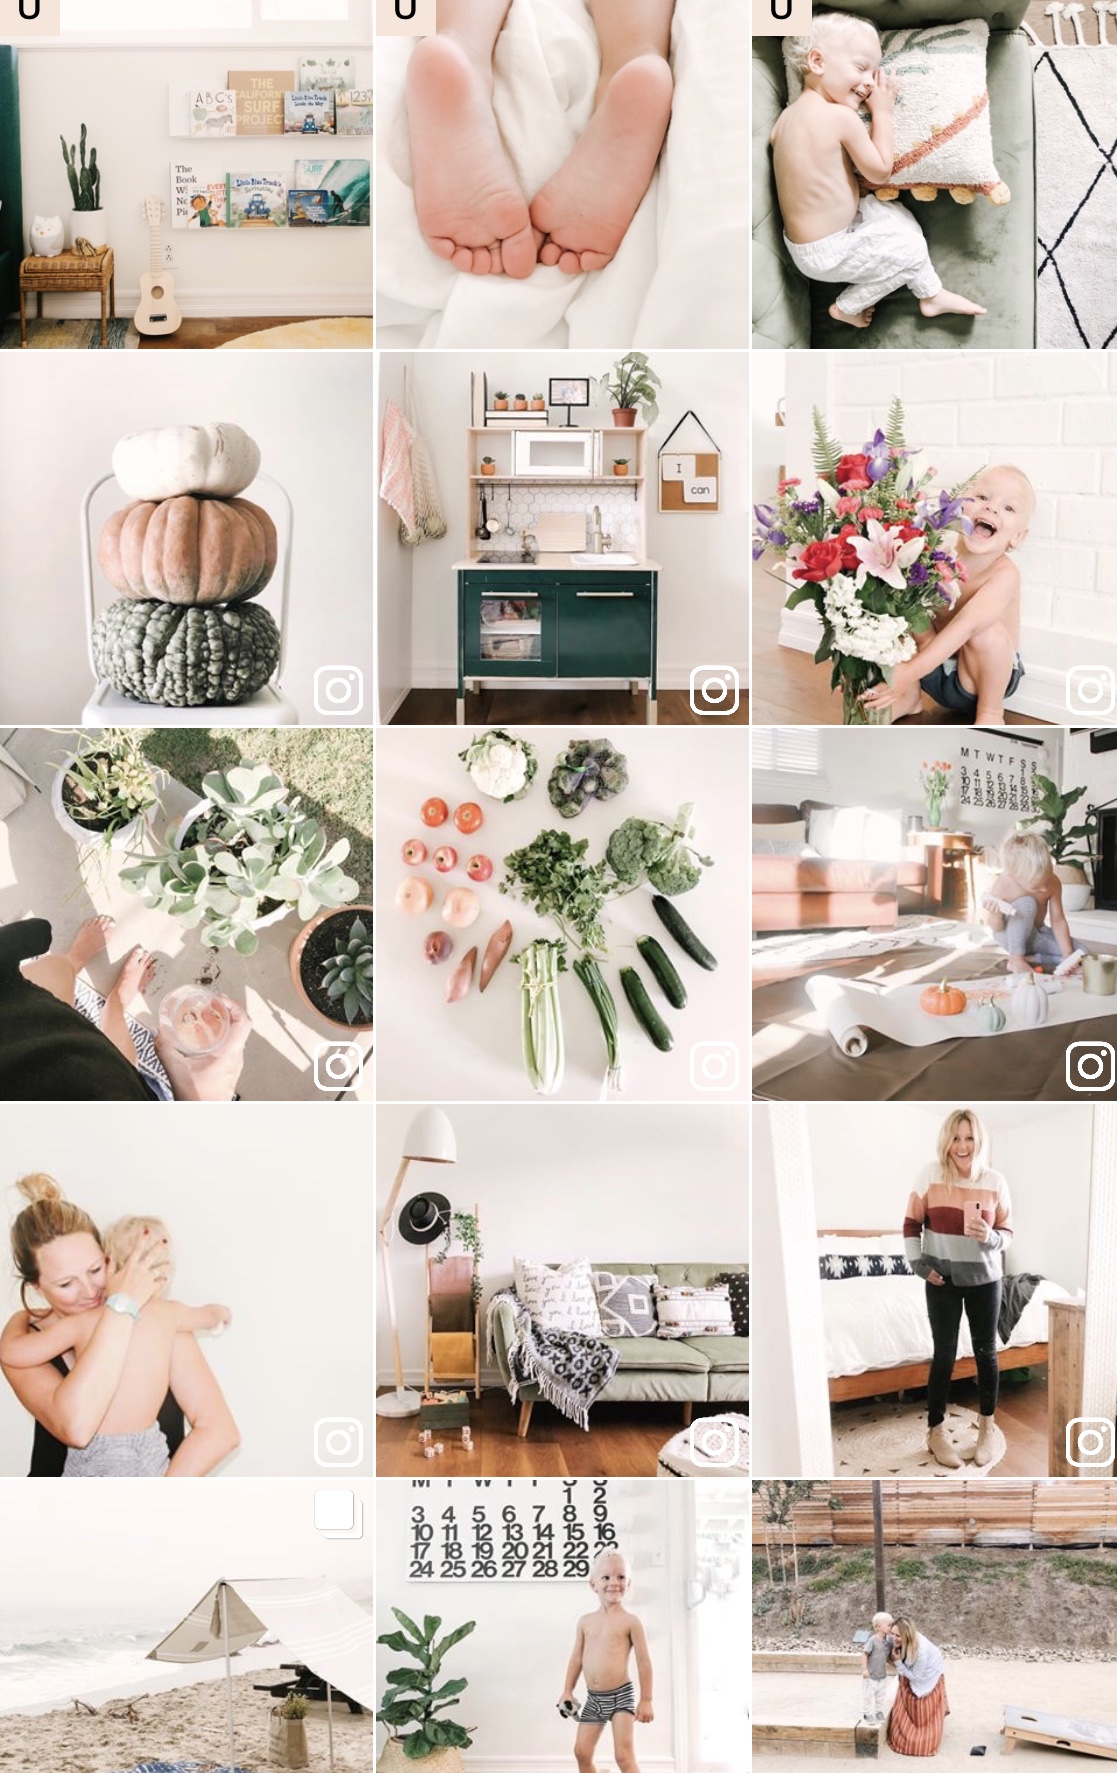
9. This is a personal preference but I use the grid method [maybe it’s called something different] but I staged my photos to have one light and one darker photo each time. Which creates a grid that is easy on the eye.
10. Try, try and try again. The more you shoot, the better you will get. Same with editing. As you start to edit your photos, it will become second nature and then you'll learn another trick to making your photos the exact style and feel you are looking for.